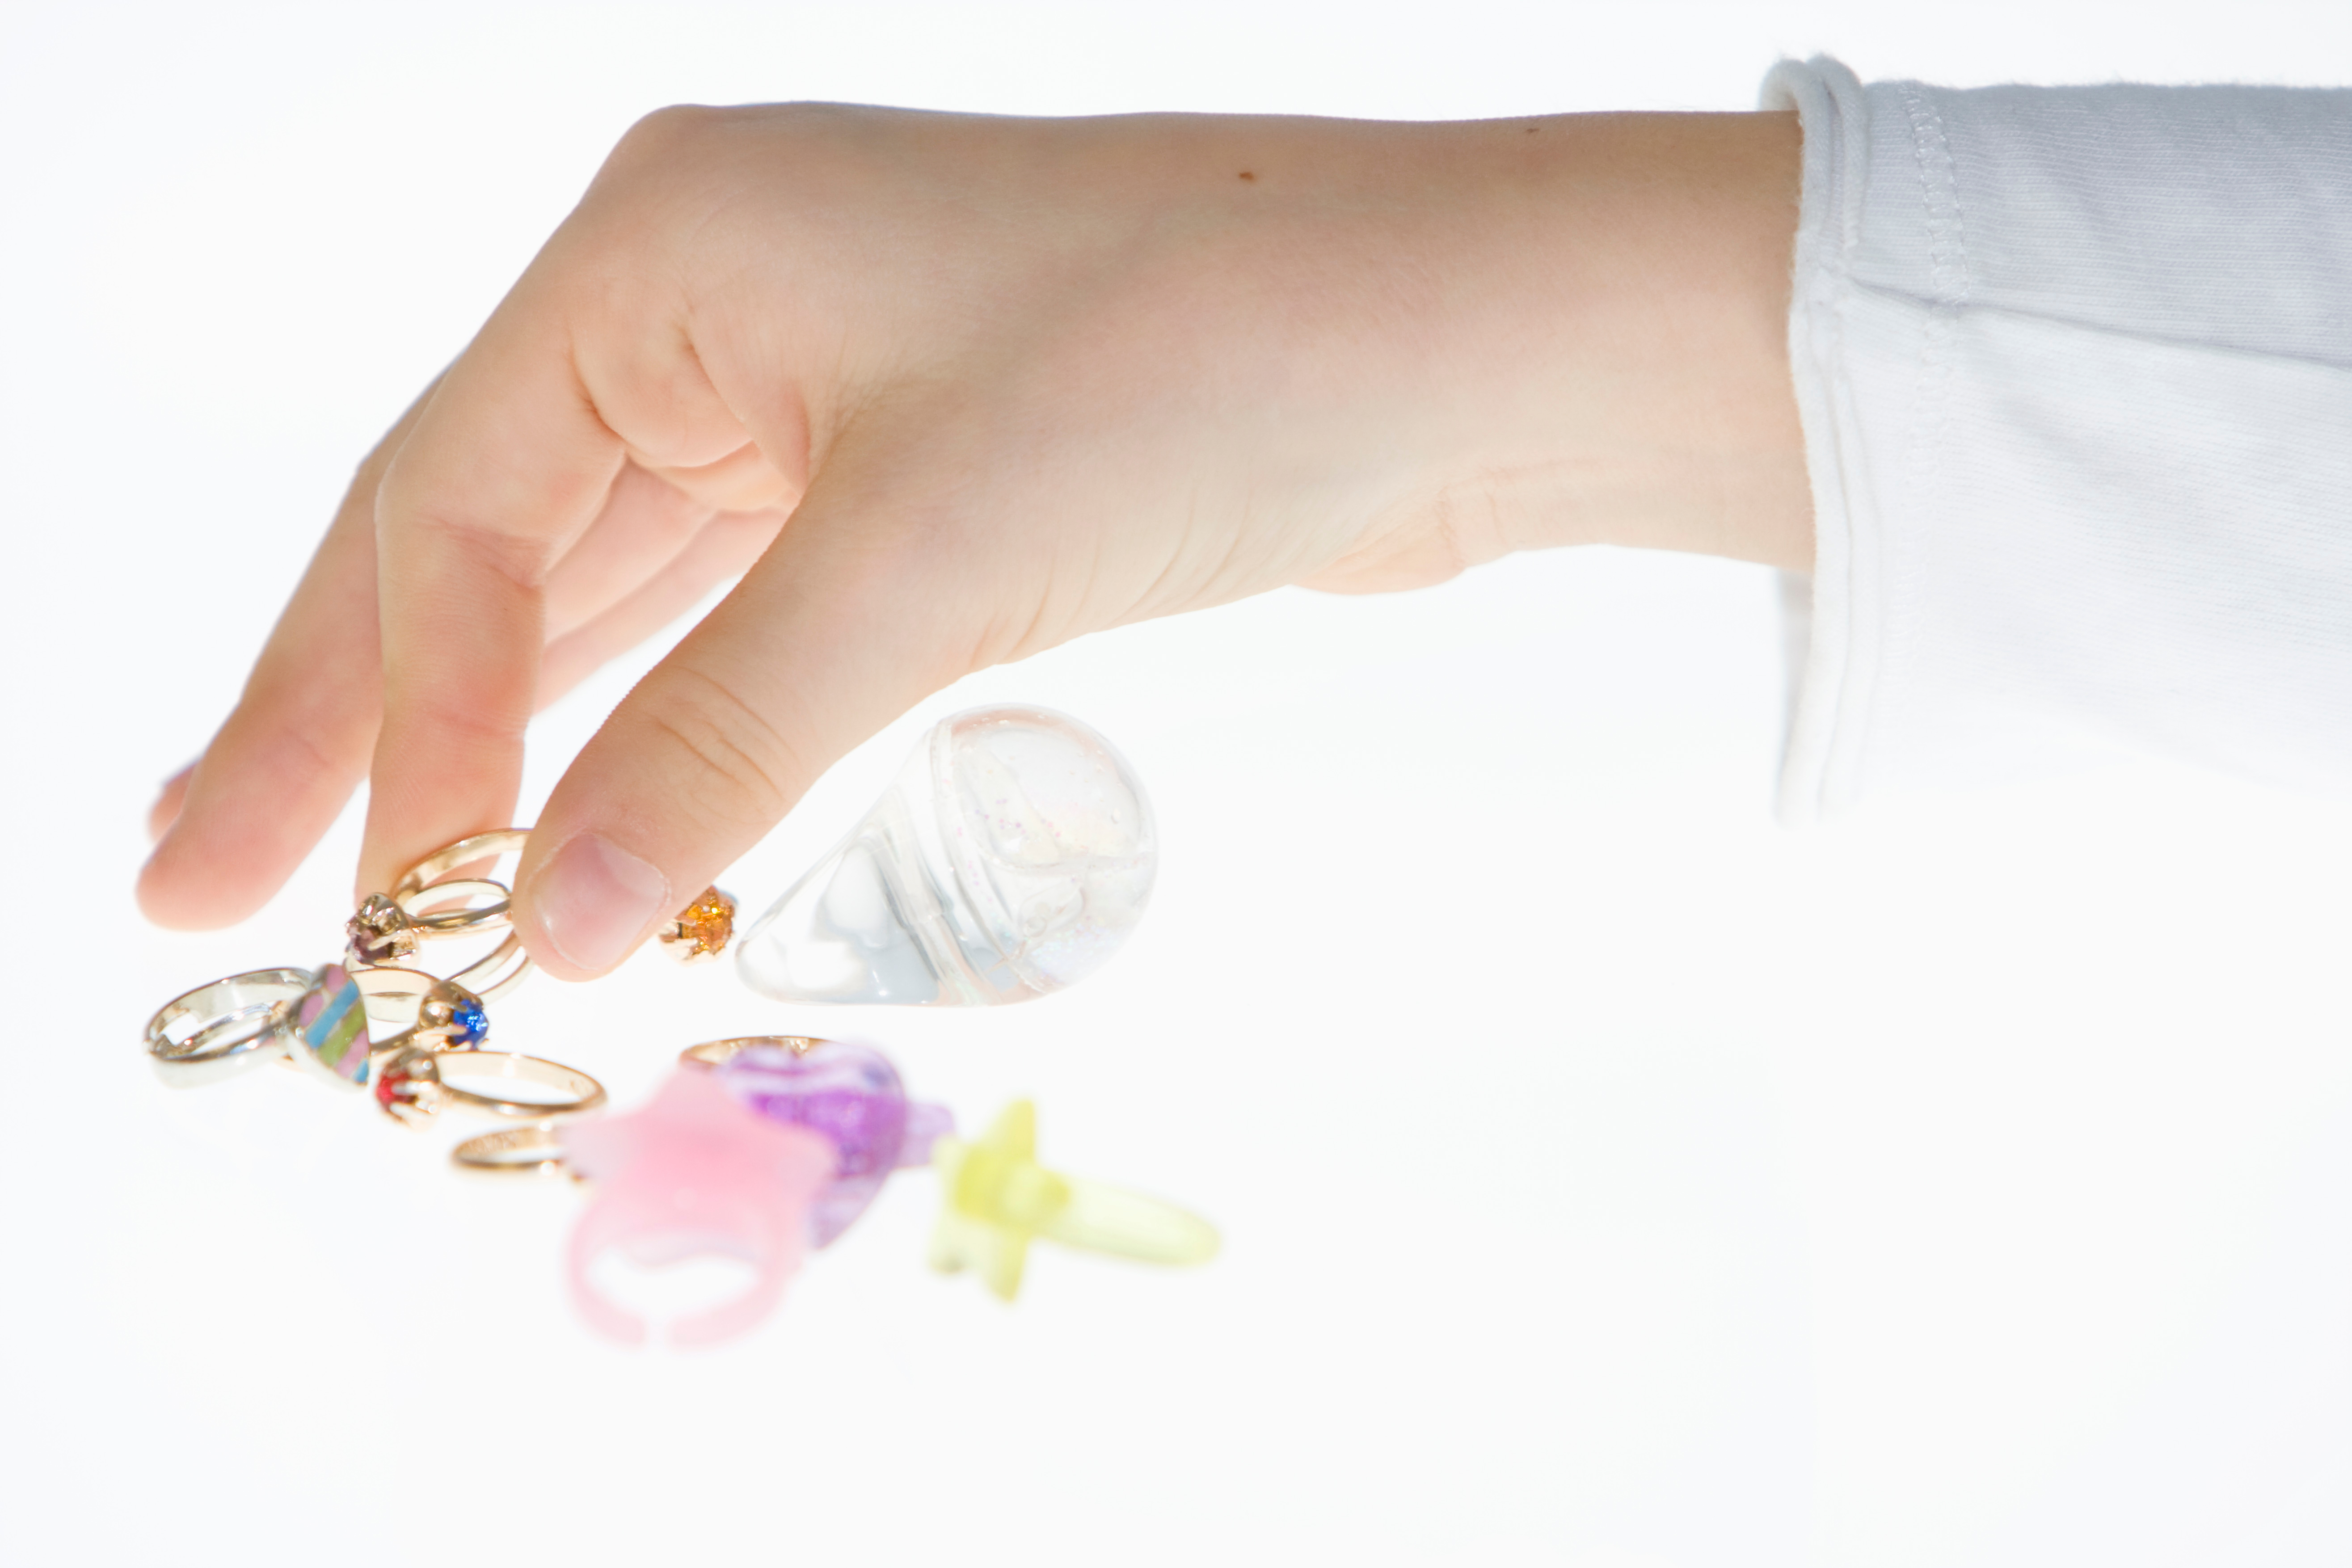
Why Your Jewelry Photos Look Cheap (And the Lighting Fix That Changes Everything)
My mom used to sell handmade earrings out of a shoebox at craft fairs. When she moved her shop online, she handed me her phone and said, “Just take some pictures.” The photos were fine in the way a beige wall is fine. Technically acceptable, visually forgettable. Her sales reflected that. I rebuilt her entire setup over one afternoon, and within three months her conversion rate had tripled. The earrings hadn’t changed. The product hadn’t changed. Only the light had.
Jewelry is one of the hardest product categories to photograph well, and it’s not because the pieces are small. It’s because metal and stone behave differently than almost any other surface in photography.
Why Metal and Gemstones Betray Bad Light
Flat light washes out texture. Hard light creates hot spots. Jewelry sits right at the intersection of both problems.
Gold, silver, and polished metals are essentially mirrors. They don’t have a fixed color, they reflect whatever is around them. Point a bare flash at a silver ring and you’ll get a blown-out white blob with no detail. Use a cheap lightbox with thin diffusion panels and you’ll see the wrinkled fabric walls reflected in the surface of every piece you shoot. Gemstones have a different challenge: they need directional light to show their faceting and depth, but too much directionality kills the fill and creates dark, muddy shadows on the setting.
The goal is controlled, directional, diffused light that shows form without creating unwanted reflections.
The Two-Light Setup That Solves Most Jewelry Problems
I shoot most of my jewelry work with two continuous LED panels, both in softboxes. I use an Aperture Amaran 60x on the key side, set at about 45 degrees to the subject, slightly above. That angle rakes across the surface and reveals texture in metal settings and engravings. The fill light, a smaller Aperture Amaran 40x, goes on the opposite side at roughly 70 percent power relative to the key, almost straight on, to reduce shadow depth without eliminating it entirely. This 1.4:1 ratio keeps shadows soft enough that the piece reads as three-dimensional without looking dramatic or moody.
Diffusion matters more than the light source itself. I use a 24-inch softbox minimum for pieces up to about three inches. For rings and studs specifically, I often add a piece of white foam core directly above the subject, just outside the frame, to bounce light back into the inside of a band or into the back facets of a stone. This is the move that separates photos that look professionally lit from photos that just look “not dark.”
Background choice affects perceived color in metal. I shoot almost all gold and rose gold pieces on white or very light gray. I shoot silver and white gold on mid-gray or soft black, because the contrast reads better and prevents the metal from disappearing against a white background.
Camera Settings for Sharp, Saleable Jewelry
Depth of field is a real decision with small jewelry. I almost always shoot at f/8 or f/11 on a macro-capable lens, a Canon 100mm f/2.8L Macro is what I reach for most, because the depth of field at macro distances is so shallow that f/2.8 will put the front of a ring in focus and the back in blur. For most e-commerce purposes, you want the whole piece sharp.
ISO should stay at 100 or 200. Jewelry photography rewards patience, not speed. Put it on a tripod, use a cable release or the camera’s two-second timer, and shoot tethered to your laptop if you can. Even at ISO 100, a subtle camera shake will smear the fine details that justify the price of a piece.
If you’re shooting for a white background, expose so your histogram sits just to the right without clipping. You can correct a slightly dark image in Lightroom without losing detail. You cannot recover a blown highlight on a polished metal surface.
When a $40 Lightbox Actually Works
I have a lightbox in my kitchen. I use it constantly for testing setups before I commit a client’s product to a full shoot. For some categories, it’s all I need. Jewelry is not usually one of them.
The problem with most lightboxes is reflectivity. The white interior panels of inexpensive fabric lightboxes show up in curved or polished surfaces as visible rectangles. When I shoot rings or bangles, I often need to go into Photoshop and manually retouch out those reflections, which can add 15 to 20 minutes per image. That’s time I’d rather spend on other things.
If you’re a maker selling on Etsy and a lightbox is what you have, it can work. Add a piece of black card stock behind and above the camera position to block the most obvious reflection source, which is the camera and your own body showing up in the metal. It’s not a perfect fix but it reduces the worst of it.
The bigger issue is that a lightbox provides no control over light direction. Everything comes from everywhere, which softens the light but also flattens the image. Flat images of jewelry read as cheap, regardless of how beautiful the piece actually is.
The Retouch Step Most People Skip
Sharp, well-lit jewelry photos still need cleaning. Fingerprints, microscopic dust, and tiny scratches in the metal all show up at macro distances in ways invisible to the naked eye. I always shoot a test frame, zoom to 100 percent on my laptop, and identify any smudges or surface marks before I start the actual shoot. I keep a microfiber cloth and a rubber air blower next to every jewelry setup. This five-minute habit saves me an hour of spot healing in post.
For web delivery, I export jpegs at 2000 pixels on the long edge, sRGB color space, quality setting 90 in Lightroom. That keeps file sizes under 1MB, which matters for page load speed, while retaining enough detail for zoom functionality on most e-commerce platforms.
The single most important thing you can do for jewelry photography is stop treating light as something that just exists in your room, and start treating it as a material you’re deliberately placing, shaping, and pointing. Everything else follows from that.