Why Tabletop Photography Is the Smartest Niche You're Ignoring (And How to Start Tonight)
A few years ago, I helped my mom relist her entire jewelry collection on Etsy. Same products, same prices — the only thing that changed was the photos. Within three months, her sales had tripled. That experience is what made me obsessed with tabletop and product photography, and it’s why I keep returning to tutorials from working commercial photographers who understand this niche at a technical level.
In this CreativeLive tutorial, veteran photographer Don Giannatti makes a surprisingly compelling case for why tabletop product photography deserves more attention than it gets. Watch the full tutorial on YouTube — but if you want to pull out the core lessons and actually apply them, I’ve broken down the key ideas below with notes from my own practice layered in.
What struck me most watching this wasn’t the technical content (though that’s solid). It was the market argument. Don talks about flipping through hotel magazines and counting product shots versus fashion shots. Product wins, by a lot. Most photographers chase the glamorous work. That gap is where the real, steady income is hiding.
Step 1: Understand Why the Tabletop Market Is Less Crowded Than You Think
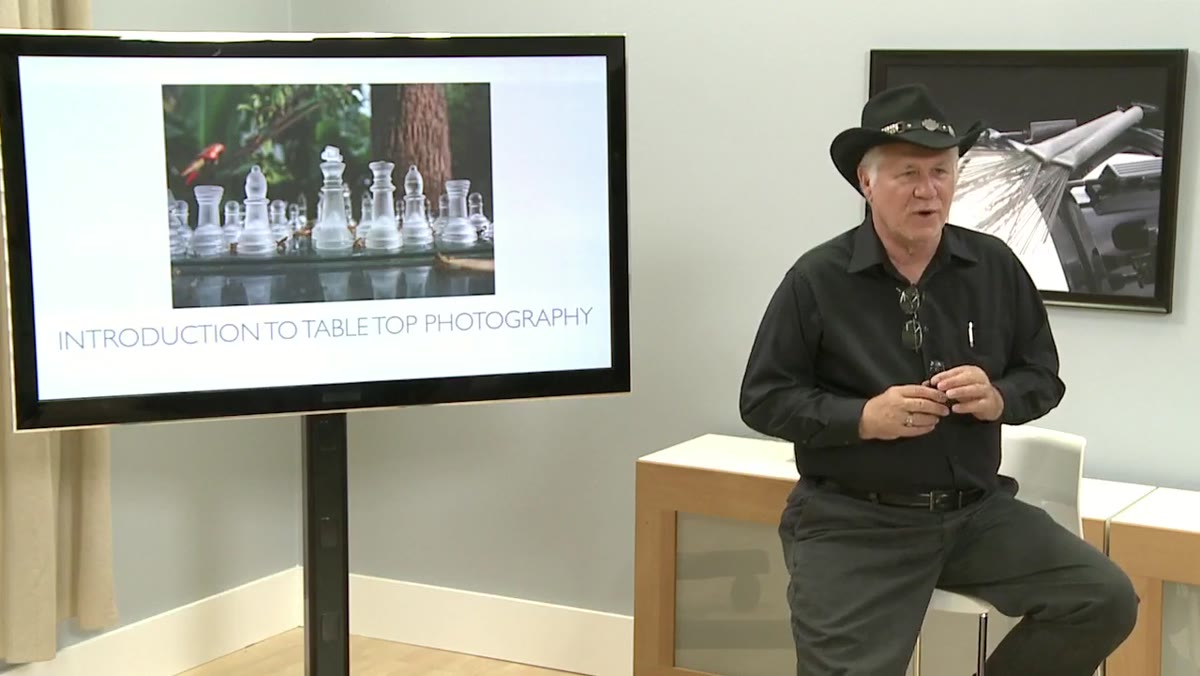 Don counting product shots versus fashion shots in magazines
Don’s magazine experiment is worth replicating yourself. Grab any lifestyle, travel, or home magazine and tally how many images are products versus people. You’ll find that still life and product photography dominates the page count, but far fewer photographers are pitching for that work. The aspiration economy pulls photographers toward fashion and portraiture because those feel more exciting. That leaves a wide-open lane for anyone willing to specialize in objects.
Don counting product shots versus fashion shots in magazines
Don’s magazine experiment is worth replicating yourself. Grab any lifestyle, travel, or home magazine and tally how many images are products versus people. You’ll find that still life and product photography dominates the page count, but far fewer photographers are pitching for that work. The aspiration economy pulls photographers toward fashion and portraiture because those feel more exciting. That leaves a wide-open lane for anyone willing to specialize in objects.
For small business owners and e-commerce sellers especially, this means qualified photographers are genuinely hard to find at a reasonable rate. If you’re building a service business or shooting for your own shop, you’re entering a field where competence alone sets you apart from the crowd.
Step 2: Start Small — Your Space Constraints Are Not the Problem You Think
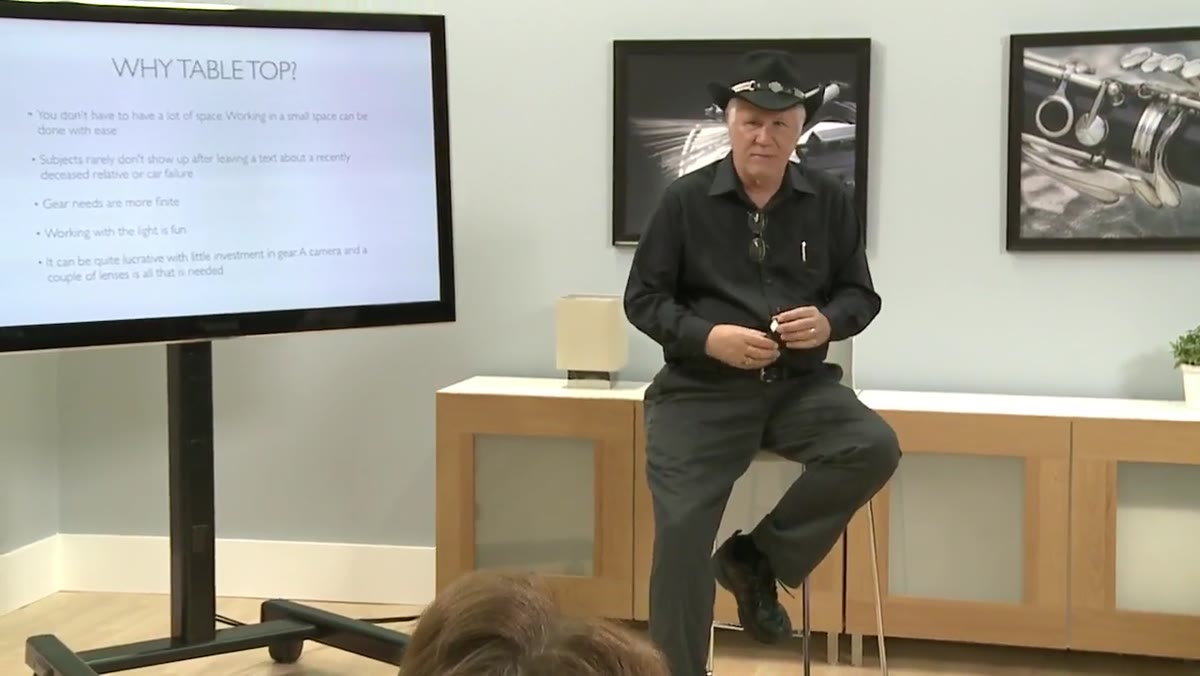 An 8x8 foot tabletop setup in a compact studio space
Don makes the point that a complete tabletop shooting setup can fit inside an 8-by-8-foot square. That’s a corner of a garage, a cleared section of a living room, or even a kitchen counter with some rearranging. I shoot out of my apartment in Los Angeles and I’ve built setups on my kitchen counter more times than I can count. The constraint forces creativity and teaches you to control what matters.
An 8x8 foot tabletop setup in a compact studio space
Don makes the point that a complete tabletop shooting setup can fit inside an 8-by-8-foot square. That’s a corner of a garage, a cleared section of a living room, or even a kitchen counter with some rearranging. I shoot out of my apartment in Los Angeles and I’ve built setups on my kitchen counter more times than I can count. The constraint forces creativity and teaches you to control what matters.
The practical implication: stop waiting until you have a “real” studio. Identify a flat surface with at least four feet of clearance on each side, some control over ambient light, and a wall or sweep backdrop you can hang or prop behind the subject. That’s your starting point. Everything else is refinement.
Step 3: Keep Your Gear List Finite — Resist the Urge to Over-Invest Early
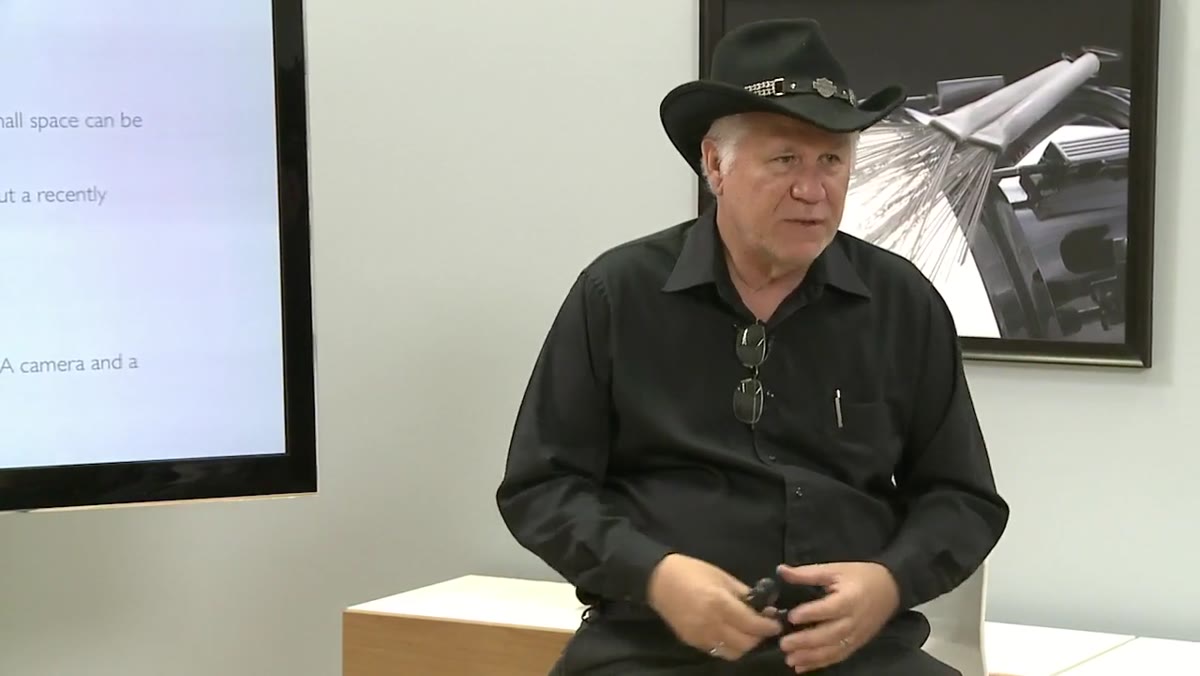 Two softboxes and minimal lighting equipment on a tabletop set
One of the most useful things Don says is that tabletop photography has “finite” gear needs compared to full commercial work. For people-focused shoots, you accumulate stands, booms, large modifiers, cables, and power packs. For tabletop work, two softboxes and a handful of reflector cards will handle the majority of situations.
Two softboxes and minimal lighting equipment on a tabletop set
One of the most useful things Don says is that tabletop photography has “finite” gear needs compared to full commercial work. For people-focused shoots, you accumulate stands, booms, large modifiers, cables, and power packs. For tabletop work, two softboxes and a handful of reflector cards will handle the majority of situations.
A basic kit that will get you through 90 percent of e-commerce product shots: one or two continuous lights or speedlights, a medium softbox (24 inches is a versatile size), a white foam core card for fill, and a black card for flagging unwanted reflections. The rest of it — the small shiny cards, the tissue paper diffusion, the tiny mirrors for bouncing light into labels — you improvise as you go. That improvisation is part of the skill, not a sign that you’re underprepared.
Step 4: Shift How You Think About Light — You Can’t See It, Only Its Reflections
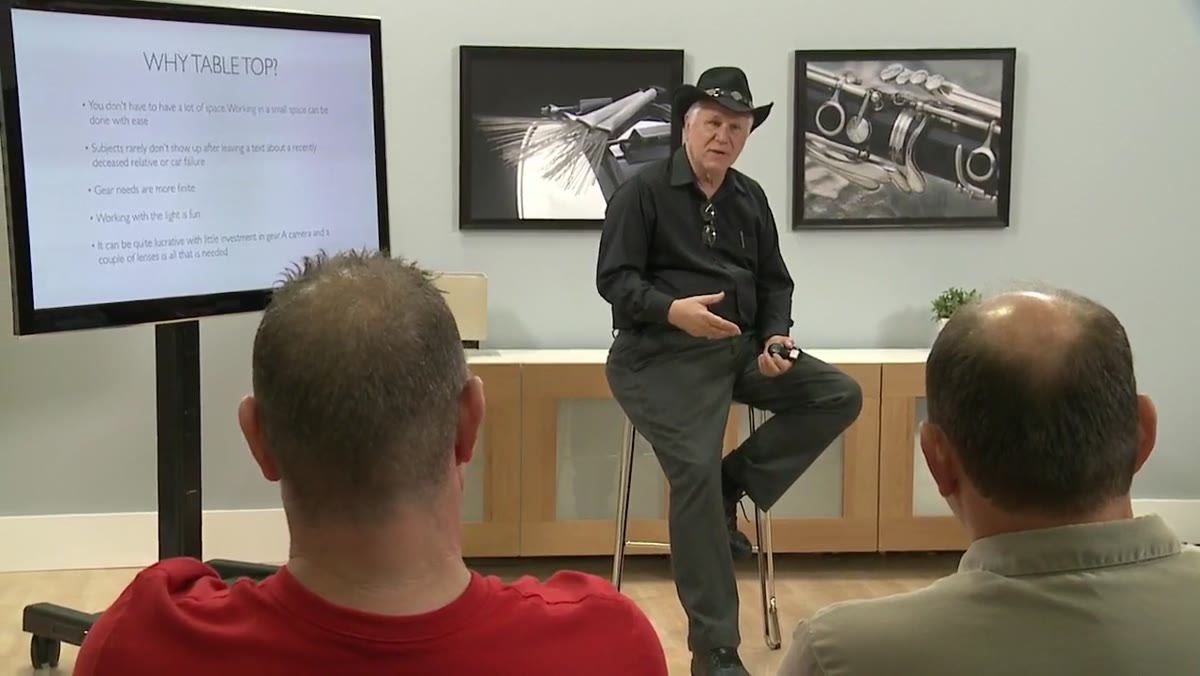 Don explaining how light only becomes visible when it reflects off a surface
This is the part of the tutorial that I think is most genuinely useful for beginners, and it’s also the easiest to skip past. Don points out something that sounds obvious until you really sit with it: you cannot see light in transit. You see what light does when it hits something and bounces back toward your eye. That sugar bowl on a restaurant table isn’t lit; the light is stopping at the sugar bowl and returning to you.
Don explaining how light only becomes visible when it reflects off a surface
This is the part of the tutorial that I think is most genuinely useful for beginners, and it’s also the easiest to skip past. Don points out something that sounds obvious until you really sit with it: you cannot see light in transit. You see what light does when it hits something and bounces back toward your eye. That sugar bowl on a restaurant table isn’t lit; the light is stopping at the sugar bowl and returning to you.
The reason this matters practically is that it reframes your entire job. You are not placing lights. You are deciding what surfaces you want illuminated, and then working backward to figure out where a light source needs to be so that the reflected beam reaches your lens. When I’m setting up a shot of a glass bottle, I don’t think about where to put the light. I think about where I want to see a highlight appear on the glass, and then I position the source to create that reflection. That single mental shift will improve your product photos faster than any new piece of gear.
Step 5: Embrace the Fact That Your Subjects Always Show Up
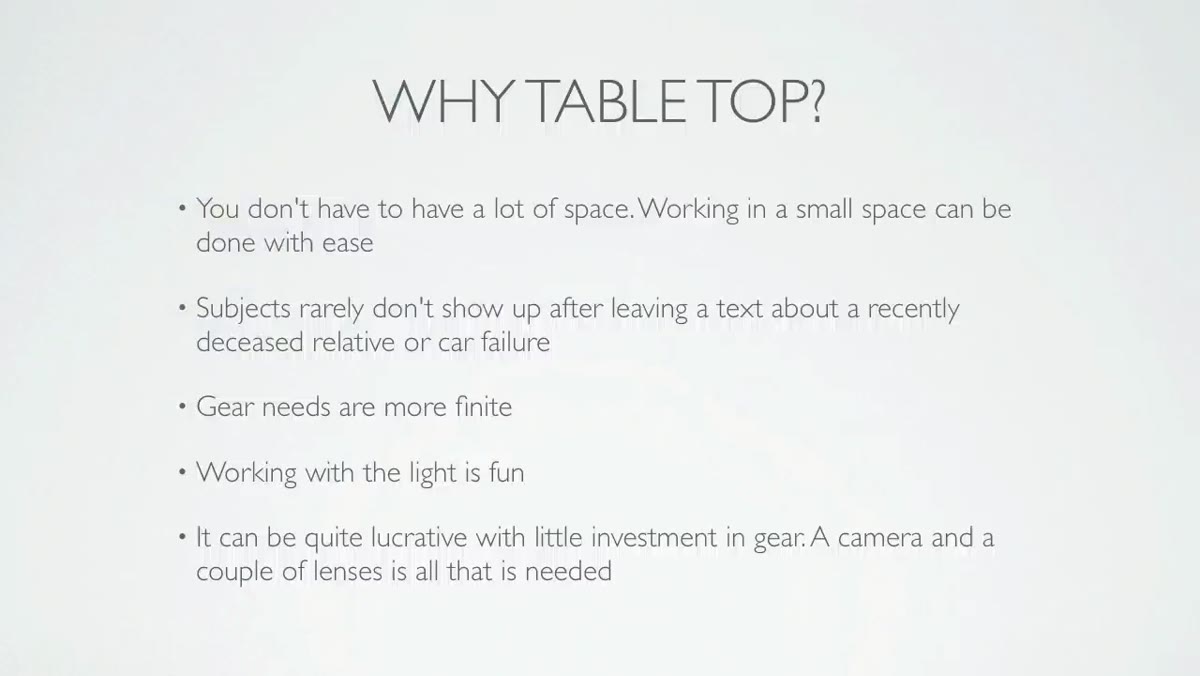 Don discussing the reliability of products as subjects compared to models
This one gets a laugh in the tutorial but it’s a real business advantage. Don jokes that a product on a table has never sent a last-minute text canceling because of a family emergency. If you’ve worked with talent for any length of time, you know the pain of a no-show. Products are cooperative, predictable, and available whenever you are.
Don discussing the reliability of products as subjects compared to models
This one gets a laugh in the tutorial but it’s a real business advantage. Don jokes that a product on a table has never sent a last-minute text canceling because of a family emergency. If you’ve worked with talent for any length of time, you know the pain of a no-show. Products are cooperative, predictable, and available whenever you are.
From a workflow standpoint, this means you can batch your sessions, test setups without time pressure, and iterate on lighting at your own pace. I once spent forty minutes adjusting the angle of a single reflector card to get the right amount of light inside a perfume bottle cap. No one was standing around waiting. That kind of deliberate, unhurried practice is how you actually get good fast.
What I’d Add: Treat Every Setup as a Lighting Experiment
I keep a small notebook next to my shooting table. After every product session, I sketch the light positions and note what worked, what I had to fix, and what I’d try next time. Don’s tutorial is excellent on the principles, but principles only stick when you’ve failed at applying them a few times and figured out why.
If you’re just starting out, give yourself a standing weekly drill: pick one object from your kitchen or desk, set up in whatever space you have, and shoot it with one light and one reflector card. Move the reflector card to five different positions and photograph each one. Review the results. You will learn more from that single drill than from any amount of theory reading, because you’ll start to see exactly what Don is describing — light only exists where it lands.
The single most transferable insight from this tutorial is the one about market positioning. There are vastly more clients who need product photography than there are skilled photographers actively pursuing that work. Whether you’re building a freelance business or shooting products for your own brand, that gap is an advantage. The technical skills are learnable. The niche itself is underserved and genuinely lucrative.
Watch the full tutorial on YouTube and pay particular attention to how Don talks about light behavior. It’s a short section but it reframes everything.