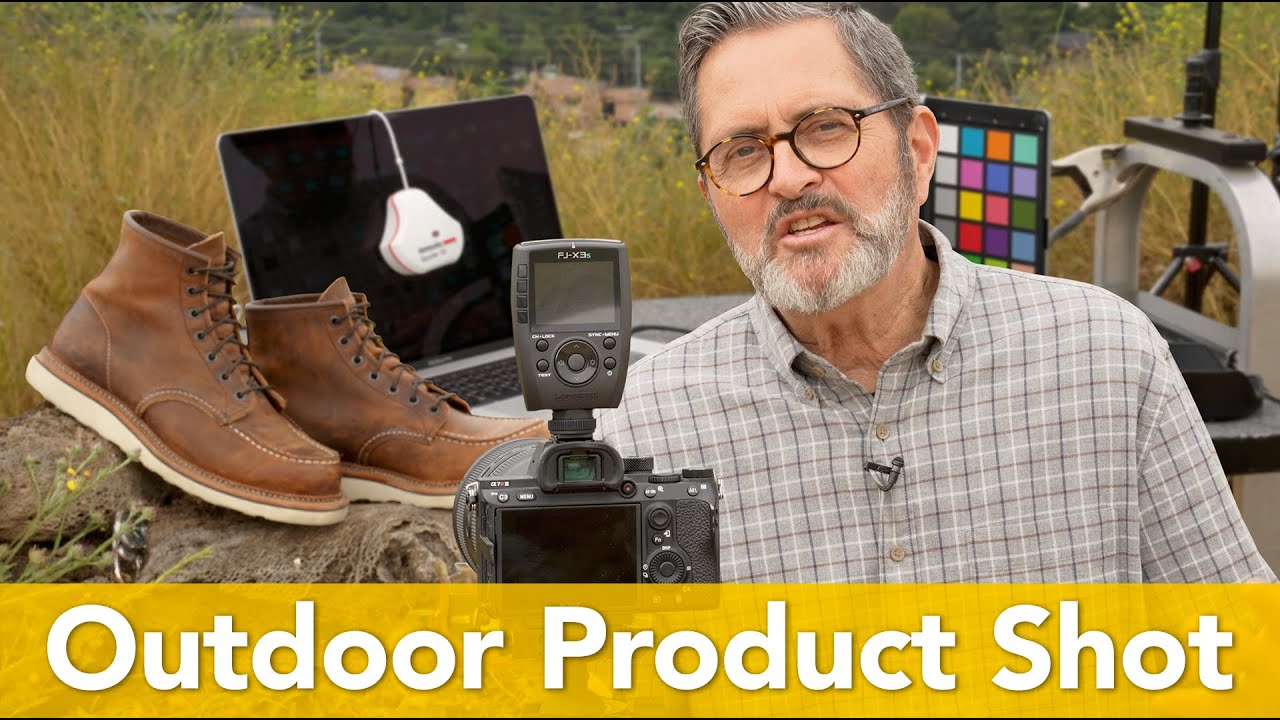
Why I Now Tether Every Outdoor Product Shoot (And How to Actually See Your Screen in Sunlight)
There is a specific kind of frustration that only outdoor product photographers understand: you nail what feels like a perfect shot, you squint at the two-inch screen on the back of your camera, it looks fine, and then you get home and realize the shadows are muddy, the highlight on the product is blown, and the composition is slightly off in a way you cannot fix in post. I have lost billable work to that squint. Tethered shooting outdoors solves that problem directly, but it introduces a new one: laptop screens in bright sunlight are basically mirrors. You end up making exposure decisions based on a reflection of the sky.
In this The Slanted Lens tutorial, photographer Jay P. Morgan takes a Red Wing boots shoot on location and walks through exactly how he handles both problems. He calibrates a high-brightness monitor for outdoor conditions, explains the strategic reasons to leave the studio in the first place, and breaks down composition logic specific to product work. Watch the full tutorial on YouTube alongside this guide. What follows is the technique extracted and expanded so you can put it to work on your next location shoot.
Step 1: Choose Your Location With Intent
 Red Wing boots positioned on table overlooking a valley
The first decision is the one most people skip: why are you outside at all? Jay P. makes this explicit. A location background should do one of several things for your product. It can show context, meaning the environment where the product actually gets used. A rugged boot in muddy terrain tells a story that a white sweep never could. It can create juxtaposition, putting a dress shoe on a rock in the middle of nowhere earns a second look. Or it can simply give you a blurry, beautiful background at a distance that a studio cyclorama cannot replicate.
Red Wing boots positioned on table overlooking a valley
The first decision is the one most people skip: why are you outside at all? Jay P. makes this explicit. A location background should do one of several things for your product. It can show context, meaning the environment where the product actually gets used. A rugged boot in muddy terrain tells a story that a white sweep never could. It can create juxtaposition, putting a dress shoe on a rock in the middle of nowhere earns a second look. Or it can simply give you a blurry, beautiful background at a distance that a studio cyclorama cannot replicate.
Pick your location based on which of those three jobs you need the background to do. Do not drive somewhere scenic and then figure out the product story after. The background at a distance also gives you separation, which means you can shoot at wider apertures and let the environment fall beautifully out of focus without competing with your subject.
Step 2: Set Up Your Tethering Station Before You Touch the Camera
 Laptop on table connected to camera, monitor visible in outdoor setup
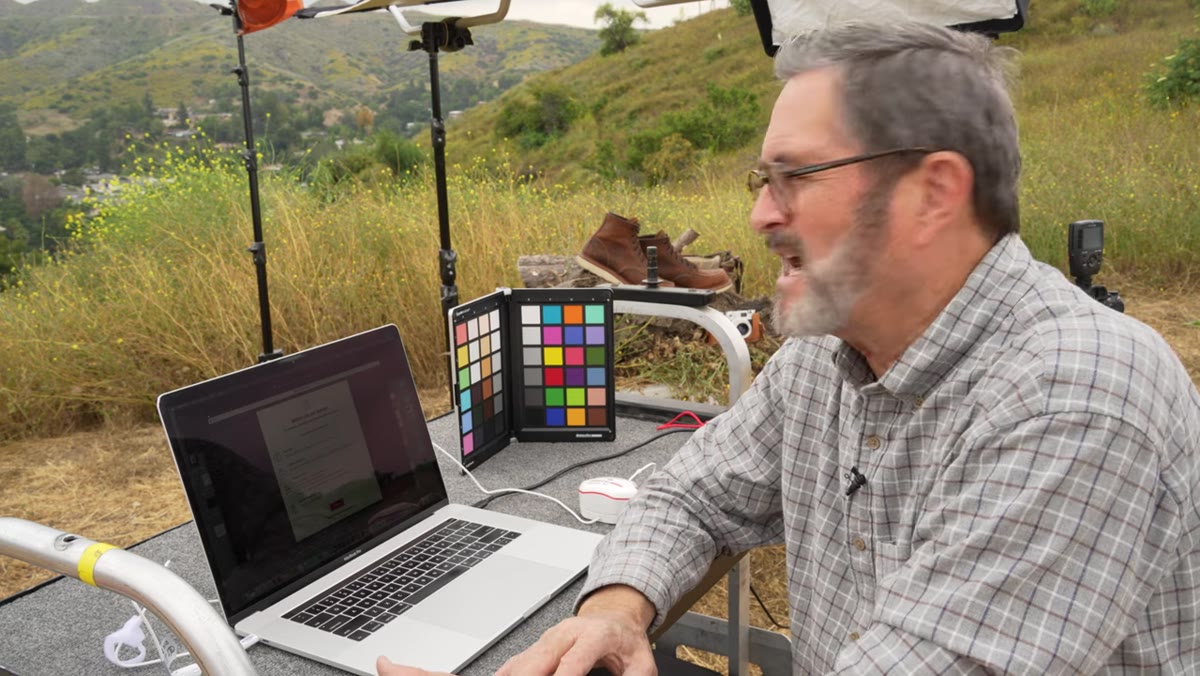
Tethering on location is not the same as tethering in a studio. You are dealing with wind, uneven surfaces, direct sun, and limited power. Get your table and laptop positioned so the screen is angled away from the harshest direct light before you do anything else. Jay P. emphasizes how much easier it is to evaluate composition, detail, and lighting on a full-size screen versus the camera’s rear display. That advantage disappears entirely if you cannot actually see the screen.
Laptop on table connected to camera, monitor visible in outdoor setup
Tethering on location is not the same as tethering in a studio. You are dealing with wind, uneven surfaces, direct sun, and limited power. Get your table and laptop positioned so the screen is angled away from the harshest direct light before you do anything else. Jay P. emphasizes how much easier it is to evaluate composition, detail, and lighting on a full-size screen versus the camera’s rear display. That advantage disappears entirely if you cannot actually see the screen.
Use a quality tethering cable rated for outdoor use, or wireless tethering if your camera system supports it. The point is that every creative decision, your framing, your lighting tweaks, your focus checks, should happen on the larger screen. That is the whole value of the workflow.
Step 3: Calibrate Your Monitor for Outdoor Brightness
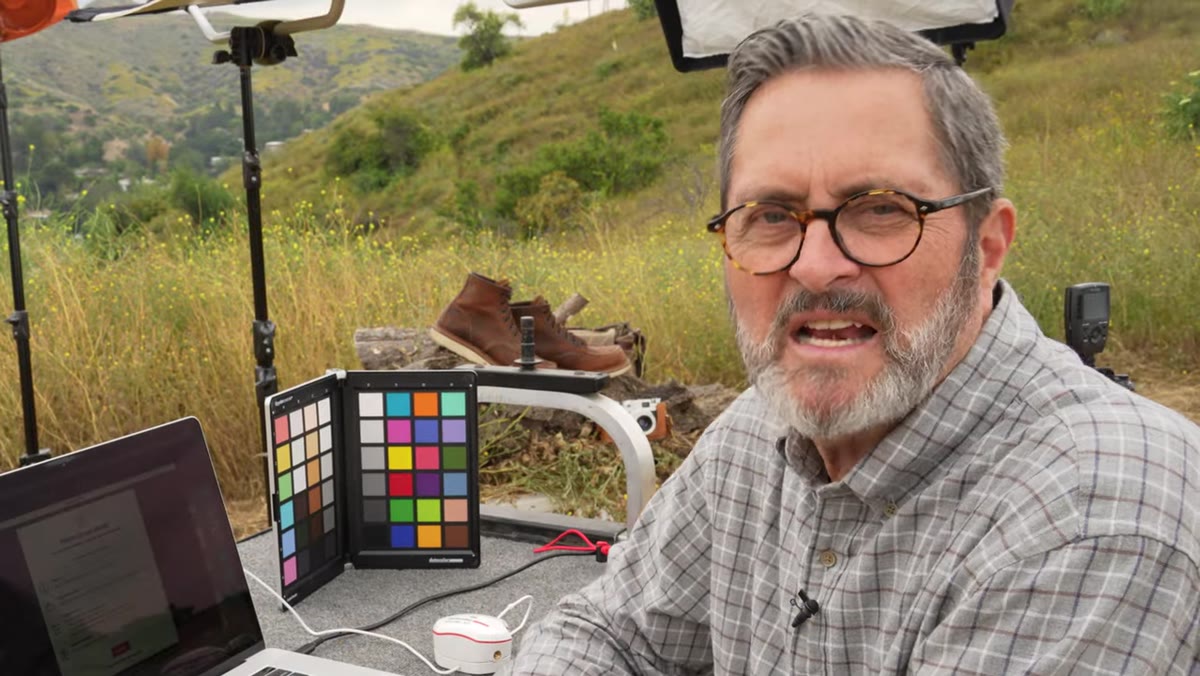 Datacolor Spyder X2 Ultra device attached to laptop screen outdoors
This is the step most photographers skip and then wonder why their outdoor edits look wrong back at the desk. Jay P. uses the Datacolor Spyder X2 Ultra specifically because it is built to calibrate high-brightness monitors in outdoor conditions, handling screens that run between 750 and 2000 nits. A standard studio calibration device is not designed for that brightness range.
Datacolor Spyder X2 Ultra device attached to laptop screen outdoors
This is the step most photographers skip and then wonder why their outdoor edits look wrong back at the desk. Jay P. uses the Datacolor Spyder X2 Ultra specifically because it is built to calibrate high-brightness monitors in outdoor conditions, handling screens that run between 750 and 2000 nits. A standard studio calibration device is not designed for that brightness range.
Run the calibration before you shoot a single frame. The process profiles your monitor for the actual ambient light conditions you are working in, which means when you look at an image on that screen, you are seeing an accurate representation of your exposure and color, not a guess filtered through an uncalibrated panel in bright sunlight. Skipping this turns every tethered image into a lie you cannot trust.
Step 4: Include a Color Reference in Your First Shots
 Spyder Checkr color card positioned in the scene with the boots
Once the monitor is calibrated, Jay P. places a Spyder Checkr color card in the scene and shoots it before the real product frames begin. This gives you a physical color reference you can use in post to verify and correct your color grading against a known standard.
Spyder Checkr color card positioned in the scene with the boots
Once the monitor is calibrated, Jay P. places a Spyder Checkr color card in the scene and shoots it before the real product frames begin. This gives you a physical color reference you can use in post to verify and correct your color grading against a known standard.
For product photography specifically, this matters more than in other genres. A client selling boots in Horween leather needs that brown to be accurate. A jewelry client needs their gold to read as gold, not bronze. Shoot the color card in your opening frame, and you have an anchor point that protects you in post no matter how the sun shifts.
Step 5: Light the Product With Strobes Even Outdoors
 Strobe light positioned to illuminate product on location table
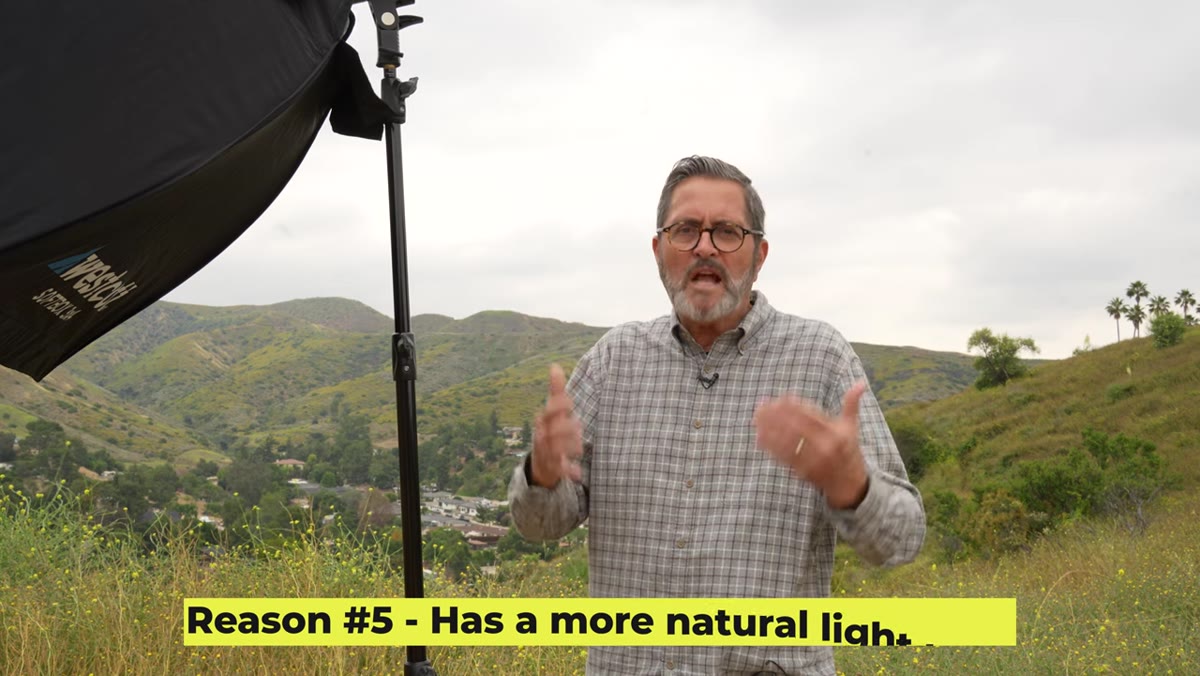
Natural light looks beautiful on landscapes. It looks inconsistent on products. Jay P. uses strobes on almost every outdoor shoot because they give him control over the light hitting the product regardless of cloud cover, time of day, or how the ambient light changes between frames.
Strobe light positioned to illuminate product on location table
Natural light looks beautiful on landscapes. It looks inconsistent on products. Jay P. uses strobes on almost every outdoor shoot because they give him control over the light hitting the product regardless of cloud cover, time of day, or how the ambient light changes between frames.
The goal is not to make it look like a studio shot. Strobes outdoors, when balanced properly against the ambient, still read as natural. They clean up the product, reduce unflattering shadows from overhead sun, and give you consistency across a hundred frames. You handle the background with your ambient exposure, and you handle the product with your strobe output. Those are two separate, controllable variables.
Step 6: Build Composition Around Vertical Variation
 Multiple boot products arranged at varying heights on the table
Jay P. makes one composition rule very clear: products in a straight horizontal line are visually flat. The eye needs something to travel along. He positions his boots at different heights, creating a rise and fall across the frame that gives the image movement.
Multiple boot products arranged at varying heights on the table
Jay P. makes one composition rule very clear: products in a straight horizontal line are visually flat. The eye needs something to travel along. He positions his boots at different heights, creating a rise and fall across the frame that gives the image movement.
For anyone shooting multiple products in a single frame, think of it as stacking. Some items lean. Some are upright. Some are slightly closer to camera, some further. You are building a small landscape out of your products. The background scenery behind them is already doing vertical work with hills or trees or architecture. Your product arrangement should echo that energy rather than fight it with a flat horizontal lineup.
What I Do Differently on My Own Location Shoots
The one thing I add to this workflow is a shade solution for the laptop itself, even after calibration. I use a foam-core hood I made for about four dollars. Three pieces taped into a three-sided box that sits around the laptop screen. It is not elegant, but it drops the glare dramatically and makes the calibrated screen even more reliable. I also do a second calibration if I move to a dramatically different part of a location or if the shoot runs long enough that the sun position changes significantly. Monitor calibration is not a one-and-done step when the ambient light is actively changing around you.
The single most important shift in this workflow is treating monitor calibration as a non-negotiable pre-shoot step rather than an afterthought. Every lighting decision, every exposure call, every composition check you make while tethered is only as reliable as the screen you are looking at. Get that right first, and the rest of the shoot has a foundation to stand on.
Watch the full tutorial on YouTube to see Jay P. run through the full Red Wing boots shoot from setup through final frame.