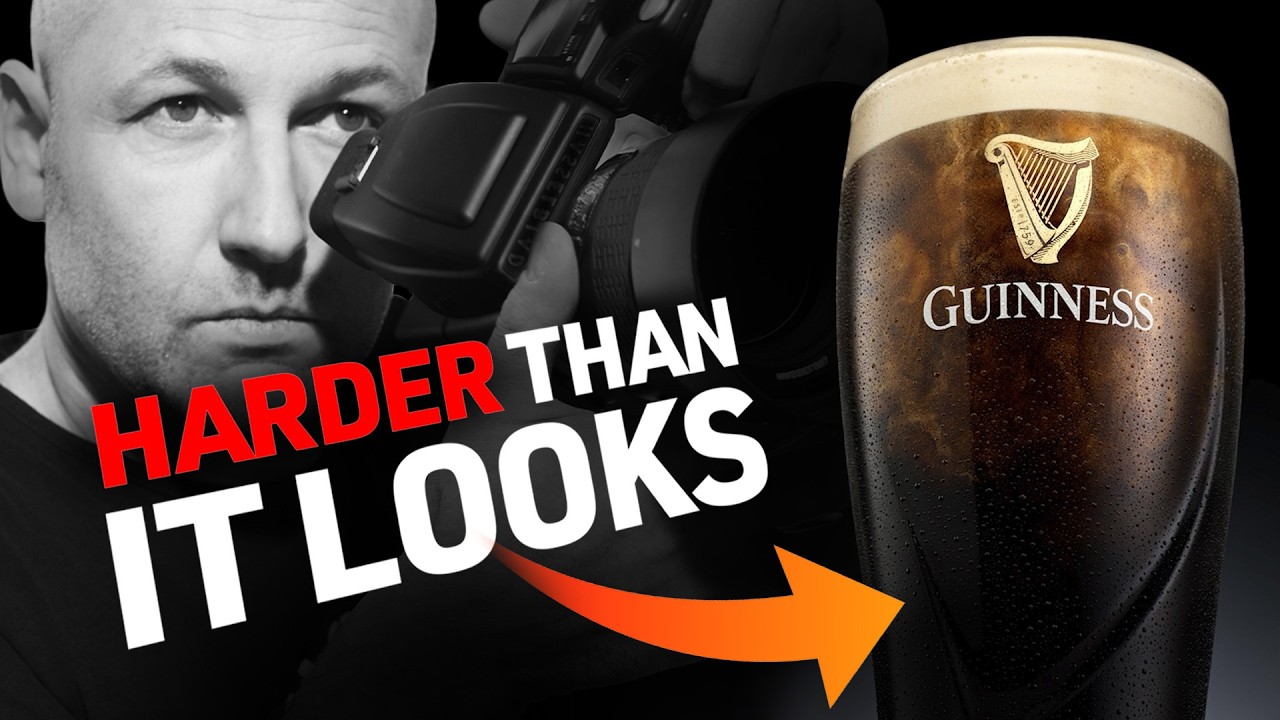
Why a Pint of Guinness Is the Ultimate Product Photography Teacher
There is a category of product photography that separates the technically competent from the genuinely skilled, and beverages sit right at the top of that list. Glass, liquid, condensation, motion, foam, and a brand mark that needs to read clearly — all at once, all in one frame. When a client sends me a brief for anything poured, I feel a familiar knot in my stomach, not from fear but from the sheer number of variables I know I need to control. That feeling is exactly why I keep coming back to this kind of challenge material.
In this Visual Education tutorial by KL Taylor — Watch the full tutorial on YouTube — the subject is a high-end advertising-style image of a pint of Guinness. What makes this tutorial genuinely worth your time is not the subject itself but the framework KL builds around it: most of the work happens before you ever pick up the camera. That idea sounds obvious until you actually watch someone apply it at this level, and then you realize how many shortcuts you have been taking in your own prep.
KL describes challenging other photographers to replicate this shot and then assessing their results. What separated the strong submissions from the weak ones was almost never camera skill. It was preparation, lighting consideration, and an understanding of the details that push an image from competent to editorial quality. That diagnosis is useful regardless of what you shoot.
Step 1: Study the Reference Image Before You Touch Any Gear
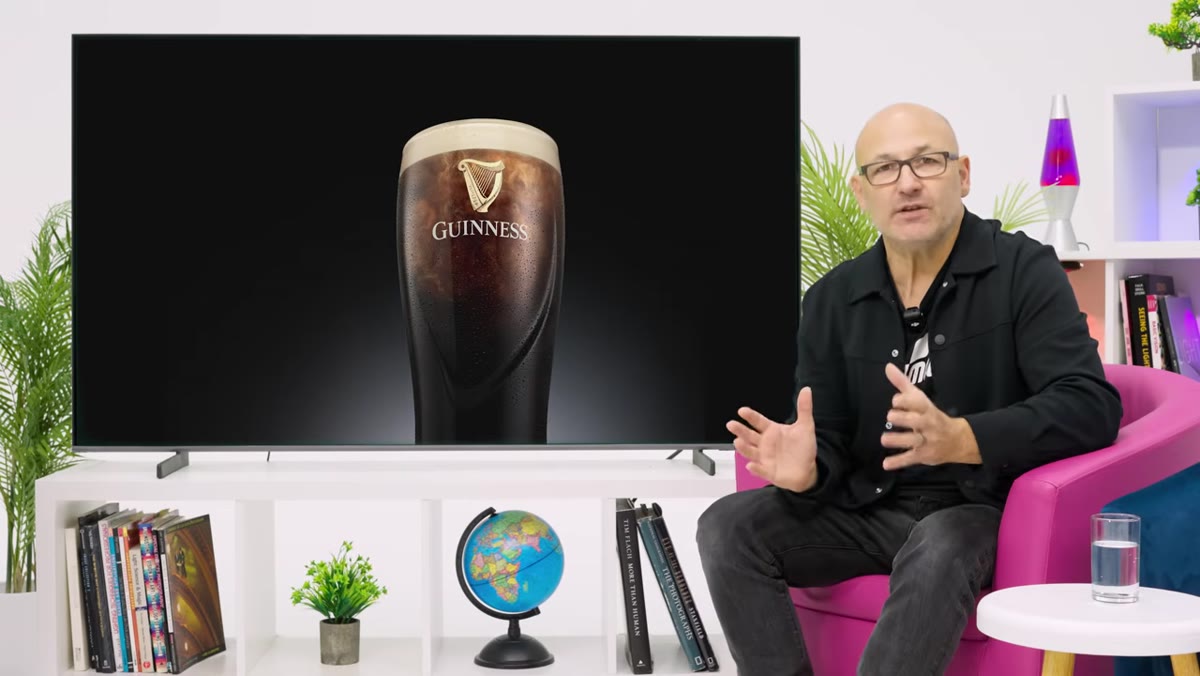 Reference Guinness pint advertising image on screen
Before anything is set up, KL spends time analyzing the finished target image the way an art director would brief a photographer. That means breaking it into specific zones: how light falls on the left side of the glass versus the right, how it tapers from top to bottom, how the brand label is illuminated separately from the body of the glass, and how the foam head at the top reads against the background.
Reference Guinness pint advertising image on screen
Before anything is set up, KL spends time analyzing the finished target image the way an art director would brief a photographer. That means breaking it into specific zones: how light falls on the left side of the glass versus the right, how it tapers from top to bottom, how the brand label is illuminated separately from the body of the glass, and how the foam head at the top reads against the background.
Do this with any challenging brief. Print it out or pull it up on a second monitor and annotate it. Draw arrows showing where you think the light sources are. Identify every surface that needs its own light treatment. This analysis phase is what turns a vague goal into a concrete shooting plan, and skipping it is the single most common reason a shoot runs over time.
Step 2: Choose Your Focal Length Deliberately
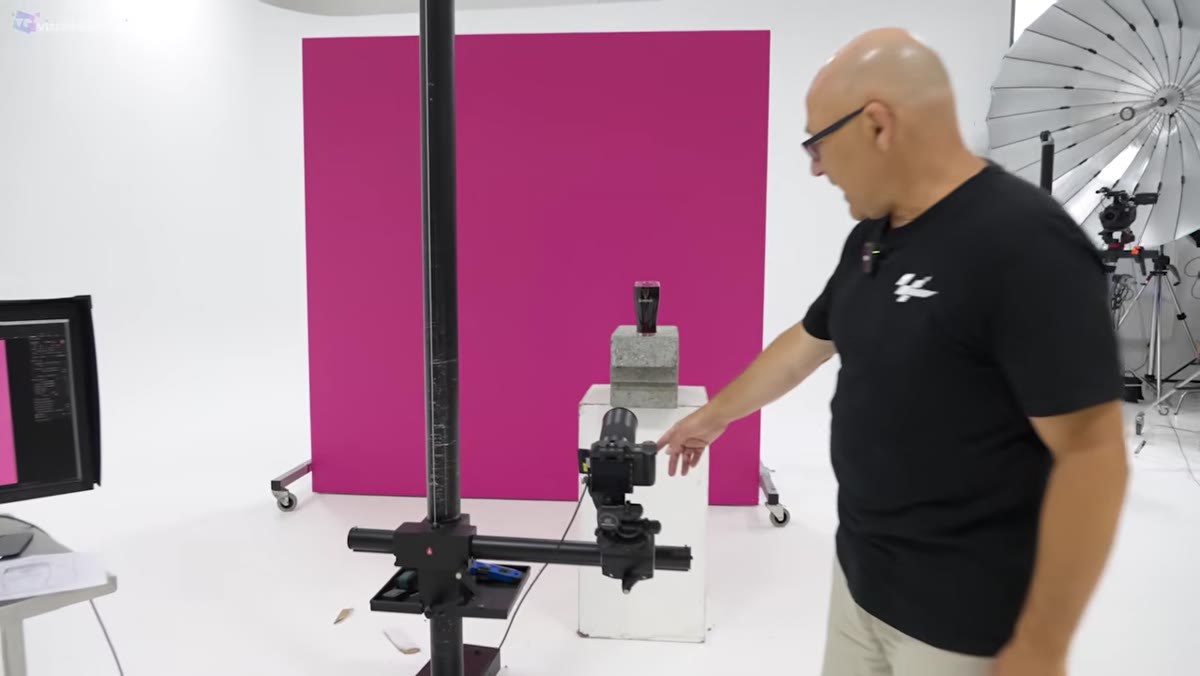 Camera and lens setup for the Guinness shot
KL used a 120mm focal length for this shot. That choice is not arbitrary. Longer focal lengths compress the scene, reduce perspective distortion on glassware, and keep the parallel lines of a pint glass actually parallel rather than converging at the edges. Wide lenses make glass bulge and distort, which reads as cheap even when the lighting is excellent.
Camera and lens setup for the Guinness shot
KL used a 120mm focal length for this shot. That choice is not arbitrary. Longer focal lengths compress the scene, reduce perspective distortion on glassware, and keep the parallel lines of a pint glass actually parallel rather than converging at the edges. Wide lenses make glass bulge and distort, which reads as cheap even when the lighting is excellent.
For e-commerce and product advertising work, focal lengths in the 85mm to 120mm range are the practical sweet spot for most table-top setups. If you are shooting on a crop sensor, account for the multiplication factor. The goal is to position yourself far enough from the product that the glass or object fills the frame without the lens introducing any curvature to straight edges.
Step 3: Prepare the Product and the Liquid Before You Shoot
 Preparation of glasses and liquid for the shoot
This is the step most photographers underestimate. KL describes spending significant time sourcing the right materials, prepping the glasses, and managing the liquid itself to achieve the right level of turbulence at the moment of capture. For a Guinness pour, that cascade effect inside the dark liquid is a specific, perishable moment. You have to know when to press the shutter.
Preparation of glasses and liquid for the shoot
This is the step most photographers underestimate. KL describes spending significant time sourcing the right materials, prepping the glasses, and managing the liquid itself to achieve the right level of turbulence at the moment of capture. For a Guinness pour, that cascade effect inside the dark liquid is a specific, perishable moment. You have to know when to press the shutter.
Preparation here means rehearsing the pour multiple times before you are actually shooting, so you understand the timing. It also means cleaning the glass obsessively — fingerprints and water spots will show up under studio light in ways they never would under ambient light. Have lint-free cloths, cotton gloves, and a can of compressed air within reach before the camera is ever switched on.
Step 4: Build a Graduated Lighting Setup, Not a Flat One
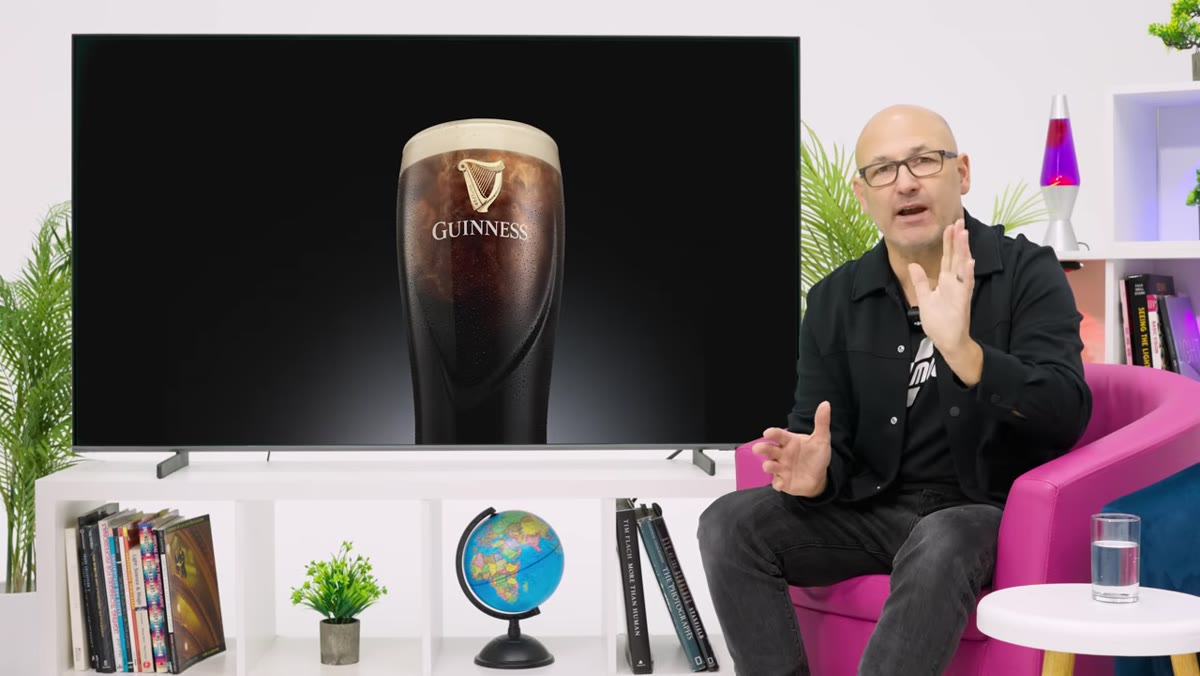 Lighting positioned left and right with controlled graduation
The lighting on this shot is doing several distinct jobs simultaneously, and KL is precise about the logic. There is a light source on the left of the glass and a separate one on the right, but neither is set to a uniform intensity across the full height of the glass. Both are graduated, brighter in the middle zone where you want the glass to glow and pulled back at the top and bottom to avoid overexposure on the foam and underfoot.
Lighting positioned left and right with controlled graduation
The lighting on this shot is doing several distinct jobs simultaneously, and KL is precise about the logic. There is a light source on the left of the glass and a separate one on the right, but neither is set to a uniform intensity across the full height of the glass. Both are graduated, brighter in the middle zone where you want the glass to glow and pulled back at the top and bottom to avoid overexposure on the foam and underfoot.
This kind of controlled falloff is what makes glassware feel three-dimensional rather than flat. A single soft box placed directly beside a glass will blow out the edges or leave the center gray. The technique involves either flagging your light source to control where the light hits, or using a narrower modifier like a strip box with a grid. The brand label also gets its own consideration — it needs enough light to be legible without washing out the contrast of the type.
Step 5: Add Condensation as a Deliberate Texture, Not an Afterthought
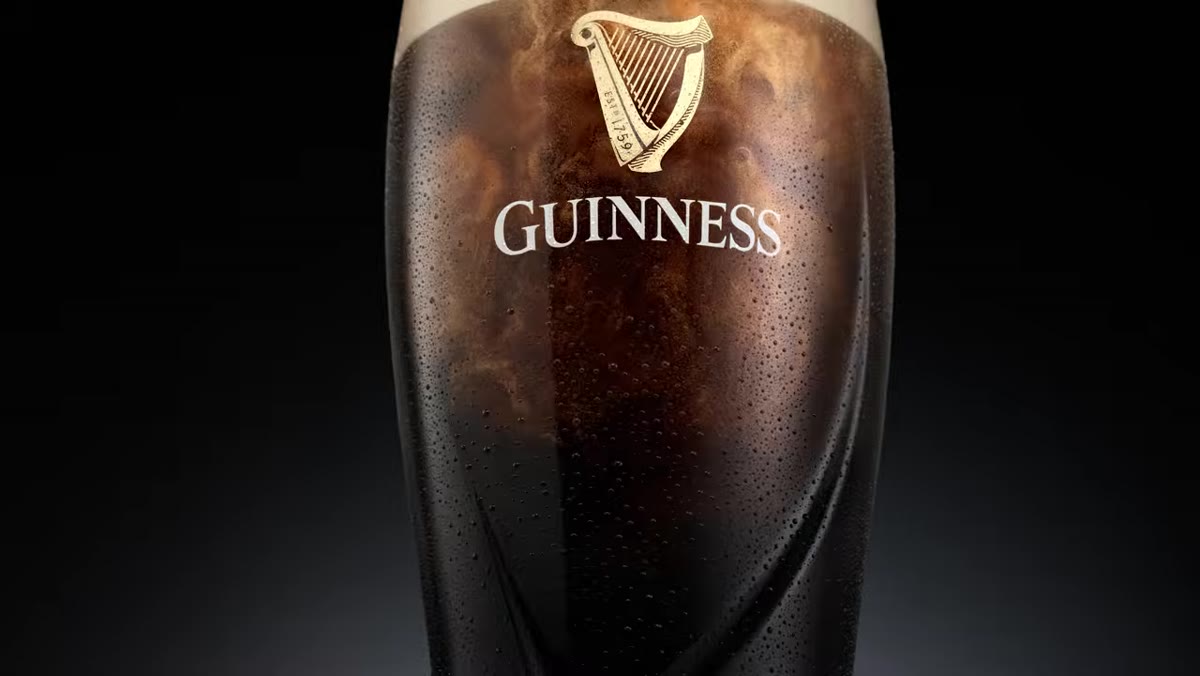 Condensation droplets visible on the glass surface
Condensation on a beverage glass is not just realistic detail — it is a signal to the viewer that the drink is cold, fresh, and desirable. KL calls this out specifically as one of the small details that elevate the shot to advertising quality. Achieving it in a controlled way means chilling the glass before the shoot and sometimes applying a fine mist of water with glycerin added, which makes the droplets cling to the glass longer and catch the light more visibly than plain water.
Condensation droplets visible on the glass surface
Condensation on a beverage glass is not just realistic detail — it is a signal to the viewer that the drink is cold, fresh, and desirable. KL calls this out specifically as one of the small details that elevate the shot to advertising quality. Achieving it in a controlled way means chilling the glass before the shoot and sometimes applying a fine mist of water with glycerin added, which makes the droplets cling to the glass longer and catch the light more visibly than plain water.
Test this on a spare glass under your actual lights before the product glass goes in. The droplets need to be visible in the lit frame, which means their position relative to your light sources matters. Side-lit condensation reads beautifully. Front-lit condensation often disappears.
Step 6: Keep Post-Production Targeted and Minimal
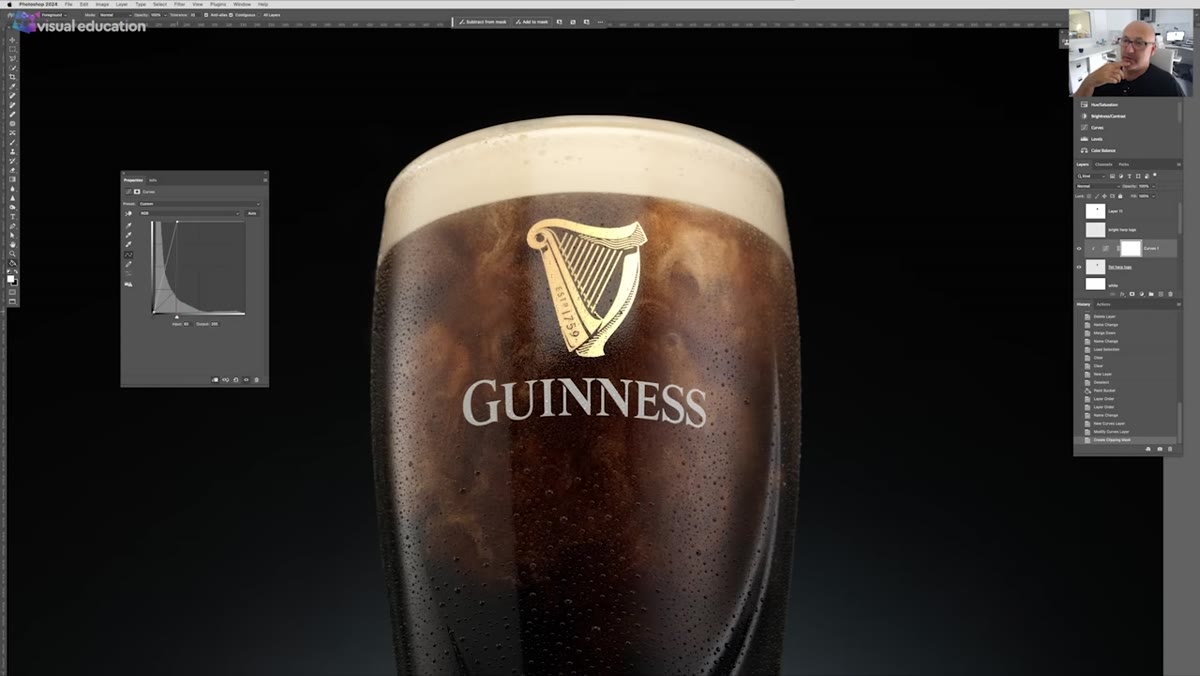 Minor post-production adjustments referenced on screen
KL describes the retouching on this image as relatively minor — its primary function is to bring together what was already built in camera. The lighting ratios, the condensation, the motion in the liquid — these were captured, not manufactured in post. Post-production here means cleaning up any remaining dust or smudges, refining the tonal balance on the glass edges, and making sure the background sits at exactly the right depth to push the product forward.
Minor post-production adjustments referenced on screen
KL describes the retouching on this image as relatively minor — its primary function is to bring together what was already built in camera. The lighting ratios, the condensation, the motion in the liquid — these were captured, not manufactured in post. Post-production here means cleaning up any remaining dust or smudges, refining the tonal balance on the glass edges, and making sure the background sits at exactly the right depth to push the product forward.
This is the correct order of operations. Shooting with the intention of fixing problems in post is how you end up with images that look retouched rather than real. Build it right, then use post to polish.
What I Would Add From My Own Experience
The framing around preparation in this tutorial resonates with something I have seen consistently: the shoots that feel chaotic are almost always the ones where I tried to skip the analysis phase because I thought I knew the shot well enough. I once walked into a glassware shoot for a small spirits brand thinking I had it covered, and I spent the first two hours just solving problems I should have anticipated the night before.
Now I keep a shot prep checklist on my phone that covers surface cleaning, liquid behavior testing, condensation method, and a rough lighting diagram. It takes twenty minutes to fill out and saves hours on set. For anyone shooting beverage or glassware products, that pre-shoot document is worth more than any single piece of equipment.
The real lesson from KL’s breakdown is that professional-level product photography is mostly a planning discipline with a photography component attached. When the preparation is thorough, the shooting itself becomes almost straightforward. Get your reference analysis, your lens choice, your lighting logic, and your product prep locked in before you trigger a single frame — and the camera will do the rest.
Watch the full tutorial on YouTube to see every step executed in real time, including the specific lighting positions and how KL handles the Guinness pour timing from start to finish.