What Commercial Food and Product Cinematographers Know That E-Commerce Photographers Don't
There is a specific kind of frustration that comes from knowing your product is good but watching it disappear in a sea of flat, forgettable listings. I spent years helping small business owners fix exactly that problem, and most of the time the gap between “looks homemade” and “looks like it belongs in a magazine” comes down to a handful of deliberate techniques that commercial photographers use on every single shoot. The interesting thing is that these techniques are not secret. They show up in behind-the-scenes footage, in cinematography tutorials, in filmmaker reaction videos. You just have to know how to translate them into a product photography context.
That translation is exactly what I want to do here. In this Peter McKinnon tutorial reaction video, Watch the full tutorial on YouTube, McKinnon breaks down behind-the-scenes footage from high-end commercials, pointing out the specific rigs, tricks, and camera moves that make those shots look so polished. Most of his examples are motion-based, but underneath each one is a principle that applies directly to still product photography. I watched this video three times taking notes, and I want to walk you through what actually matters for our world.
Step 1: Understand That “Real” Lighting Is Often Constructed Entirely From Scratch
 caption: Behind-the-scenes reveal of a “night scene” shot in daylight
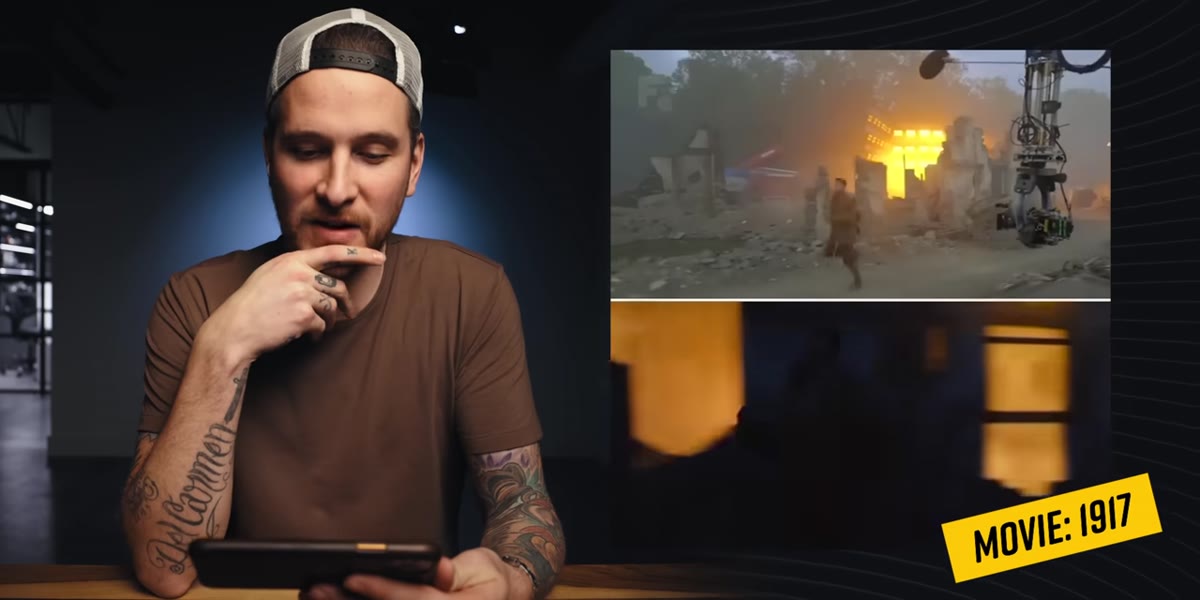
McKinnon flags a technique called “day for night” early in the video, where filmmakers shoot in full midday sun and then grade the footage to look like a dark, dramatic night scene. The lesson here is not about color grading. It is about the mindset: the scene you see in the final image has almost no relationship to the environment in which it was captured. Commercial photographers build their lighting entirely from intention, not circumstance. If you are still relying on the light coming through your window and hoping it cooperates, you are working backwards. Set up your key light first, decide what mood you want, and build every other light source around that decision. Even a single continuous LED panel with a diffusion panel in front of it gives you more control than any window will on a cloudy Tuesday.
caption: Behind-the-scenes reveal of a “night scene” shot in daylight
McKinnon flags a technique called “day for night” early in the video, where filmmakers shoot in full midday sun and then grade the footage to look like a dark, dramatic night scene. The lesson here is not about color grading. It is about the mindset: the scene you see in the final image has almost no relationship to the environment in which it was captured. Commercial photographers build their lighting entirely from intention, not circumstance. If you are still relying on the light coming through your window and hoping it cooperates, you are working backwards. Set up your key light first, decide what mood you want, and build every other light source around that decision. Even a single continuous LED panel with a diffusion panel in front of it gives you more control than any window will on a cloudy Tuesday.
Step 2: Use Camera Movement and Rig Angles to Create Perceived Scale
 caption: Low camera angle exaggerates jump height on finished film
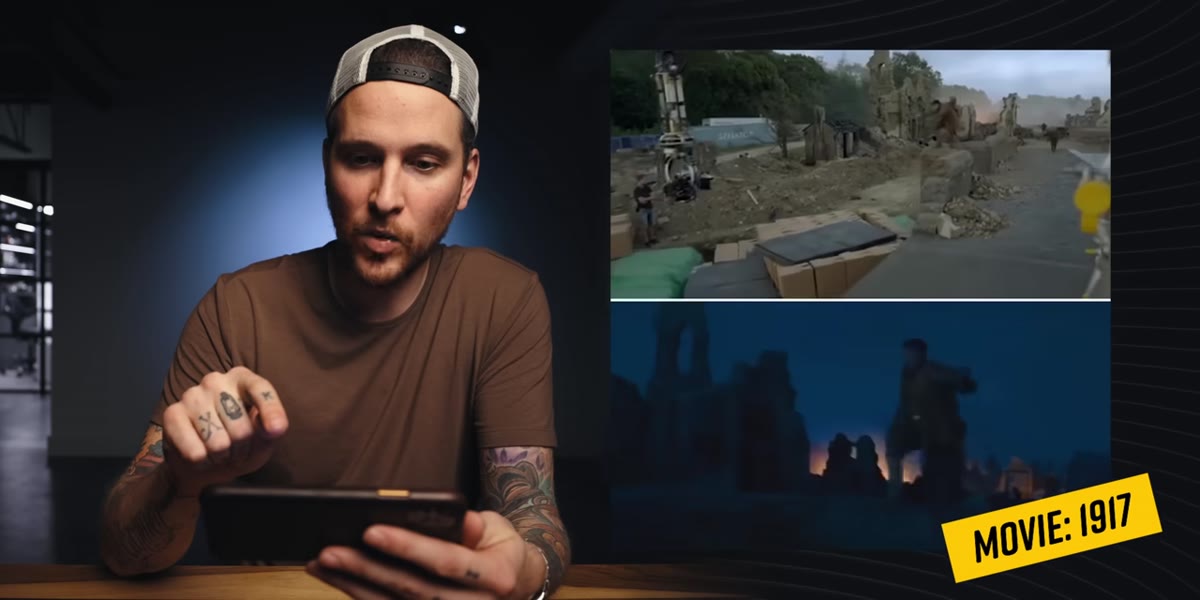
McKinnon spends time on a stunt sequence where the camera angle makes a two-foot jump look like a thirty-foot fall. The principle is straightforward: camera position shapes perceived scale, and scale creates drama. In product photography, this means shooting your product from a lower angle than feels natural. A perfume bottle shot from eye level looks like a perfume bottle. The same bottle shot from a slightly low angle, with the background falling off into a dark gradient, looks like a luxury object. Get your camera below the product’s midline, point it slightly upward, and see what happens to the perceived weight and importance of the subject.
caption: Low camera angle exaggerates jump height on finished film
McKinnon spends time on a stunt sequence where the camera angle makes a two-foot jump look like a thirty-foot fall. The principle is straightforward: camera position shapes perceived scale, and scale creates drama. In product photography, this means shooting your product from a lower angle than feels natural. A perfume bottle shot from eye level looks like a perfume bottle. The same bottle shot from a slightly low angle, with the background falling off into a dark gradient, looks like a luxury object. Get your camera below the product’s midline, point it slightly upward, and see what happens to the perceived weight and importance of the subject.
Step 3: Let the Camera Spin, Not Just Pan
 caption: Rotating camera rig creating vortex effect around product
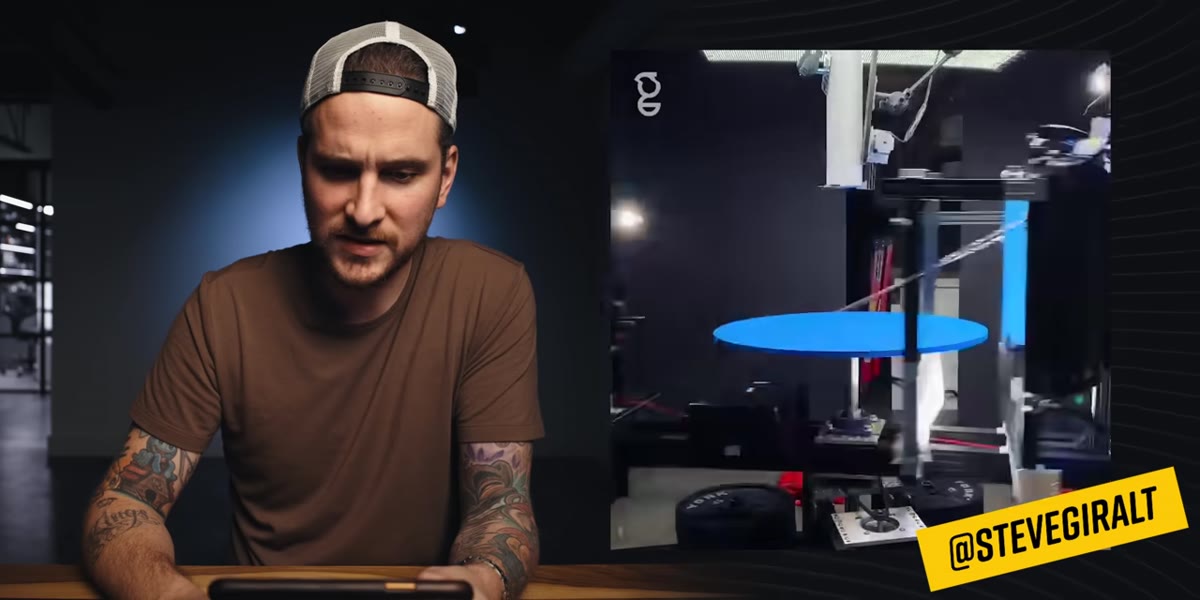
This one stopped me in my tracks when I first watched it. McKinnon reacts to a shot where the camera rig itself rotates around the product at speed, creating a swirling, almost hypnotic effect. For video product work on e-commerce platforms that support it, this is a genuinely differentiated move. But even for still photographers, the concept translates into something practical: circular motion paths. If you are doing any kind of product turntable photography, the axis of rotation matters enormously. Rotating the product on a flat plane is fine. Tilting the turntable slightly off horizontal, so the product rocks slightly as it rotates, creates a much more dynamic set of angles to choose your hero shot from. You are not locked into four cardinal directions.
caption: Rotating camera rig creating vortex effect around product
This one stopped me in my tracks when I first watched it. McKinnon reacts to a shot where the camera rig itself rotates around the product at speed, creating a swirling, almost hypnotic effect. For video product work on e-commerce platforms that support it, this is a genuinely differentiated move. But even for still photographers, the concept translates into something practical: circular motion paths. If you are doing any kind of product turntable photography, the axis of rotation matters enormously. Rotating the product on a flat plane is fine. Tilting the turntable slightly off horizontal, so the product rocks slightly as it rotates, creates a much more dynamic set of angles to choose your hero shot from. You are not locked into four cardinal directions.
Step 4: Use a Probe Lens for Macro Product Detail Shots
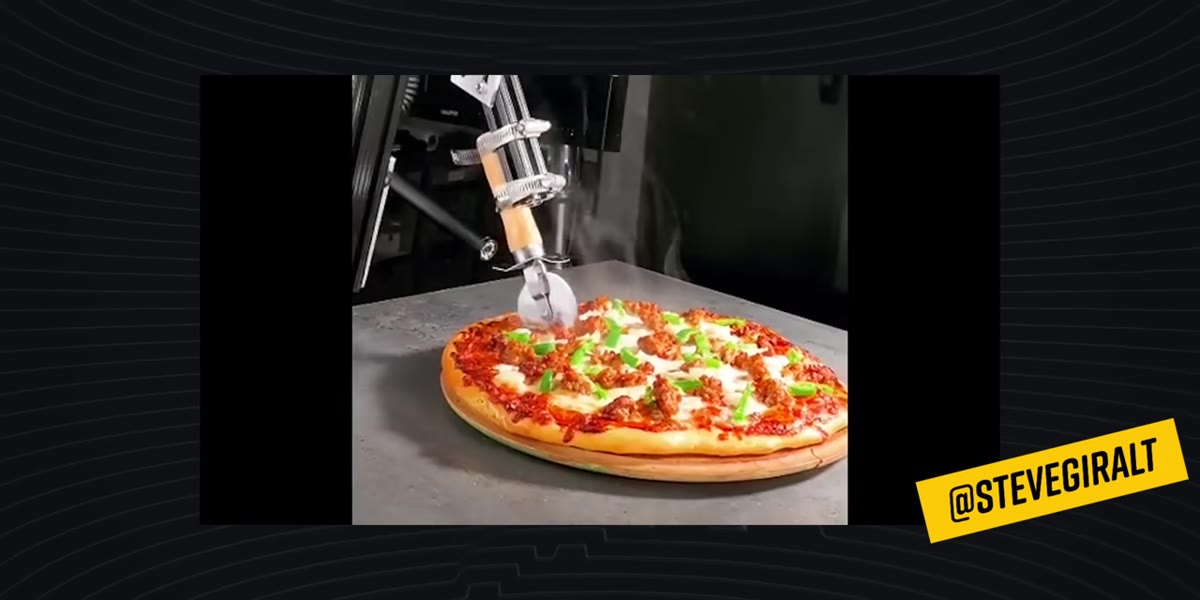 caption: Probe lens traveling through cheese pull on pizza shot
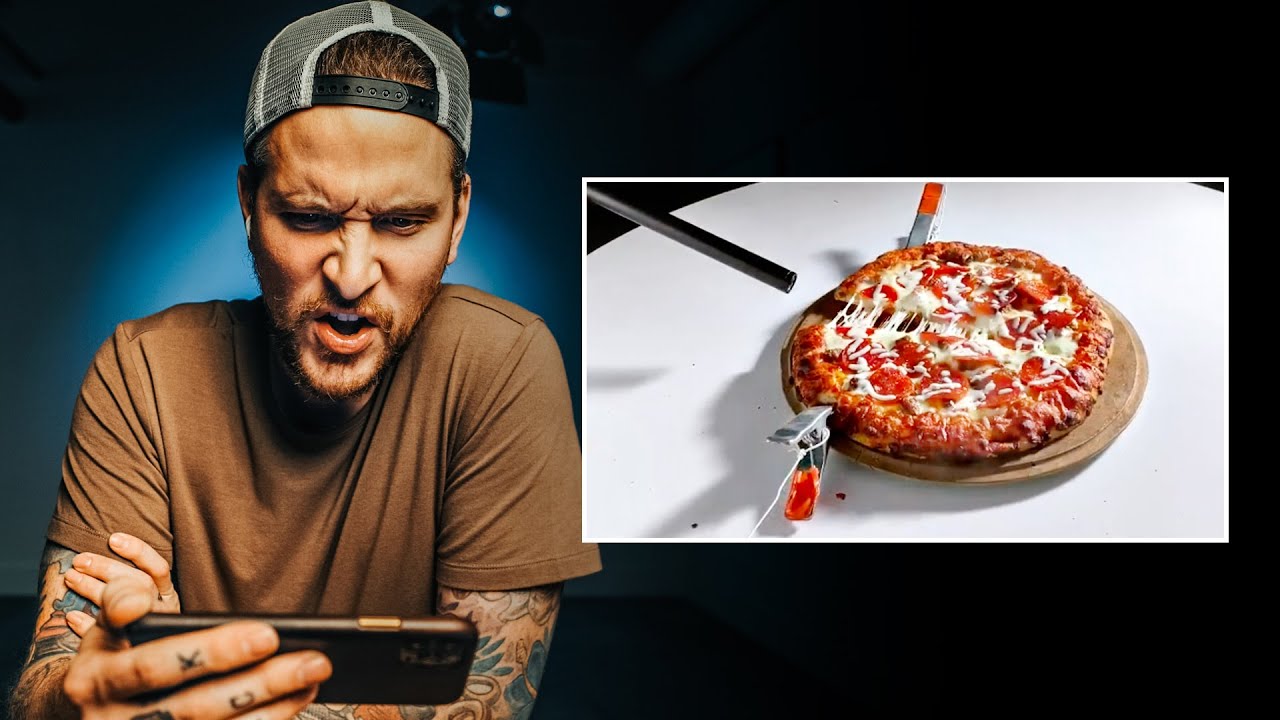
McKinnon and the footage he is reacting to show a lens moving through a cheese pull on a pizza, getting inside the food itself. The tool responsible for that shot is a probe lens, sometimes called an insect lens or a periscope lens. For product photographers shooting jewelry, cosmetics, textiles, or anything with fine detail, a probe lens is one of the most underused tools available. You can rent one for a day shoot for far less than you would expect. The extreme depth compression and the ability to get physically inside your subject, right up against a gemstone setting or inside the mouth of a perfume bottle, produces images that are genuinely impossible to achieve with a standard macro lens. When I started using one for jewelry work, the detail shots I got in a single afternoon became the strongest images in the entire catalog.
caption: Probe lens traveling through cheese pull on pizza shot
McKinnon and the footage he is reacting to show a lens moving through a cheese pull on a pizza, getting inside the food itself. The tool responsible for that shot is a probe lens, sometimes called an insect lens or a periscope lens. For product photographers shooting jewelry, cosmetics, textiles, or anything with fine detail, a probe lens is one of the most underused tools available. You can rent one for a day shoot for far less than you would expect. The extreme depth compression and the ability to get physically inside your subject, right up against a gemstone setting or inside the mouth of a perfume bottle, produces images that are genuinely impossible to achieve with a standard macro lens. When I started using one for jewelry work, the detail shots I got in a single afternoon became the strongest images in the entire catalog.
Step 5: Break Your Shots Into Layered Components and Composite Them
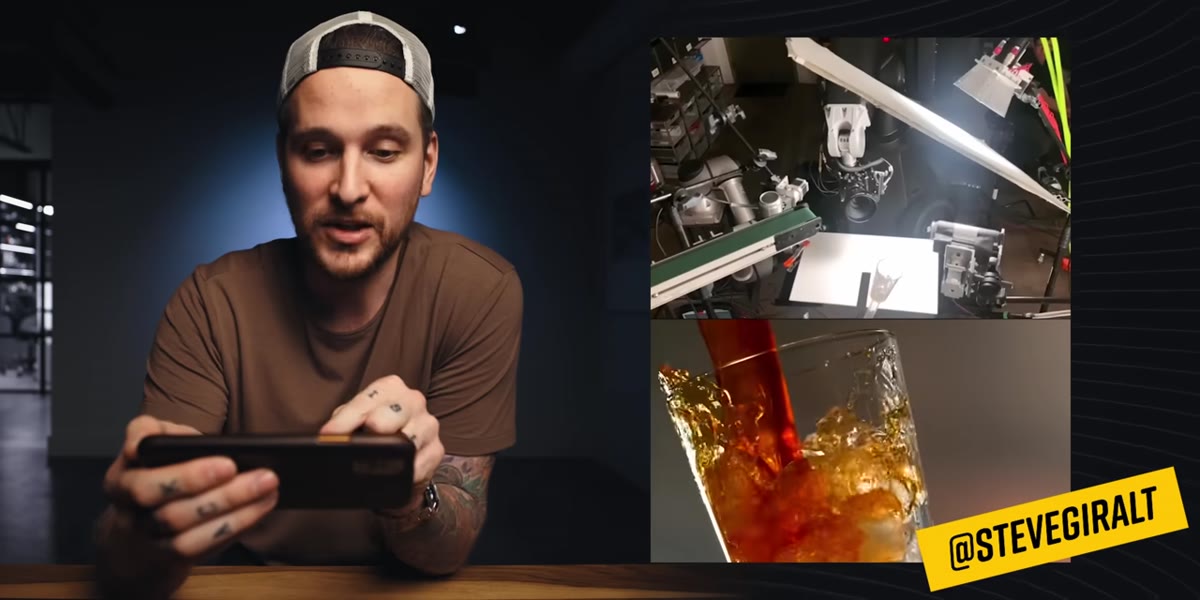 caption: Coffee surface placed underneath floating liquid in post
One of the most useful moments in the video is McKinnon pointing out that a beautiful coffee pour shot was not captured in a single take. The liquid, the cream cloud, and the surface were assembled as separate elements. The cup was floating in mid-frame. Then the saucer was physically slid in underneath it in camera, so the final frame reads as a complete, naturally composed scene. This is standard practice in high-end food and beverage photography, and it should be in your toolkit too. Shoot your product. Shoot your background separately. Shoot your reflections and shadow passes separately. When you composite them in Photoshop or Lightroom, you have control over every element independently, which means you can fix the shadow without rehooting the product, or swap the background color without changing your lighting setup.
caption: Coffee surface placed underneath floating liquid in post
One of the most useful moments in the video is McKinnon pointing out that a beautiful coffee pour shot was not captured in a single take. The liquid, the cream cloud, and the surface were assembled as separate elements. The cup was floating in mid-frame. Then the saucer was physically slid in underneath it in camera, so the final frame reads as a complete, naturally composed scene. This is standard practice in high-end food and beverage photography, and it should be in your toolkit too. Shoot your product. Shoot your background separately. Shoot your reflections and shadow passes separately. When you composite them in Photoshop or Lightroom, you have control over every element independently, which means you can fix the shadow without rehooting the product, or swap the background color without changing your lighting setup.
Step 6: Respect the Time a Single Hero Shot Actually Requires
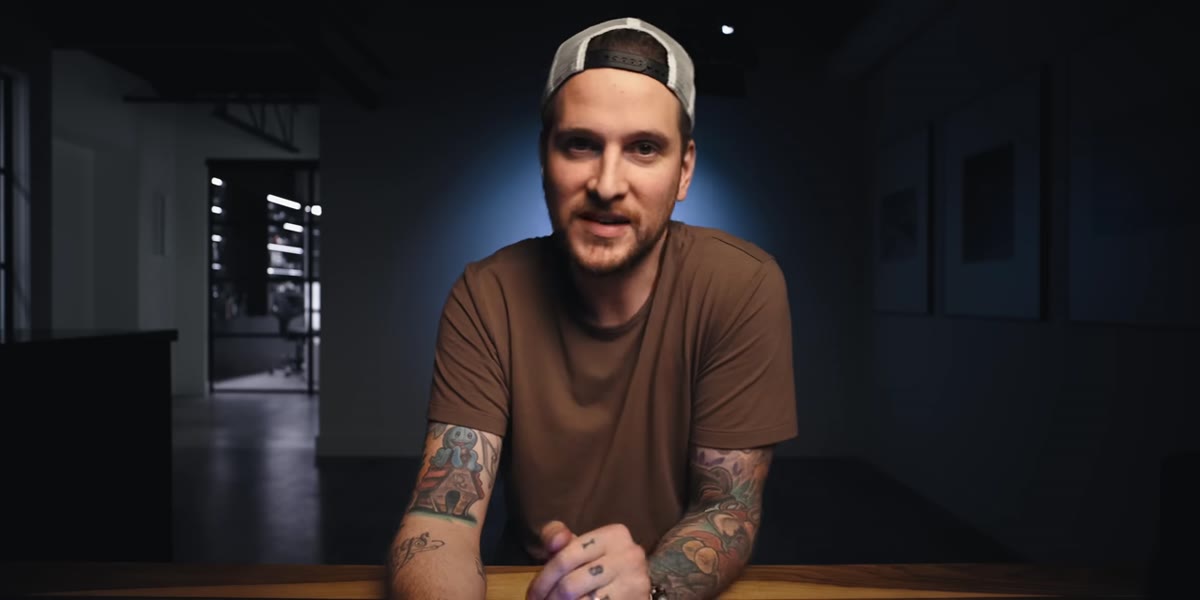 caption: Multiple days of setup described for one commercial shot
McKinnon mentions, almost in passing, that a single shot in a Steve Giralt commercial can take days of preparation and iteration to get exactly right. This is not a complaint. It is a professional standard. In e-commerce photography, there is enormous pressure to shoot fast, to clear product, to move on. I understand that pressure because I have shot two hundred products in a day for a startup launch. But the images that have actually changed outcomes for my clients, the ones that doubled a conversion rate, were never the fast ones. They were the shots where I built a rig, tested it, rebuilt it, and tested it again. Give your hero shot the time it deserves. Pick one image per product to treat like a commercial photographer would, and let the rest of the catalog be functional.
caption: Multiple days of setup described for one commercial shot
McKinnon mentions, almost in passing, that a single shot in a Steve Giralt commercial can take days of preparation and iteration to get exactly right. This is not a complaint. It is a professional standard. In e-commerce photography, there is enormous pressure to shoot fast, to clear product, to move on. I understand that pressure because I have shot two hundred products in a day for a startup launch. But the images that have actually changed outcomes for my clients, the ones that doubled a conversion rate, were never the fast ones. They were the shots where I built a rig, tested it, rebuilt it, and tested it again. Give your hero shot the time it deserves. Pick one image per product to treat like a commercial photographer would, and let the rest of the catalog be functional.
What I Do Differently After Watching This
The biggest shift this video reinforced for me was treating the product as a prop in a constructed world rather than an object sitting on a surface. Every commercial shoot McKinnon reacts to has one thing in common: total environmental control. Nothing in the frame is accidental. I now spend the first fifteen minutes of any product shoot just building the set and lighting it without the product in frame at all. I want to love what I see in the viewfinder before the product enters the picture. When the environment is already working, the product almost places itself.
The single most transferable idea from this video is simple: the final image and the capture environment have nothing to do with each other. Commercial photographers build the image they want and then figure out how to capture it. Most of us work the other way around. Flip that sequence, and your results will follow.
Watch the full tutorial on YouTube and pay attention to the setups behind each shot. The magic is always in the rig, not the edit.