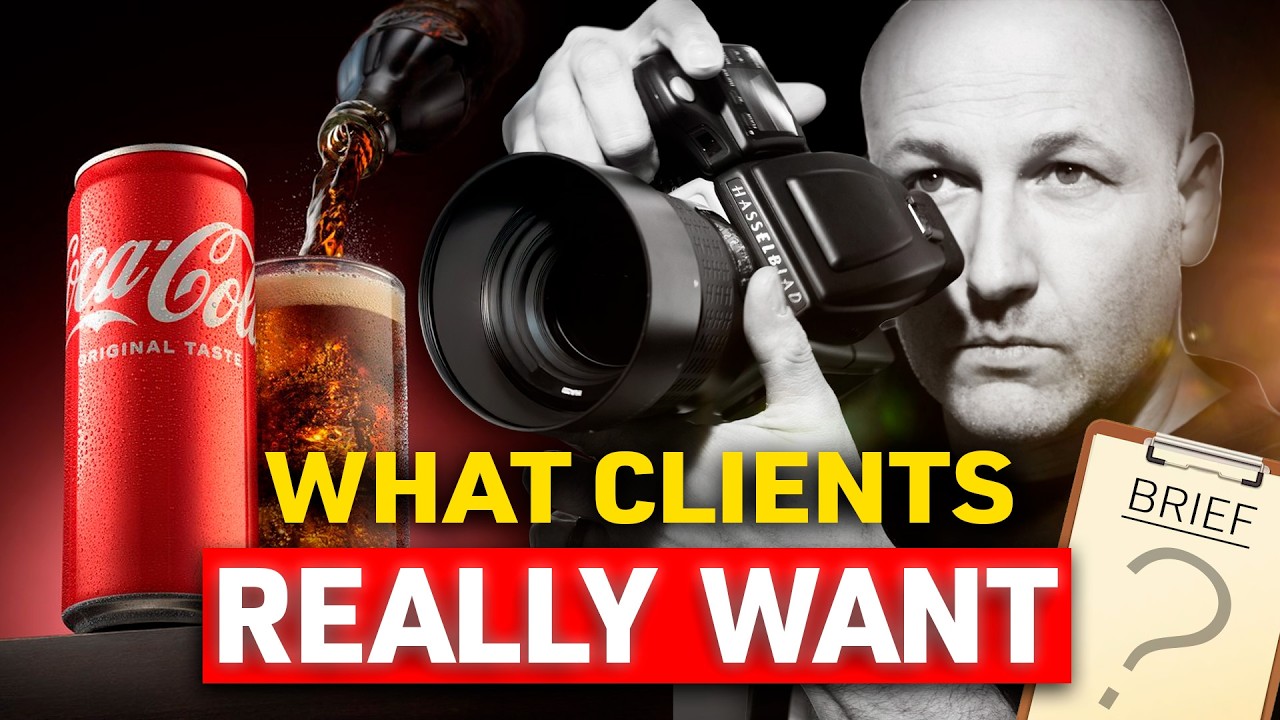
What Commercial Clients Actually Expect From Your Product Photos (And Why Most Photographers Get It Wrong)
When I started shooting products for small brands, I assumed the work began when I picked up my camera. A client would send me a box of items, I’d set up my lightbox, and I’d deliver something clean and well-lit. That felt like the job. It took a few years, and a few expensive misses, before I understood that the real work starts long before the shutter clicks. The brief isn’t just a checklist. It’s the entire creative contract between what a brand needs and what lands in front of their customer.
This realization hit harder after watching Karl Taylor’s breakdown of how commercial photography actually functions. Watch the full tutorial on YouTube before or after reading this. What he describes in this Visual Education tutorial isn’t just theory. It maps directly onto why some of my shoots have felt effortless and why others felt like I was guessing in the dark.
The core problem he identifies is one I’ve seen play out constantly with small business owners who come to me after a bad experience with another photographer. The photographer showed up, did their thing, delivered “nice” images, and the client was quietly disappointed. Nobody had done the foundational work of asking what those images were actually supposed to accomplish. Here’s how to break that cycle, using his framework as a guide.
Step 1: Understand That the Brief Exists Before You’re Even Hired
 Karl explaining brand planning happens before photographer is contacted
Most photographers think the creative process starts with them. In reality, by the time a brand reaches out to book a shoot, they’ve already made dozens of decisions that will shape every frame you capture. A company launching a new product has been working through market research, audience definitions, and campaign strategy, often for months. Your job is to execute a vision that already exists, not to invent one.
Karl explaining brand planning happens before photographer is contacted
Most photographers think the creative process starts with them. In reality, by the time a brand reaches out to book a shoot, they’ve already made dozens of decisions that will shape every frame you capture. A company launching a new product has been working through market research, audience definitions, and campaign strategy, often for months. Your job is to execute a vision that already exists, not to invent one.
When I work with a new client, I ask early on: “What decisions have already been made about how this product should feel?” That question alone changes the tone of the whole conversation. It signals that I understand there’s a larger strategy, and it gets them talking about things they might not have thought to share unprompted.
Step 2: Map the Target Audience Before You Plan a Single Shot
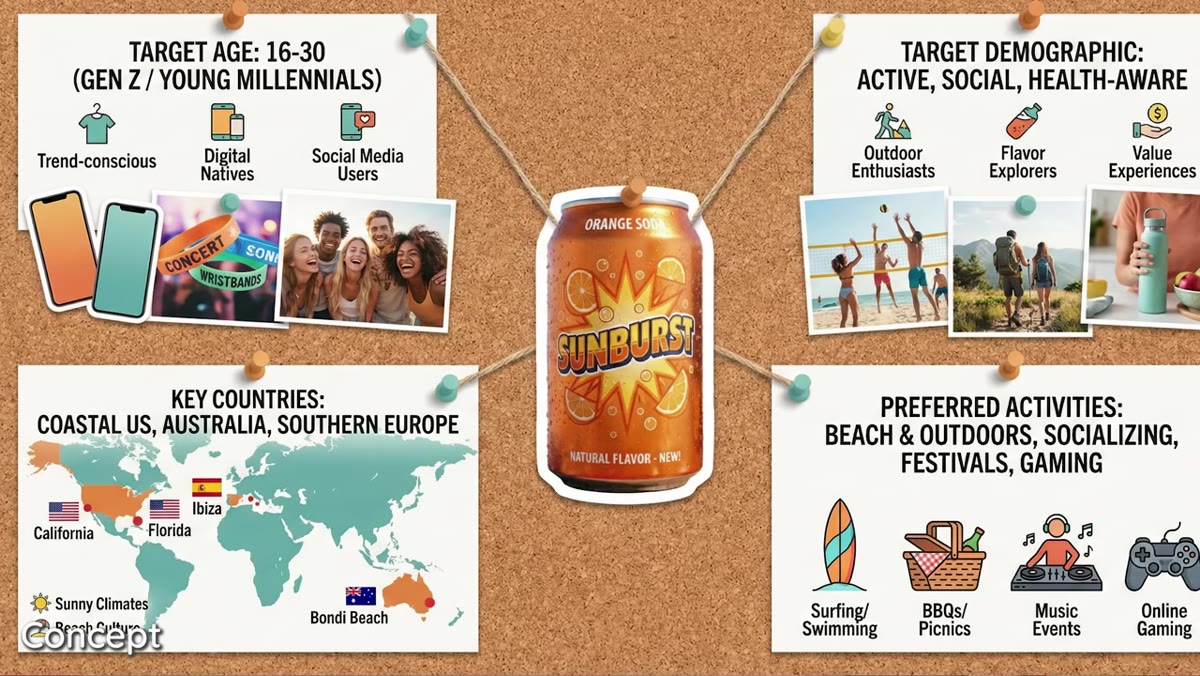 Diagram or discussion of age groups and demographic targeting
Karl uses a soft drink launch as his example, and it’s a perfect one because the visual language for a drink aimed at 13-to-17-year-olds is completely different from one targeting 25-to-35-year-olds. Age, geography, lifestyle, the platforms they use, the events they attend. All of that feeds directly into lighting choices, background selection, color palette, and whether the product is shot in isolation or in a context with lifestyle elements.
Diagram or discussion of age groups and demographic targeting
Karl uses a soft drink launch as his example, and it’s a perfect one because the visual language for a drink aimed at 13-to-17-year-olds is completely different from one targeting 25-to-35-year-olds. Age, geography, lifestyle, the platforms they use, the events they attend. All of that feeds directly into lighting choices, background selection, color palette, and whether the product is shot in isolation or in a context with lifestyle elements.
Before I plan a lighting setup for any e-commerce client, I ask who is actually buying this product. If they say “everyone,” I push back. “Everyone” is not a brief. A candle brand selling to wellness-focused women in their 30s gets soft, warm, diffused light and negative space. That same candle positioned as a home decor statement piece for interior design enthusiasts gets something more architectural, harder shadows, styled context. Same product. Completely different image.
Step 3: Study the Brand’s Visual Territory, Not Just Their Product
 Red Bull sponsorships mentioned as example of brand positioning
Karl’s Red Bull example is sharp. That brand didn’t just pick a logo color and hope for the best. They identified an emotional territory, high energy, extreme action, physical limits, and then they made every visual and sponsorship decision point toward that territory. The photography had to live inside that world or it would feel wrong even if it was technically excellent.
Red Bull sponsorships mentioned as example of brand positioning
Karl’s Red Bull example is sharp. That brand didn’t just pick a logo color and hope for the best. They identified an emotional territory, high energy, extreme action, physical limits, and then they made every visual and sponsorship decision point toward that territory. The photography had to live inside that world or it would feel wrong even if it was technically excellent.
When I take on a new client, I spend time on their Instagram, their competitors’ feeds, and their aspirational references before I shoot a single test frame. I keep a Pinterest board organized by color and mood, and I’ll often build out a small reference board specifically for each client. This isn’t decoration. It’s how I make sure my lighting choices, my angles, and my styling decisions are speaking the same visual language the brand is already using or is trying to reach.
Step 4: Recognize the Difference Between “Nice Photos” and “Photos That Work”
 Karl describing the naive expectation that clients want pretty pictures
This is the sharpest point in the whole tutorial and the one I wish someone had told me earlier. A client isn’t hiring you to make something pretty. They’re hiring you to move product, build brand recognition, or drive clicks. “Pretty” is a byproduct of good commercial photography, not the goal. When you understand that, every decision gets sharper.
Karl describing the naive expectation that clients want pretty pictures
This is the sharpest point in the whole tutorial and the one I wish someone had told me earlier. A client isn’t hiring you to make something pretty. They’re hiring you to move product, build brand recognition, or drive clicks. “Pretty” is a byproduct of good commercial photography, not the goal. When you understand that, every decision gets sharper.
I once delivered a set of images for a skincare client that I was genuinely proud of. Clean, minimal, great light. The client was lukewarm. After some back and forth, the issue was that my images felt like spa photography, and their brand was positioned as science-backed and clinical. I’d solved the wrong visual problem. Now I have a one-page questionnaire I send before every shoot that forces the client to articulate the emotion they want a customer to feel when they see the product. That one shift has saved me from three or four similar disconnects.
Step 5: Treat the Brief as a Living Document, Not a Starting Checklist
 Discussion of how research feeds into campaign planning
A brief isn’t something you read once and set aside. The best commercial shoots I’ve been part of involved ongoing reference to the brief throughout prep, on the day, and during selects. When a lighting option looks interesting but feels off, I go back to the brief. Does this serve the audience we defined? Does this fit the visual territory we mapped? If the answer is unclear, I don’t chase the interesting option just because it’s visually compelling.
Discussion of how research feeds into campaign planning
A brief isn’t something you read once and set aside. The best commercial shoots I’ve been part of involved ongoing reference to the brief throughout prep, on the day, and during selects. When a lighting option looks interesting but feels off, I go back to the brief. Does this serve the audience we defined? Does this fit the visual territory we mapped? If the answer is unclear, I don’t chase the interesting option just because it’s visually compelling.
For e-commerce clients working with smaller budgets, a brief doesn’t need to be a formal agency document. It can be a one-paragraph email where the client describes their customer, their competitors, and one image they love and one they hate. That’s enough to work from. What matters is that it exists before the shoot starts, not after.
How I Apply This With Small Business Clients
The framework Karl describes is built for large-scale campaigns with agency budgets. But the underlying logic applies equally to a maker selling handmade earrings on Etsy or a small food brand launching a new hot sauce. Every product exists inside a market, and every buyer has a visual language they respond to. When I helped a family member update the photos for a small jewelry business, the work wasn’t just about better lighting. It was about identifying who was buying those pieces, what those buyers were drawn to visually, and making images that spoke directly to that person. The lighting was the easy part. The brief work is what made the difference.
The single most important thing Karl Taylor makes clear in this tutorial is that your camera is the last step in a long chain of decisions, not the first. Understanding what happened in that chain, and why, is what separates a photographer who delivers nice images from one who delivers results.
Watch the full tutorial on YouTube to hear Karl walk through the complete commercial brief process in his own words.