What a 36-Pair Glasses Shoot Taught Me About High-Volume Product Photography
There is a specific kind of dread that hits when a client sends you a spreadsheet. Not a mood board, not a creative brief. A spreadsheet. With 36 rows. Each row is a product. Each product needs to look identical to the last, perfectly lit, no variation, no excuses. I know that feeling well. Before I figured out how to systematize a high-volume shoot, I used to rebuild my lighting setup from scratch between products and wonder why nothing matched by the end of the day.
That is exactly why I kept coming back to this vlog from Visual Education. Watch the full tutorial on YouTube — it follows Ashleigh, a new assistant at Karl Taylor Education, through her very first week on the job. The centerpiece of that week is a commercial product shoot for Specsavers, where the team photographs batch after batch of eyewear under a complex, purpose-built lighting setup. It is not a lighting masterclass in the traditional sense. There are no slow-motion breakdowns or gear lists read aloud to camera. What you get instead is something rarer: an unfiltered look at how a working commercial studio actually operates when the client needs 60-plus consistent product shots delivered.
If you shoot products for e-commerce, even at a small scale, the lessons here are directly transferable. Here is how I would break down what they do.
Step 1: Treat the Set Like a Permanent Fixture
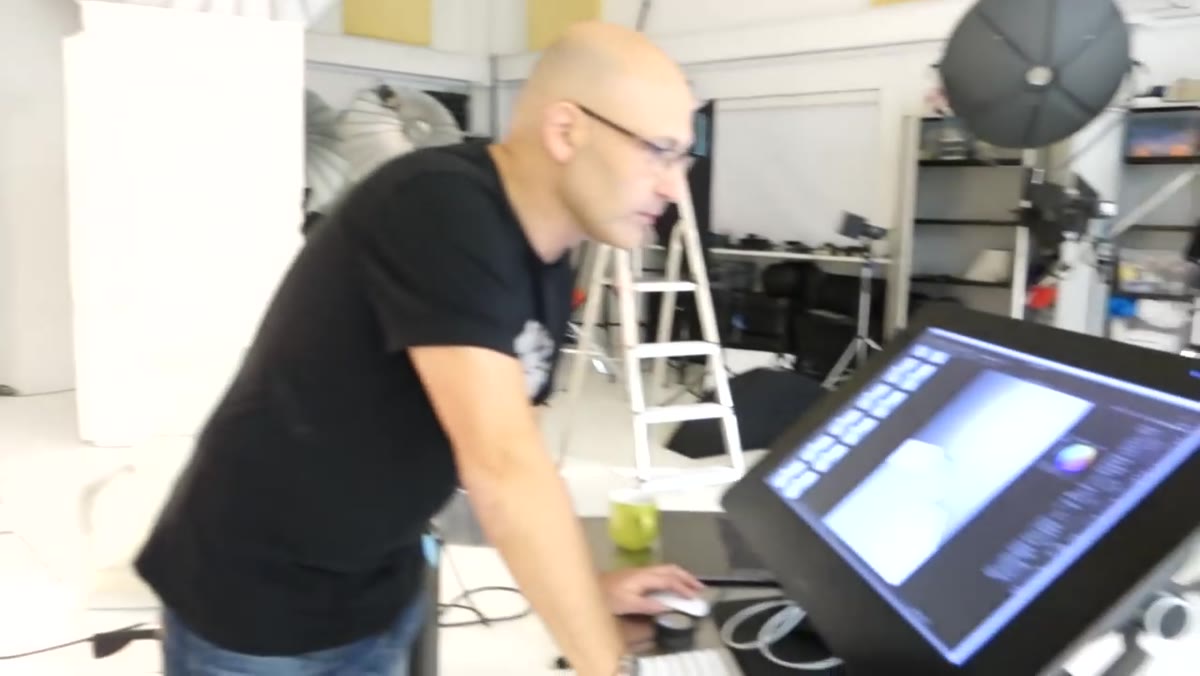 Karl showing Ashleigh the scale of the Specsavers product set
Before a single frame is captured, the team builds a set that will not move for the entire batch. Karl walks Ashleigh through the setup and the first thing that stands out is scale — a relatively large studio footprint dedicated to photographing a tiny object. This is not waste. This is precision. When you are shooting 30 or 60 pairs of glasses with consistent angles and consistent light, any flex in the set between shots compounds into a continuity nightmare in post. Lock the set down before you shoot anything.
Karl showing Ashleigh the scale of the Specsavers product set
Before a single frame is captured, the team builds a set that will not move for the entire batch. Karl walks Ashleigh through the setup and the first thing that stands out is scale — a relatively large studio footprint dedicated to photographing a tiny object. This is not waste. This is precision. When you are shooting 30 or 60 pairs of glasses with consistent angles and consistent light, any flex in the set between shots compounds into a continuity nightmare in post. Lock the set down before you shoot anything.
For small business photographers, this translates directly: even if your set is a 24-inch lightbox on your kitchen counter, treat it as fixed infrastructure for the duration of a product batch. Do not move the box, the lights, or the camera. Swap only the product.
Step 2: Use C-Stands to Solve Impossible Angles
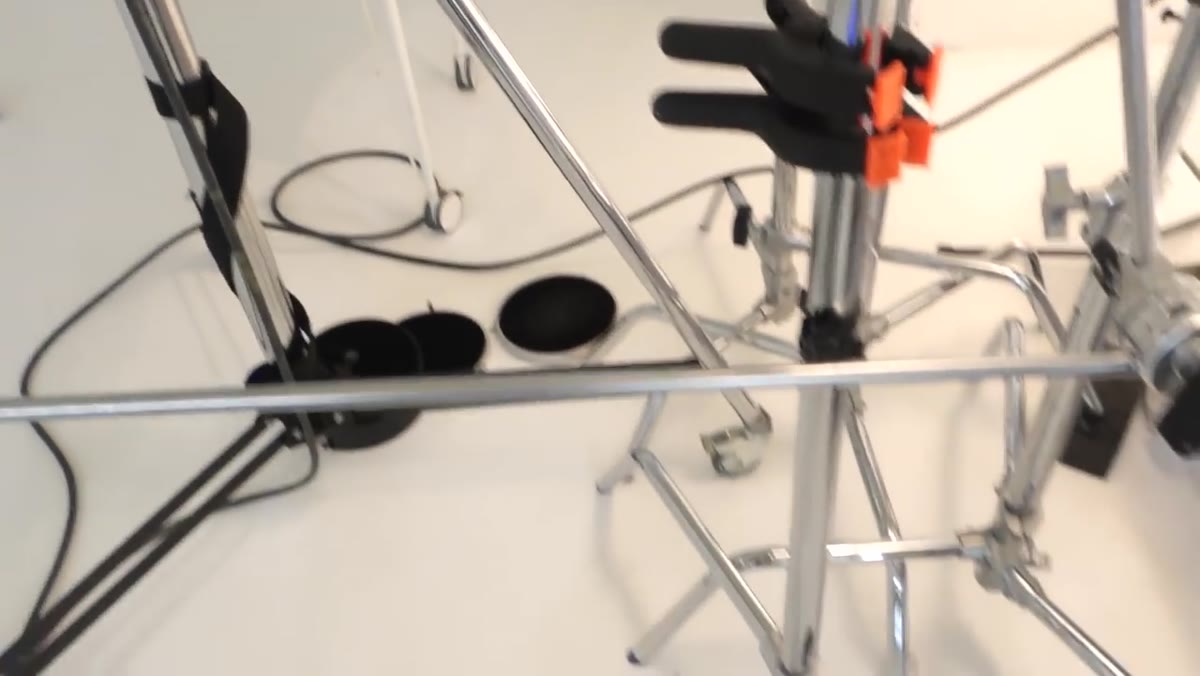
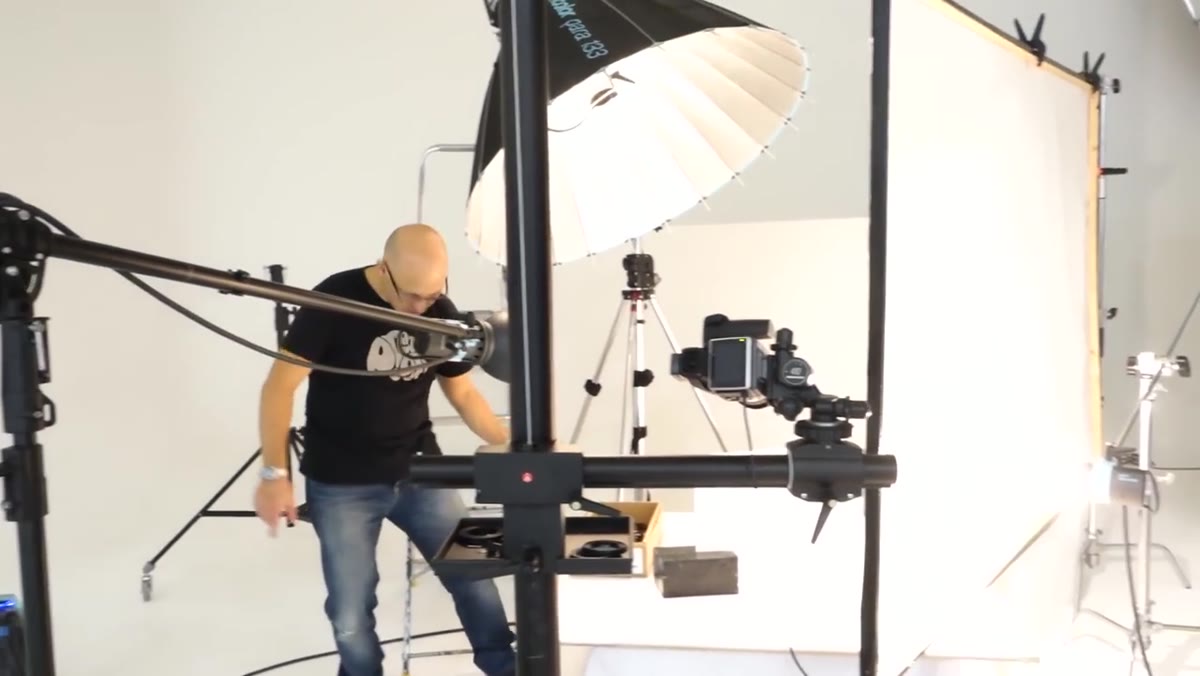
 Multiple c-stands holding reflectors or flags around small product
The video gives a glimpse of something that makes a lot of newer photographers laugh: a small forest of C-stands surrounding one tiny pair of glasses. Karl describes needing four C-stands just to hold the flags and reflectors required to control light on a single product. That ratio sounds absurd until you try to photograph something with a reflective surface, curved lenses, and metal hardware all in the same frame.
Multiple c-stands holding reflectors or flags around small product
The video gives a glimpse of something that makes a lot of newer photographers laugh: a small forest of C-stands surrounding one tiny pair of glasses. Karl describes needing four C-stands just to hold the flags and reflectors required to control light on a single product. That ratio sounds absurd until you try to photograph something with a reflective surface, curved lenses, and metal hardware all in the same frame.
C-stands let you place modifiers exactly where you need them without touching the product or the camera. For eyewear specifically, you are fighting lens reflections, frame glare, and nose-pad shadows all at once. Each C-stand in that setup is solving one specific problem. When you are planning your own shoot, do not ask “how many lights do I need?” — ask “how many surfaces do I need to control?” That answer tells you how many grip tools you actually need on set.
Step 3: Test One, Then Lock Settings Before the Full Batch
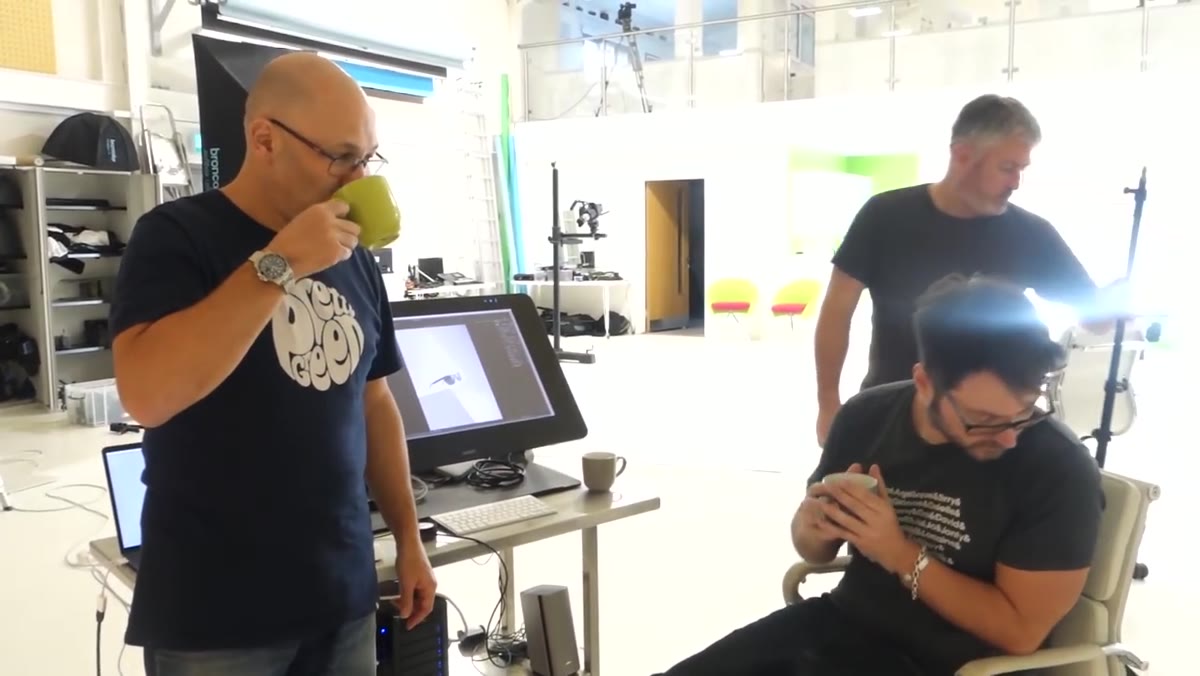
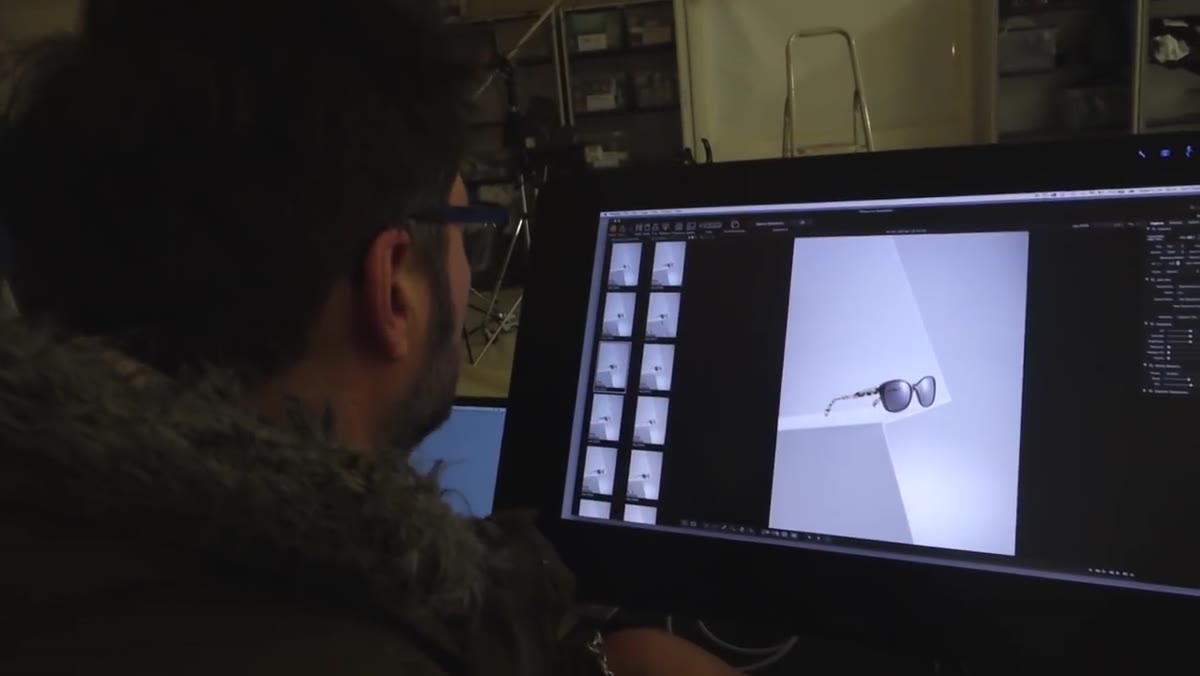
 Karl showing Ashleigh a test shot result on a monitor
The team tests a single pair of glasses and reviews the result before moving into the full run of 36. This is the step most solo e-commerce photographers skip because it feels slow. It is not slow. It is the only reason you can shoot 36 products in one session and have them all match.
Karl showing Ashleigh a test shot result on a monitor
The team tests a single pair of glasses and reviews the result before moving into the full run of 36. This is the step most solo e-commerce photographers skip because it feels slow. It is not slow. It is the only reason you can shoot 36 products in one session and have them all match.
Once you have your test shot approved, write down or photograph everything: your aperture, shutter speed, flash power on each head, the exact position of each modifier. If you use a tethered setup, do not touch the capture settings on your computer. If you use a lightbox with continuous lighting, do not change bulbs mid-batch. You are manufacturing consistency here, not making art. Art comes in when you design the set. After that, you are running a process.
Step 4: Accept That Repositioning Is the Job
 Karl and Ashleigh repositioning product after reviewing test shot
The video is refreshingly honest about what most product photography actually looks like in practice: hours of tiny adjustments. Karl mentions repositioning a product repeatedly before settling on the final angle, and the tone is matter-of-fact rather than frustrated. This is not a sign of a bad setup. It is the job.
Karl and Ashleigh repositioning product after reviewing test shot
The video is refreshingly honest about what most product photography actually looks like in practice: hours of tiny adjustments. Karl mentions repositioning a product repeatedly before settling on the final angle, and the tone is matter-of-fact rather than frustrated. This is not a sign of a bad setup. It is the job.
What separates experienced product photographers from beginners is not that they nail the position faster. It is that they have a systematic way to evaluate what they see. Check the main shadow first. Then the highlight on the primary feature of the product. Then the background separation. Work in that order every time and you will spend less time spinning your wheels and more time making purposeful moves.
Step 5: Plan Your Batch Changes Ahead of Time
 Karl explaining they have multiple batches requiring different set configurations
Karl mentions that after finishing one batch of glasses, the entire set needs to be rebuilt for a different product configuration. This is not mentioned as a complaint — it is flagged as a scheduling reality. If you are shooting multiple product categories in one day, each category may need a different lighting ratio, different background, or different camera height.
Karl explaining they have multiple batches requiring different set configurations
Karl mentions that after finishing one batch of glasses, the entire set needs to be rebuilt for a different product configuration. This is not mentioned as a complaint — it is flagged as a scheduling reality. If you are shooting multiple product categories in one day, each category may need a different lighting ratio, different background, or different camera height.
Build your shot schedule around set changes, not around the order the products arrived in. Group everything that shares a setup together and shoot it all before you break anything down. On a day when I photographed 200 products for a startup launch, batching by setup was the only reason the day was survivable. Mixing setups randomly would have added hours and introduced inconsistency.
What I Would Add From My Own Experience
The video captures something that most tutorials edit out: the physical and mental texture of a long commercial shoot. The repositioning, the grip equipment everywhere, the moment someone’s thumb sneaks into a frame. These are not mistakes — they are the normal cost of doing the work carefully.
What I would layer on top of everything shown here is a simple product intake system. Before anything goes in front of the camera, I inspect each product for dust, fingerprints, and packaging dents. On a shoot this scale, you want a microfiber cloth, a blower brush, and a pair of cotton gloves within arm’s reach at all times. Cleaning a product on-set takes thirty seconds. Removing a fingerprint from 36 images in post takes thirty minutes. That math is not complicated.
The real takeaway from watching a studio like Karl Taylor’s operate is not any single lighting trick or gear recommendation. It is this: high-volume product photography is a systems problem. Build a set that does not move, test before you commit, control every surface separately, and batch your work ruthlessly. The quality comes from the discipline, not from the equipment.
Watch the full tutorial on YouTube — the behind-the-scenes format makes this one worth watching even if you have been shooting products for years.