Three Speedlites, One Killer Bottle Shot: What I Learned From a Pro's Budget Lighting Setup
I teach small business owners how to shoot their own product photos, which means I spend a lot of time helping people who don’t own a single studio strobe. Speedlites are what they have. Speedlites are what they know. And for a long time, I gave them workarounds that felt like compromises. Then I watched a tutorial that reframed the whole thing for me.
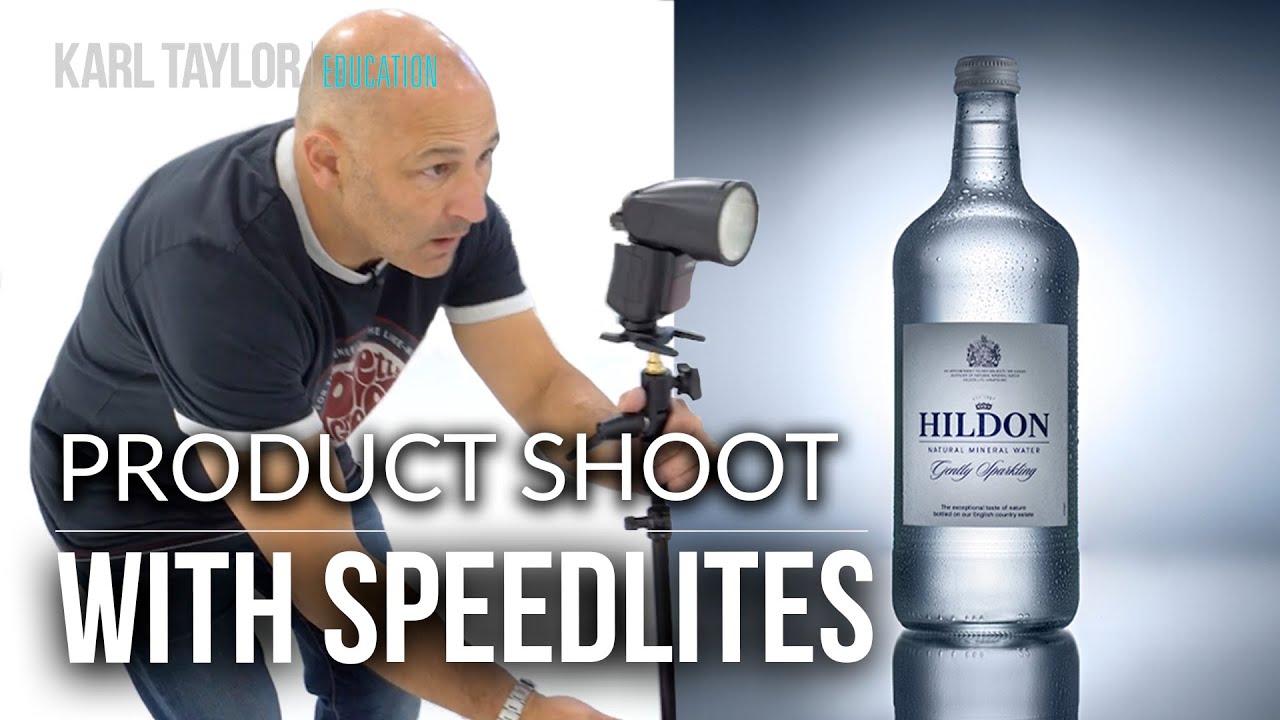
In this Visual Education tutorial, photographer Carl Taylor sets out to recreate a professional product shot using nothing but three speedlites and a handful of materials you can source for under $50. The subject is a glass bottle with condensation. The result looks like it came out of a commercial studio. What makes the video worth studying isn’t the gear list. It’s the underlying logic: when you understand the properties of light, the source almost doesn’t matter. Watch the full tutorial on YouTube
I’ve photographed products on a kitchen counter with a single LED panel and made them look expensive. But watching Carl work through this setup reminded me of techniques I’d been underusing, and gave me a few I’m now using on every reflective-surface shoot. Here’s the full breakdown.
Step 1: Build Your Base Surface
 Acrylic mirror base beneath the product bottle
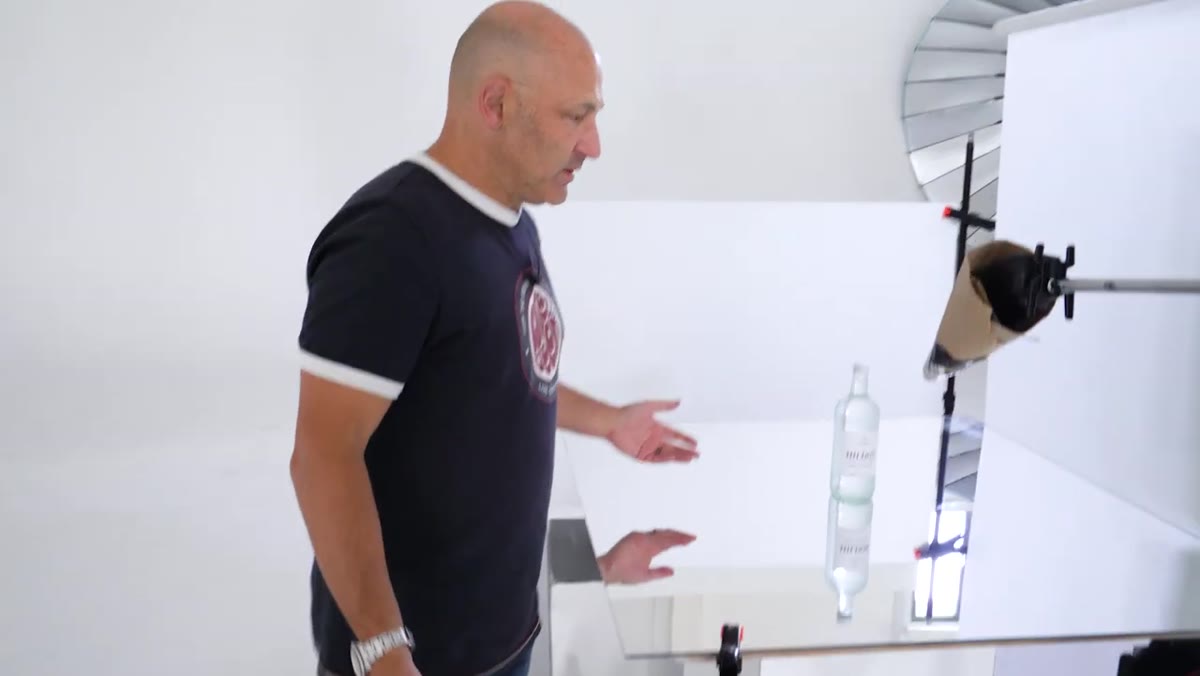
Your base surface controls the reflection beneath your product, and the wrong one will cost you hours in retouching. Carl uses an acrylic mirror here rather than a glass mirror. The reason is practical: glass mirrors often produce a faint double reflection caused by light bouncing off both the surface coating and the glass itself. Polished stainless steel is his preference, but it’s hard to source. Acrylic mirror sheet is widely available, cuts easily, and gives you a clean single reflection that reads as premium without the double-image problem.
Acrylic mirror base beneath the product bottle
Your base surface controls the reflection beneath your product, and the wrong one will cost you hours in retouching. Carl uses an acrylic mirror here rather than a glass mirror. The reason is practical: glass mirrors often produce a faint double reflection caused by light bouncing off both the surface coating and the glass itself. Polished stainless steel is his preference, but it’s hard to source. Acrylic mirror sheet is widely available, cuts easily, and gives you a clean single reflection that reads as premium without the double-image problem.
For most e-commerce work, a 12x16 inch piece is enough. You can find it at plastics suppliers or on Amazon. If your product is wider than the sheet, the reflection will cut off. Size up before you order.
Step 2: Set Up Your Backlight Through Frosted Acrylic
 Frosted acrylic panel positioned behind the bottle
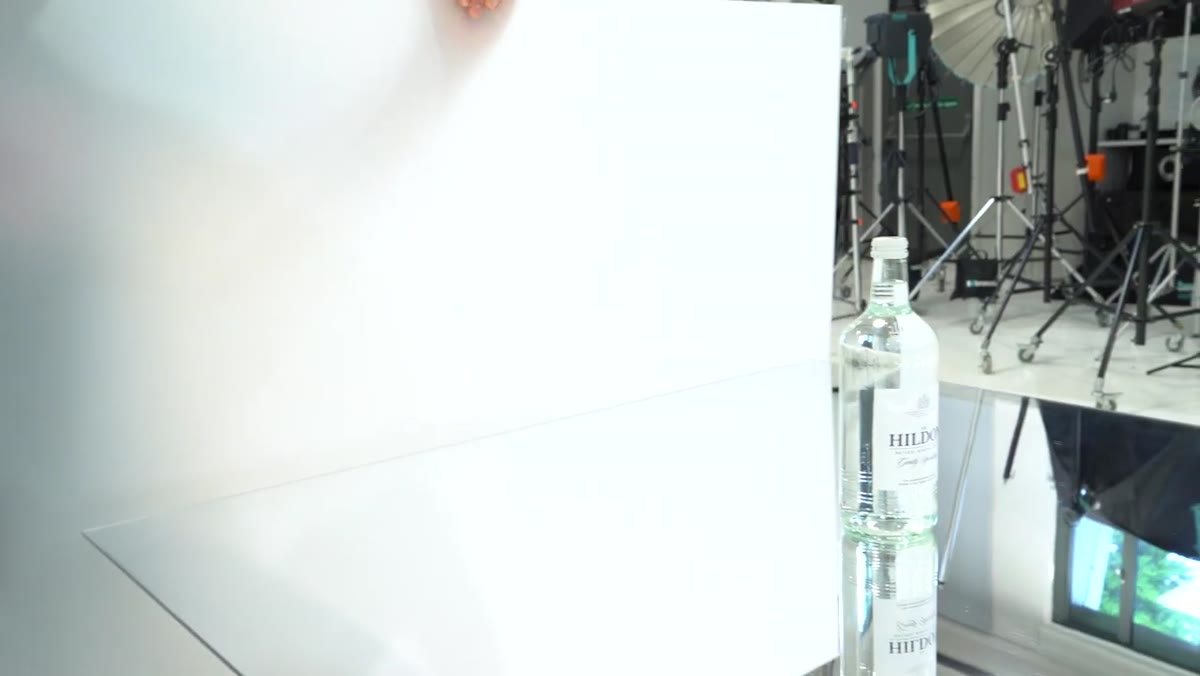
The background in this shot glows evenly without any hot spots. That effect comes from a speedlite firing through a sheet of frosted acrylic positioned behind the product. Frosted acrylic diffuses the light as it passes through, turning a harsh point source into a smooth, even panel. This is the same principle as a lightbox, just applied vertically.
Frosted acrylic panel positioned behind the bottle
The background in this shot glows evenly without any hot spots. That effect comes from a speedlite firing through a sheet of frosted acrylic positioned behind the product. Frosted acrylic diffuses the light as it passes through, turning a harsh point source into a smooth, even panel. This is the same principle as a lightbox, just applied vertically.
The key detail Carl emphasizes is feathering the light. He angles the speedlite slightly away from the product so the edge of the beam, not the center, is what passes through the diffusion material. The center of any light is the hottest and hardest. The feathered edge is softer and more even. This single adjustment makes the background glow rather than bloom.
Step 3: Add a Small Softbox to Shape Your Side Light
 Small softbox resting on a speedlite beside the bottle
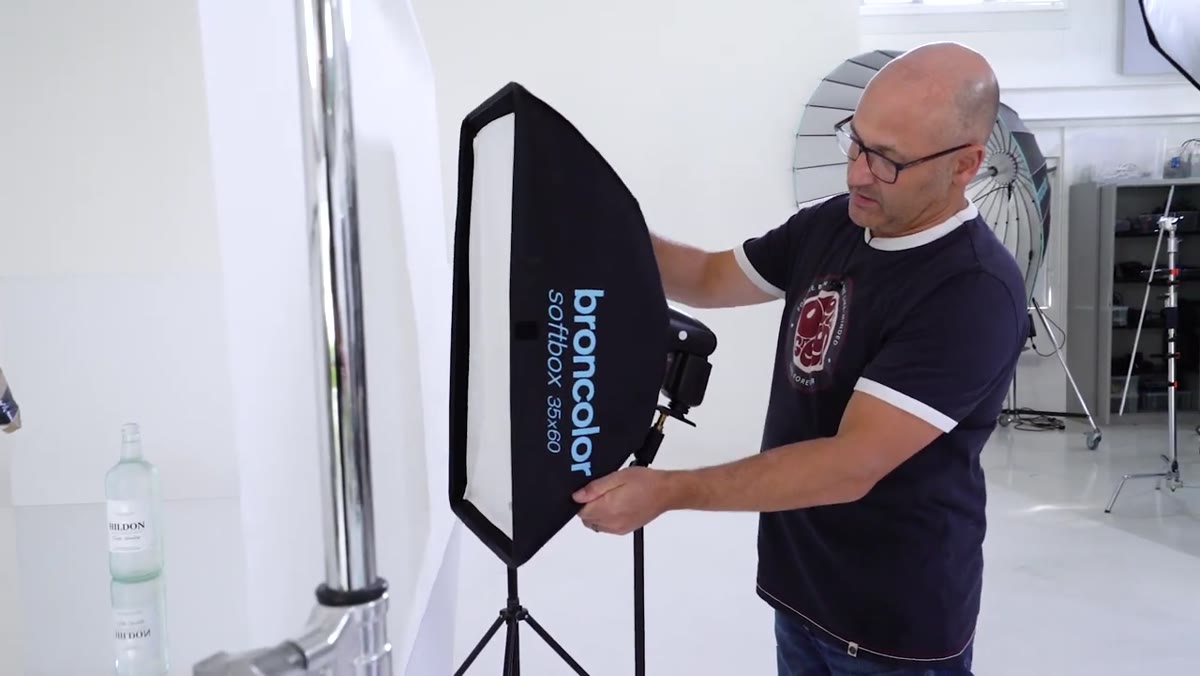
A bare speedlite aimed at a glass bottle creates specular highlights that look harsh and accidental. Carl solves this by resting a compact 35x60cm softbox directly on the speedlite head. No stand attachment required. He just props it in place, which is a simple move I’ve since adopted in my own kitchen setup when I’m testing rigs quickly.
Small softbox resting on a speedlite beside the bottle
A bare speedlite aimed at a glass bottle creates specular highlights that look harsh and accidental. Carl solves this by resting a compact 35x60cm softbox directly on the speedlite head. No stand attachment required. He just props it in place, which is a simple move I’ve since adopted in my own kitchen setup when I’m testing rigs quickly.
The softbox gives the light a defined shape and softens the highlight on the bottle’s surface. He pairs this with the feathering technique again, angling the light so it’s not firing directly at the product but sweeping across it. This creates a gradual transition from light to shadow on the bottle’s curved surface, which is what gives glass its sense of volume and dimension.
Step 4: Control Spill With a DIY Cardboard Snoot
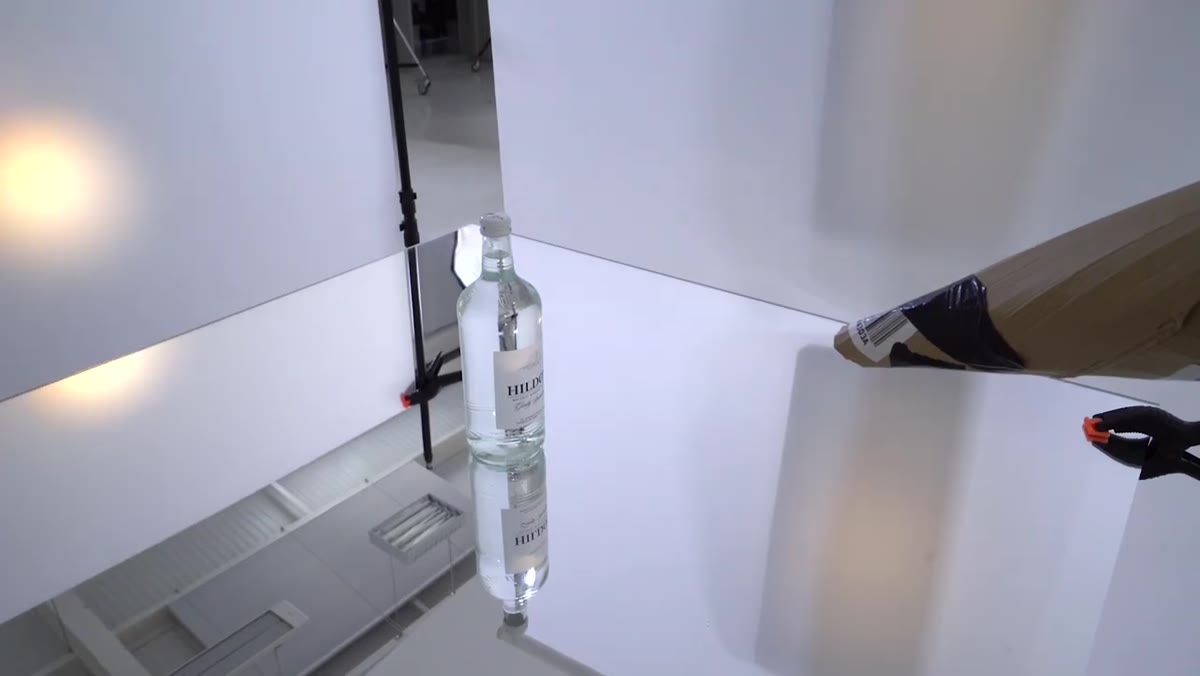 Cardboard cone snoot fitted over a speedlite head
Label lighting is one of the most overlooked parts of bottle photography. If your label is underlit, it looks flat. If it’s overlit, the bottle looks cheap. Carl cuts a cone snoot from cardboard, specifically from a flattened Amazon box, and fits it over one of his speedlites to light the label precisely without spilling onto the background or the bottle’s sides.
Cardboard cone snoot fitted over a speedlite head
Label lighting is one of the most overlooked parts of bottle photography. If your label is underlit, it looks flat. If it’s overlit, the bottle looks cheap. Carl cuts a cone snoot from cardboard, specifically from a flattened Amazon box, and fits it over one of his speedlites to light the label precisely without spilling onto the background or the bottle’s sides.
This is the kind of solution that looks too simple to work until you try it. A cone snoot narrows the beam significantly, giving you control over exactly where the light falls. The cardboard absorbs rather than reflects, so you don’t get secondary bounces messing up your carefully shaped highlights. Make it tight enough that it stays on the flash head without tape, and start with it positioned about 45 degrees above the label.
Step 5: Use Manual Power and Modeling Lamps to Preview
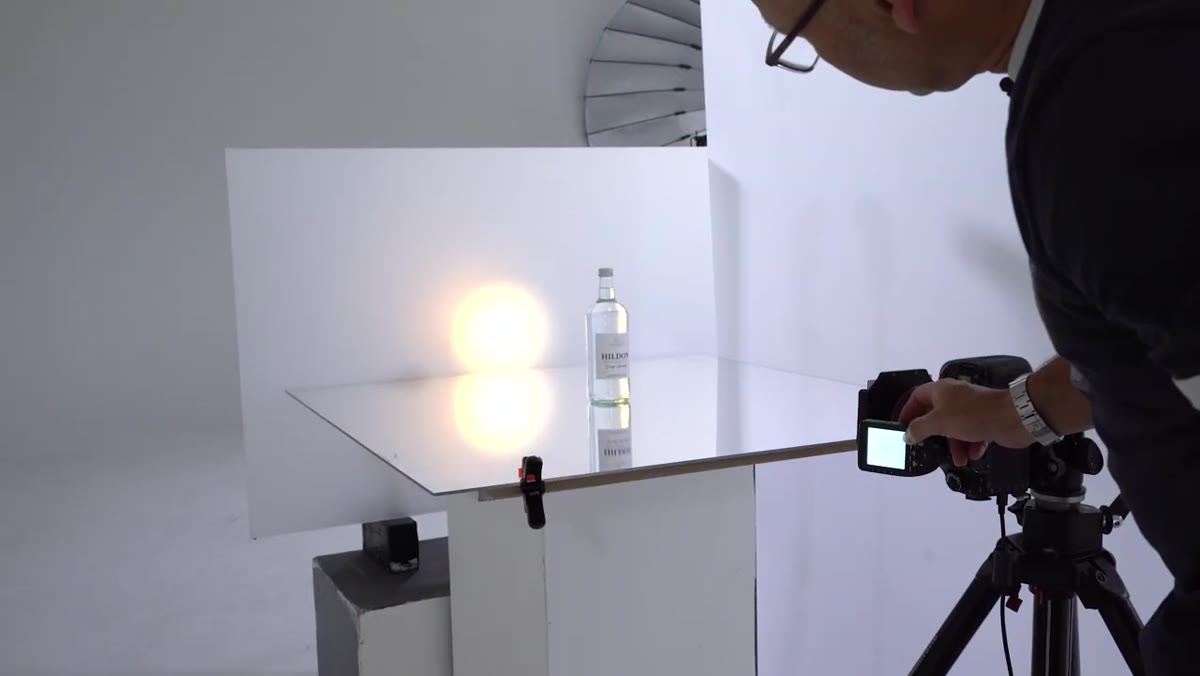 Manual power controls visible on speedlite unit
TTL metering is not your friend in controlled product setups. Carl runs all three speedlites on full manual power so the output is consistent from frame to frame. Any variation in power between shots makes compositing and retouching much harder. Set your power level, test it, lock it in.
Manual power controls visible on speedlite unit
TTL metering is not your friend in controlled product setups. Carl runs all three speedlites on full manual power so the output is consistent from frame to frame. Any variation in power between shots makes compositing and retouching much harder. Set your power level, test it, lock it in.
Most speedlites also have a modeling lamp function that gives you a continuous low-power output. This is genuinely useful for reading how the light is falling before you start shooting. It won’t be accurate at full power, but it gives you a directional reference. If you’ve never used your speedlite’s modeling lamp in product work, start now.
Step 6: Add the “Condensation” Effect Before Shooting
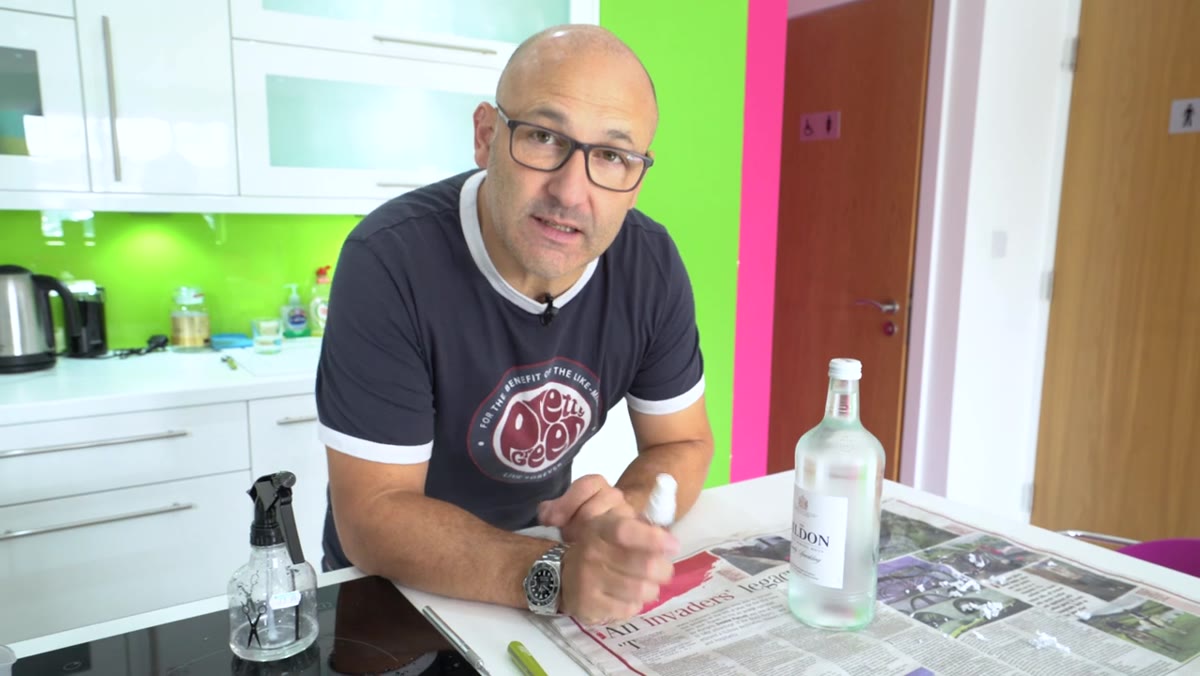 Fake condensation droplets applied to the bottle surface
Real condensation evaporates under hot lights. Carl uses a commercial fake condensation product that dries to a hard, clear finish. The droplets stay in place for the entire shoot, look identical across every frame, and photograph exactly like the real thing because they have the same optical properties: small curved surfaces that catch and refract light.
Fake condensation droplets applied to the bottle surface
Real condensation evaporates under hot lights. Carl uses a commercial fake condensation product that dries to a hard, clear finish. The droplets stay in place for the entire shoot, look identical across every frame, and photograph exactly like the real thing because they have the same optical properties: small curved surfaces that catch and refract light.
Apply it in thin passes and let it tack up slightly before shooting. If you glob it on, the droplets merge and you lose the fine detail that makes the effect convincing. A light misting gives you the fine droplets toward the top of the bottle, and you can build heavier drops lower down for visual interest.
Step 7: Add a Reflector Card to Fill Shadows
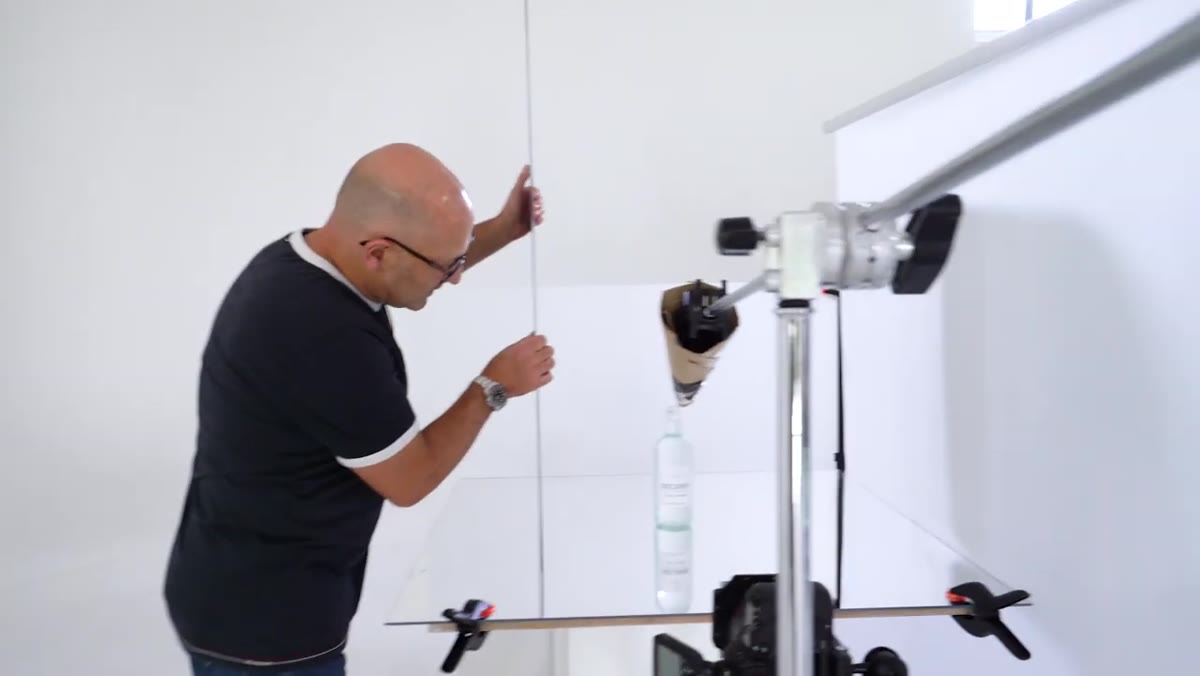 White mirror card positioned opposite the key light
Carl adds a small mirror card on the opposite side of the bottle from his main light to bounce some of that light back into the shadow side. This is the cheapest piece of gear in the entire setup and one of the highest-impact adjustments. Without it, the shadow side of a glass bottle goes almost completely black.
White mirror card positioned opposite the key light
Carl adds a small mirror card on the opposite side of the bottle from his main light to bounce some of that light back into the shadow side. This is the cheapest piece of gear in the entire setup and one of the highest-impact adjustments. Without it, the shadow side of a glass bottle goes almost completely black.
You don’t need a dedicated reflector. A piece of white foam board works. A mirror gives you more kick if you want a stronger highlight on the shadow edge. Position it close to the product and adjust the angle until you see the shadow detail open up in your live view.
What I’d Do Differently in My Own Setup
The setup Carl uses is tight and efficient, but in my own work with highly reflective products, I add one extra step: I flag the speedlites. Even with a snoot and a softbox, bare speedlite housings can bounce stray light onto your shooting surface or into the lens. I use small pieces of black foamcore taped directly to the flash head to block any light that isn’t going where I want it. It’s not glamorous, but it eliminates the subtle loss of contrast that otherwise shows up when you’re shooting on an acrylic mirror surface.
The real lesson from this tutorial is one I repeat to every client who tells me they can’t afford better gear: light is light. The source matters less than what you do with it. Three speedlites, some frosted acrylic, a cardboard snoot, and a piece of mirror card produced a shot that competes with studio-quality work. Know your modifiers, control your spill, and shoot on manual.
Watch the full tutorial on YouTube to see the complete setup and the Photoshop finishing work that brings it all together.