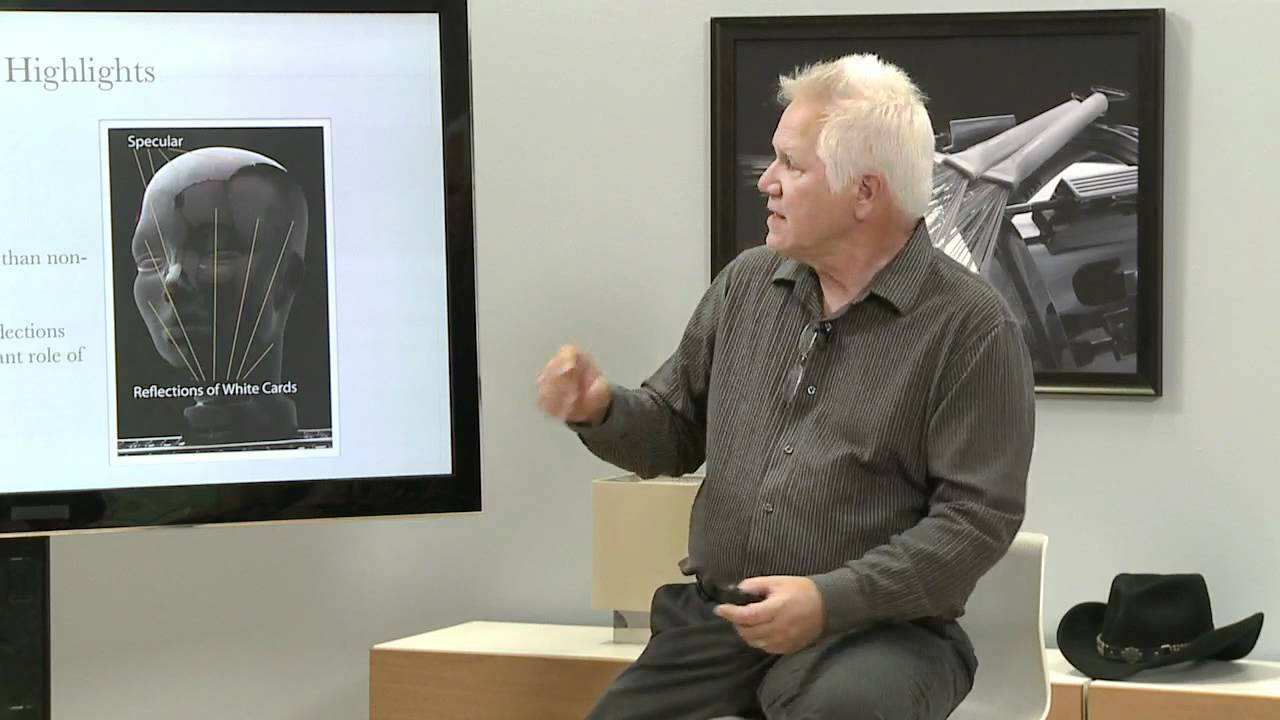
Subject-Centric Lighting: The Foundation Every Product Photographer Needs to Understand
My mom sold handmade jewelry for years using iPhone snapshots taken on her kitchen counter. Decent photos, honestly, for a phone. But when I rebuilt her entire product library using one light and a proper understanding of how surfaces reflect, her sales tripled inside two months. The difference wasn’t gear. It was understanding what light actually does when it hits a physical object, and why the same light looks completely different depending on what it lands on.
That foundation is exactly what Don Giannatti teaches in this CreativeLive tutorial on basic subject-centric lighting for tabletop product photography. Watch the full tutorial on YouTube. I’ve watched a lot of lighting education, and this one cuts straight to the conceptual core that most tutorials skip entirely. Giannatti isn’t showing you a preset setup to copy. He’s showing you how to read your subject and let it tell you what it needs. That shift in thinking changes everything.
If you shoot products for e-commerce, tabletop lighting is its own discipline. You’re not lighting a room or a person. You’re controlling reflection, dimension, and texture on objects that are maybe six inches tall. The stakes are small in scale but enormous in sales impact. Here’s the framework, broken down step by step.
Step 1: Accept That Everything Reflects
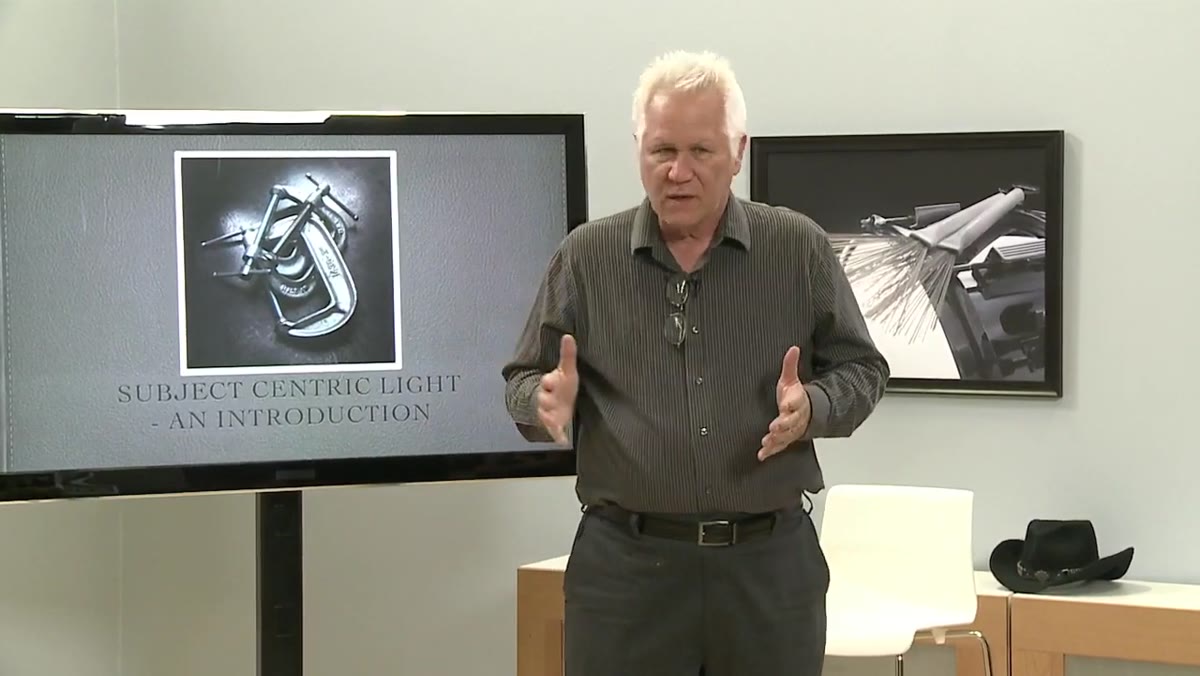 Don explaining that all surfaces reflect light differently
Before you touch a light, Giannatti wants you to internalize one principle: every surface reflects light. Not some surfaces. All of them. The difference between a matte ceramic mug and a glossy bottle isn’t that one reflects and one doesn’t. It’s that they reflect with different intensity, at different angles, with different character.
Don explaining that all surfaces reflect light differently
Before you touch a light, Giannatti wants you to internalize one principle: every surface reflects light. Not some surfaces. All of them. The difference between a matte ceramic mug and a glossy bottle isn’t that one reflects and one doesn’t. It’s that they reflect with different intensity, at different angles, with different character.
He demonstrates this with a set of leaves, some dry and some damp. The wet leaves appear dramatically shinier not because they’re a different material but because the moisture changes the surface texture, making it more specular. When you understand this, you stop fighting reflections and start managing them. Your first job before setting up a single light is to look at your product and ask: what kind of surface am I dealing with, and how aggressive will it be at bouncing light back?
Step 2: Use One Light Source to Learn the Subject
 Single softbox positioned above tabletop subject setup
Giannatti starts every demonstration with one light, positioned above the subject. This is intentional and instructive. With a single source, you can see exactly what the light is doing. You see where specular highlights fall, where shadows pool, and how the shape of the subject influences both.
Single softbox positioned above tabletop subject setup
Giannatti starts every demonstration with one light, positioned above the subject. This is intentional and instructive. With a single source, you can see exactly what the light is doing. You see where specular highlights fall, where shadows pool, and how the shape of the subject influences both.
Resist the urge to add a second light the moment something looks dark. That darkness is information. It tells you the shape of the object. One light above a shiny object will show you a clean specular reflection of the light source itself, and the size and softness of that reflection tells you about both the light modifier you’re using and the curvature of the surface. Use this stage to study, not to fix.
Step 3: Identify the Specular Highlight
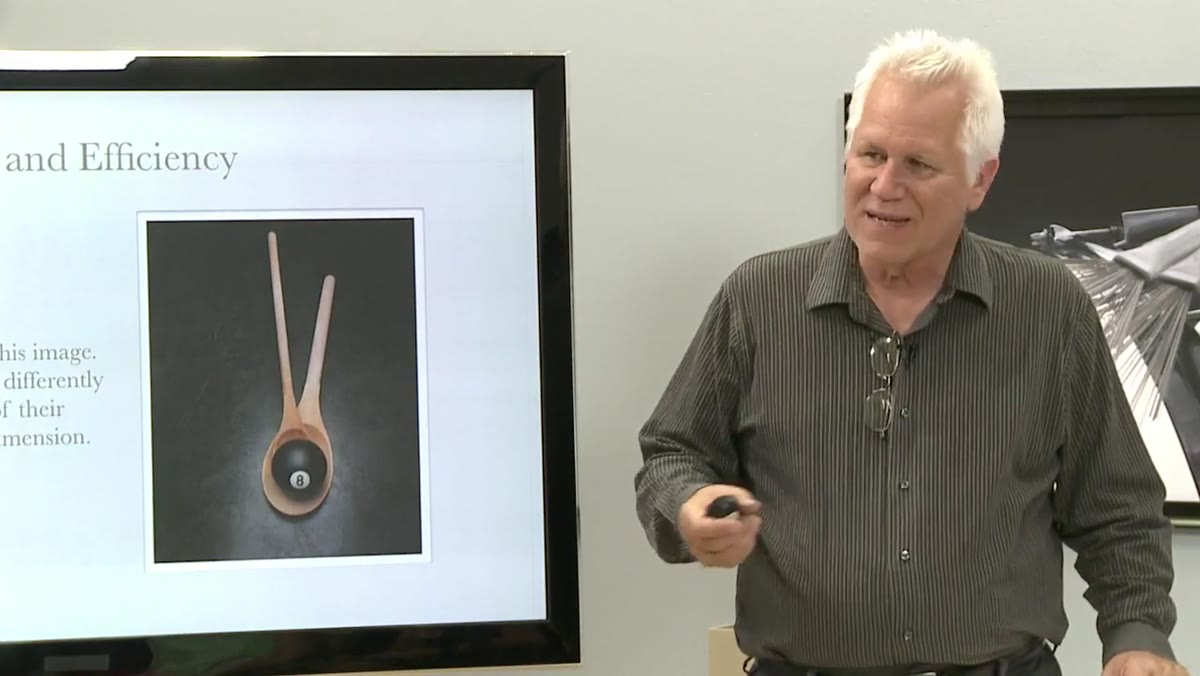
 Specular reflection of softbox visible on the eightball surface
The specular highlight is the direct reflection of your light source on the surface of the product. Giannatti uses a black eight ball to show this clearly because the dark surface makes the specular pop as a bright, defined spot. You can see the shape of the softbox reflected in the ball.
Specular reflection of softbox visible on the eightball surface
The specular highlight is the direct reflection of your light source on the surface of the product. Giannatti uses a black eight ball to show this clearly because the dark surface makes the specular pop as a bright, defined spot. You can see the shape of the softbox reflected in the ball.
Here’s where it gets interesting for product work: the same softbox reflects as a small, compressed shape on the curved ball, and as a larger, stretched shape on a flat surface nearby. Same light, same distance, completely different rendering. When you’re shooting something with multiple surface geometries, like a perfume bottle with flat sides and a curved shoulder, that one light will read differently across the object. Knowing this in advance lets you position the light where it serves the most important surface, usually the face of the product that will be most prominent in the final image.
Step 4: Understand True Value and How It Affects Light Rendering
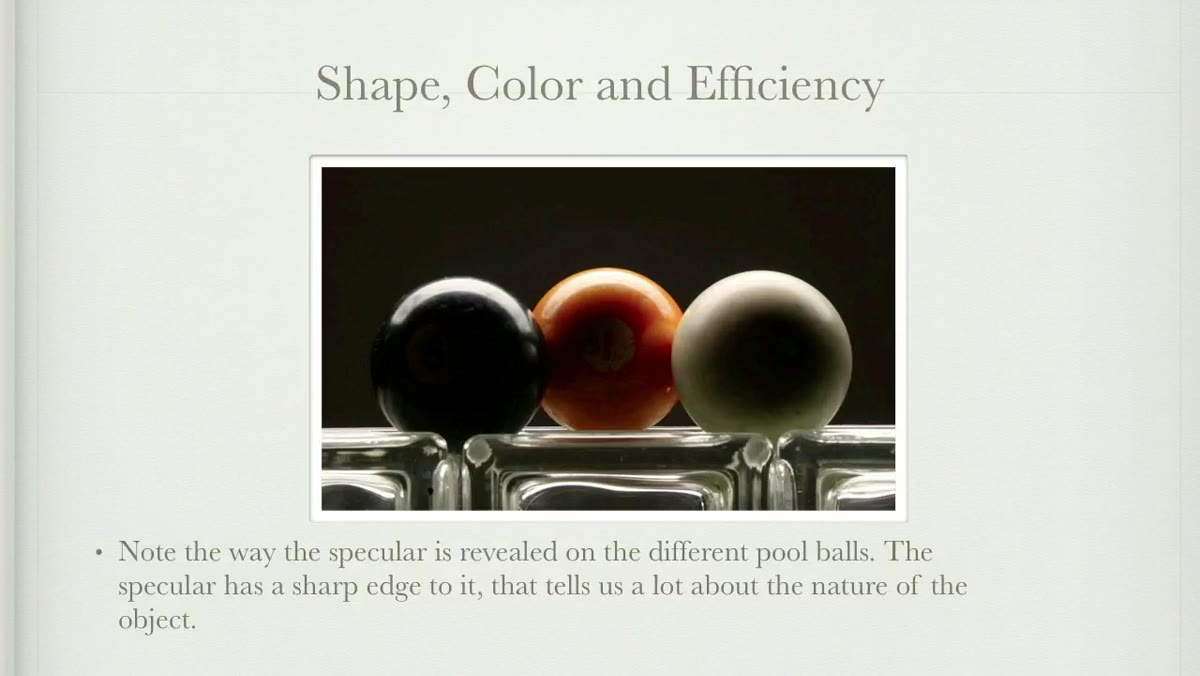 Three pool balls under strip light showing different highlight rendering
This is the step that most beginner product photographers miss completely. Giannatti sets three pool balls under a single strip light: one black, one yellow, one white. Same light. Same distance. Wildly different results.
Three pool balls under strip light showing different highlight rendering
This is the step that most beginner product photographers miss completely. Giannatti sets three pool balls under a single strip light: one black, one yellow, one white. Same light. Same distance. Wildly different results.
On the black ball, the white specular from the strip light is dramatic and clearly defined. On the yellow ball, the specular is visible but surrounded by yellow color information that fills in around it. On the white ball, the specular nearly disappears because the highlight and the ball’s own value are nearly the same tone. The term Giannatti uses is “true value,” meaning the inherent lightness or darkness of the object independent of lighting. A white product photographed with a bright light will lose its highlight definition fast. A black product will only reveal its shape through specular reflections. You need to know your product’s true value before you choose your light intensity, modifier size, and background tone.
Step 5: Build Dimension Through Highlights and Shadows Together
 Subject showing how highlights and shadows reveal shape and texture
Dimension in a product photograph isn’t accidental. It comes from the deliberate interplay of highlight and shadow. Giannatti frames this as the core goal of every image, whether it’s a spoon, a pool ball, or a landscape. Light exists to show shape, texture, and form.
Subject showing how highlights and shadows reveal shape and texture
Dimension in a product photograph isn’t accidental. It comes from the deliberate interplay of highlight and shadow. Giannatti frames this as the core goal of every image, whether it’s a spoon, a pool ball, or a landscape. Light exists to show shape, texture, and form.
For tabletop work, this means you’re sculpting with light at a very small scale. A highlight on the rim of a ceramic bowl tells the viewer the edge is there. A shadow that falls across the side of a candle tells them the candle has volume. If everything is evenly lit, you flatten the object and strip it of the physical presence that makes someone want to buy it. Shadows are not problems to eliminate. They are tools for communicating three-dimensional reality in a two-dimensional image.
What I’ve Learned Shooting Real Products
I keep a lightbox on my kitchen counter specifically for testing new products before I commit to a full setup. When a client sends me something I haven’t shot before, I’ll drop it in the lightbox with a single LED panel and just observe. Where does the specular land? Does the surface eat light or throw it back? What is the true value? I’m not shooting anything during this phase. I’m reading the subject, exactly the way Giannatti describes.
The one thing I’d add from my own experience: product color temperature matters as much as object color value. A warm amber candle photographed under a daylight-balanced softbox can go gray and lifeless. Matching your light’s color temperature to the mood of the product is a step that happens before you think about placement. It’s not in this tutorial, but it builds directly on Giannatti’s framework of understanding what you’re actually seeing versus what you assume you’re seeing.
The single most important thing to take from Giannatti’s approach is this: start from the subject, not the light. Look at your product and let it tell you what it needs before you decide where to put anything. That discipline separates photographers who get consistent, sellable results from those who keep adding lights hoping something will stick.
Watch the full tutorial on YouTube and pay special attention to the pool ball demonstration. It’s two minutes that will change how you see every product you ever shoot.