Steady Light, Better Products: A Breakdown of Continuous Lighting Options for Tabletop Photography
I photograph a lot of small products in tight spaces. Jewelry, skincare, ceramic goods, the kinds of things that live or die by how light moves across their surface. For years, the biggest friction in my workflow wasn’t composition or camera settings. It was lighting decisions made at the last minute, usually because I didn’t fully understand what each fixture was actually doing. That’s what made Andrew Scrivani’s CreativeLive tutorial on lighting options for tabletop photography so useful when I first watched it. Watch the full tutorial on YouTube
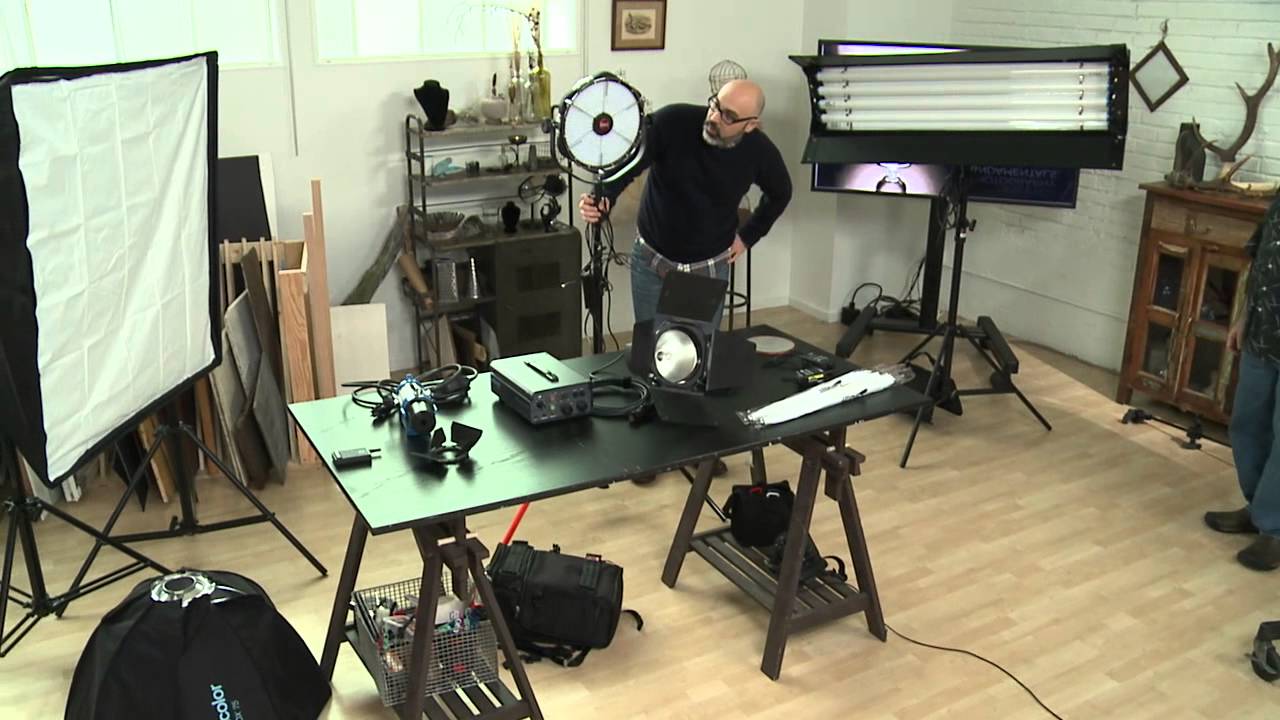
What Scrivani does well is treat continuous lighting as a family of tools with real differences, not a single category you either use or don’t. He walks through fluorescent panels, LED flood lights, HMIs, and Fresnels, connecting the technology to practical tabletop use. This isn’t a gear review. It’s a working photographer explaining why each option exists and when it earns its place on set. I’ve pulled out the core steps below so you can follow the logic without pausing the video every thirty seconds.
Step 1: Understand Why Continuous Light Works for Both Stills and Video
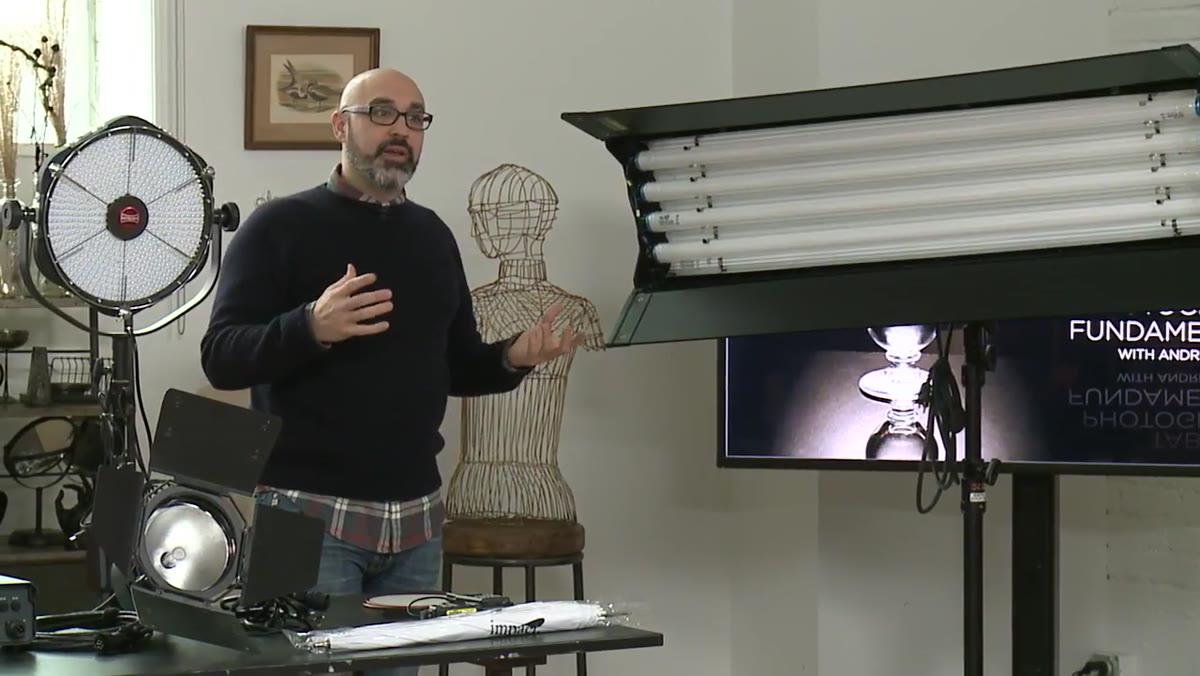 Andrew listing HMI, Fresnel, fluorescent, and LED panel types
The first thing Scrivani establishes is that all of the lights he’s discussing share one defining trait: they stay on. Unlike strobes, continuous lights let you see exactly what you’re getting before you press the shutter. For tabletop work, that means you can adjust reflectors, move your subject, and fine-tune shadows in real time. If you ever want to capture short video clips of your products alongside your stills, which more e-commerce clients are asking for, continuous lighting handles both without you swapping gear or reconfiguring the set.
Andrew listing HMI, Fresnel, fluorescent, and LED panel types
The first thing Scrivani establishes is that all of the lights he’s discussing share one defining trait: they stay on. Unlike strobes, continuous lights let you see exactly what you’re getting before you press the shutter. For tabletop work, that means you can adjust reflectors, move your subject, and fine-tune shadows in real time. If you ever want to capture short video clips of your products alongside your stills, which more e-commerce clients are asking for, continuous lighting handles both without you swapping gear or reconfiguring the set.
This matters practically. If you’re shooting 50 SKUs in a day and a client later asks for a three-second rotation video of their hero product, you don’t have to rebuild your setup. The light that gave you clean stills is already rolling.
Step 2: Know What “Daylight Balanced” Actually Means on a Fluorescent Fixture
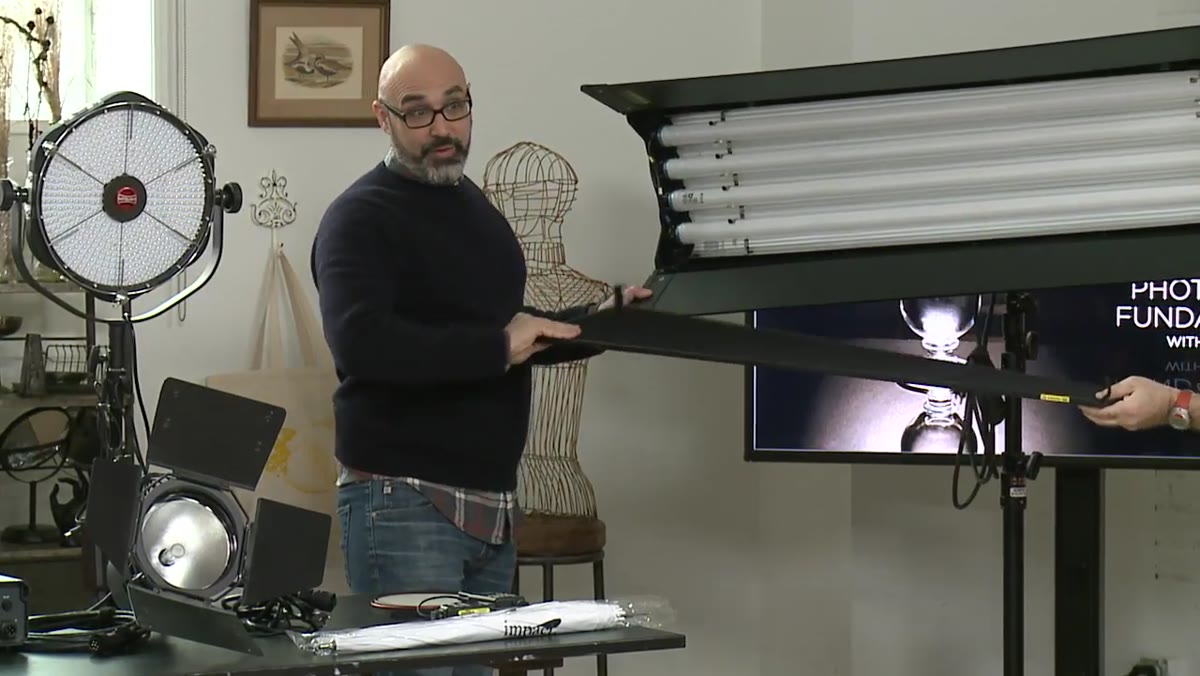 Close-up of fluorescent bulbs with blue-edged tubes in the Kino Flo fixture
Scrivani holds up a Kino Flo DVa light and points out the blue-edged fluorescent tubes inside. Those blue edges aren’t decorative. They indicate the bulb is tuned to 5500 Kelvin, which is standard daylight balance. That matters because most cameras and editing software are calibrated around daylight or tungsten as a starting point. Shooting at 5500K means your white balance setting is predictable and your color correction in post is minimal.
Close-up of fluorescent bulbs with blue-edged tubes in the Kino Flo fixture
Scrivani holds up a Kino Flo DVa light and points out the blue-edged fluorescent tubes inside. Those blue edges aren’t decorative. They indicate the bulb is tuned to 5500 Kelvin, which is standard daylight balance. That matters because most cameras and editing software are calibrated around daylight or tungsten as a starting point. Shooting at 5500K means your white balance setting is predictable and your color correction in post is minimal.
The same fixture also comes in 3200K tungsten-balanced tubes, identifiable by their orange tips. Both versions carry a Color Rendering Index above 95, meaning the light renders colors accurately rather than shifting them toward green or magenta the way older office fluorescents do. Before you buy or rent any continuous light, ask for the CRI rating. Below 90 and you’ll spend real time fixing skin tones and product colors in Lightroom.
Step 3: Use the Independent Bank Switches to Shape Your Light Output
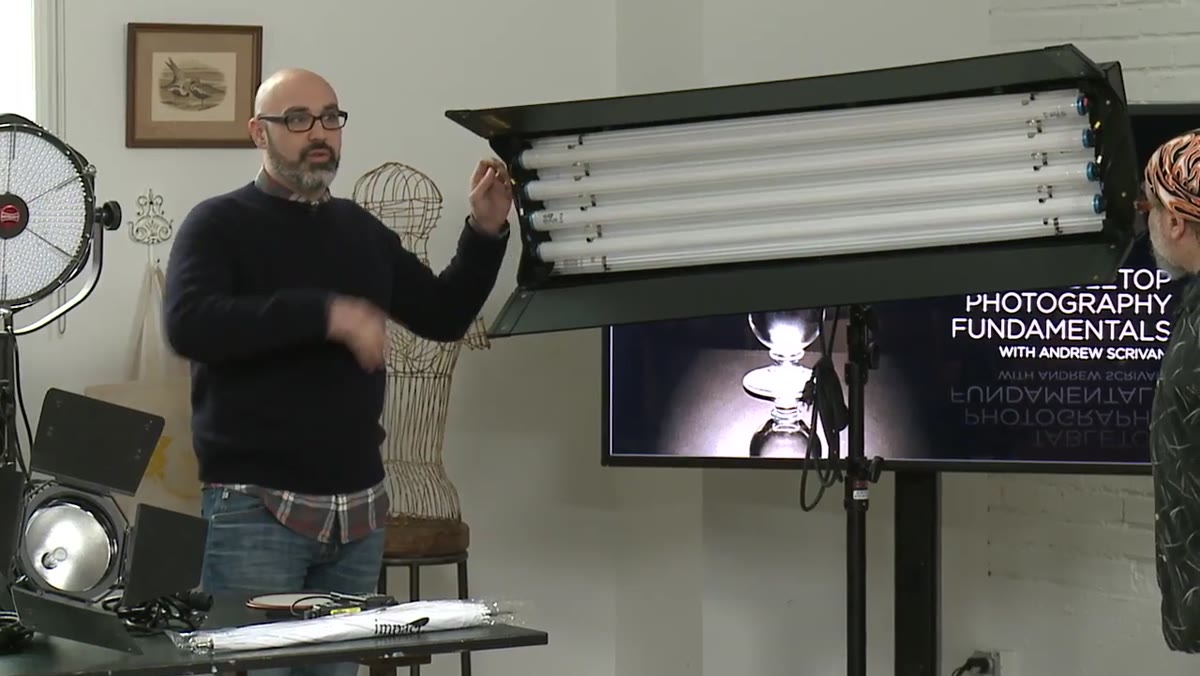 Scrivani pointing to individual bank switches on the Kino Flo panel
The Kino Flo panel has separate switches for each bank of tubes. This gives you incremental dimming without a dedicated dimmer unit. Turning off one bank softens the output and adjusts the spread. For tabletop work where you might want a key light that’s strong on one side and a gentler fill on the other, this is genuinely useful. You’re not locked into the full output.
Scrivani pointing to individual bank switches on the Kino Flo panel
The Kino Flo panel has separate switches for each bank of tubes. This gives you incremental dimming without a dedicated dimmer unit. Turning off one bank softens the output and adjusts the spread. For tabletop work where you might want a key light that’s strong on one side and a gentler fill on the other, this is genuinely useful. You’re not locked into the full output.
You can also mount the fixture horizontally or vertically, and add diffusion sheeting directly over the face of the panel to soften the light further. Vertical mounting works well when you want to light the side of a tall product like a bottle or a candle. Horizontal mounting spreads light more evenly across a flat surface like a cutting board or a fabric sample.
Step 4: Compare the Fluorescent Option Against Modern LED Panels
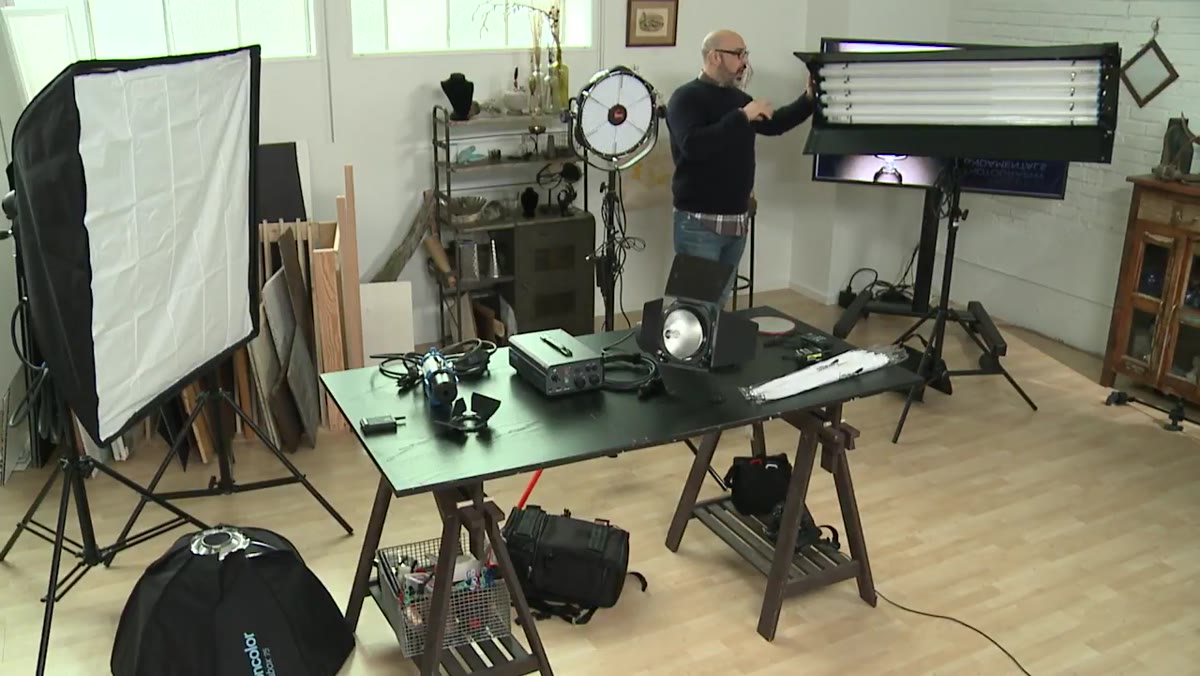 Scrivani holding the Kino Flo and describing its size relative to newer LED options
Scrivani is honest about the Kino Flo’s limitations. It’s bulkier than modern alternatives, and swapping fluorescent tubes when one burns out is fussier than it sounds, especially mid-shoot. The fixture still performs well and sits at a competitive price point, but it represents a generation of technology that LED panels are gradually replacing.
Scrivani holding the Kino Flo and describing its size relative to newer LED options
Scrivani is honest about the Kino Flo’s limitations. It’s bulkier than modern alternatives, and swapping fluorescent tubes when one burns out is fussier than it sounds, especially mid-shoot. The fixture still performs well and sits at a competitive price point, but it represents a generation of technology that LED panels are gradually replacing.
The comparison isn’t about one being better universally. It’s about knowing what you’re trading. Fluorescent panels are available used at very low prices and can be a practical starting point. LED panels cost more upfront but offer more control with less maintenance. If you’re building a permanent studio, LED is the direction to invest. If you’re testing whether continuous lighting works for your workflow before committing, a secondhand fluorescent panel is a reasonable experiment.
Step 5: Evaluate LED Flood Lights for Tabletop Angle and Portability
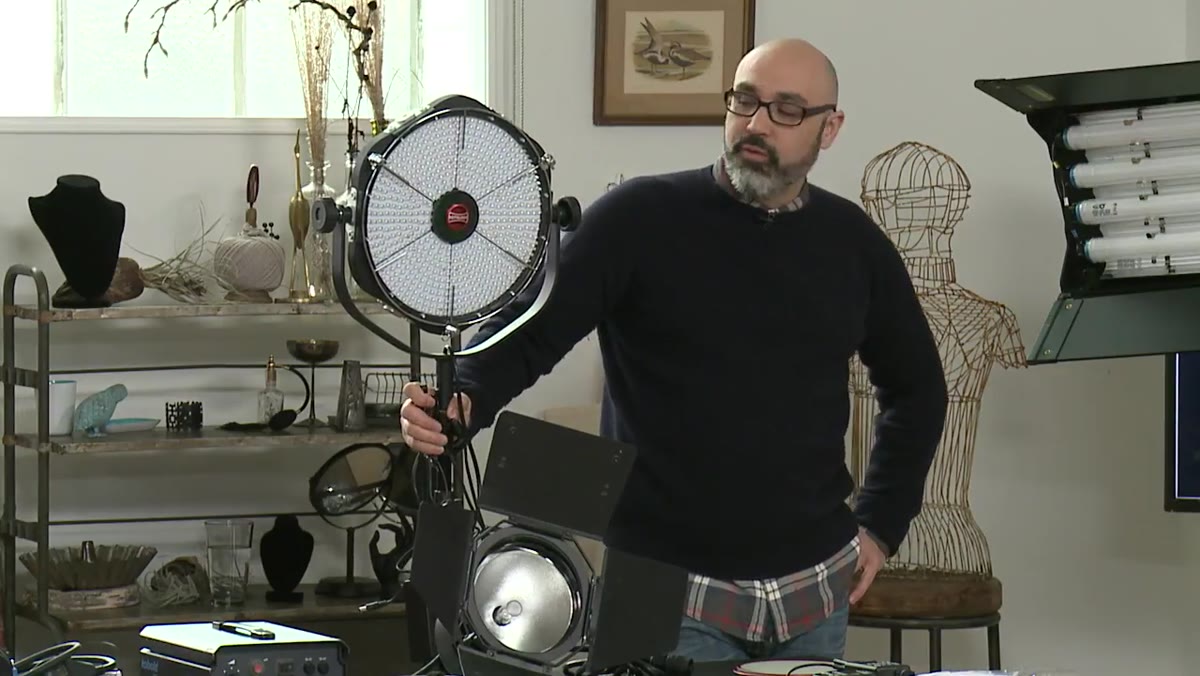 Scrivani demonstrating the Rotolight Anova 2 LED flood light and its 50-degree spread
Scrivani introduces an LED flood light with a 50-degree spread angle and explains why that specific geometry suits tabletop photography. A 50-degree angle throws enough light to cover a small product scene without creating hotspots or falling off too sharply at the edges. The fixture also has an octagonal housing that accepts multiple light units, so you can gang several together if you need more power.
Scrivani demonstrating the Rotolight Anova 2 LED flood light and its 50-degree spread
Scrivani introduces an LED flood light with a 50-degree spread angle and explains why that specific geometry suits tabletop photography. A 50-degree angle throws enough light to cover a small product scene without creating hotspots or falling off too sharply at the edges. The fixture also has an octagonal housing that accepts multiple light units, so you can gang several together if you need more power.
The portability point is real and worth noting if you shoot on location. Scrivani mentions carrying this unit on a plane at around 6 pounds. That changes what’s possible for a photographer who shoots pop-ups, markets, or client offices. You’re not hauling a case of heavy gear. You’re bringing a capable, controlled light source that fits in carry-on luggage.
Step 6: Use Wi-Fi and DMX Control to Manage Multiple Lights from One Point
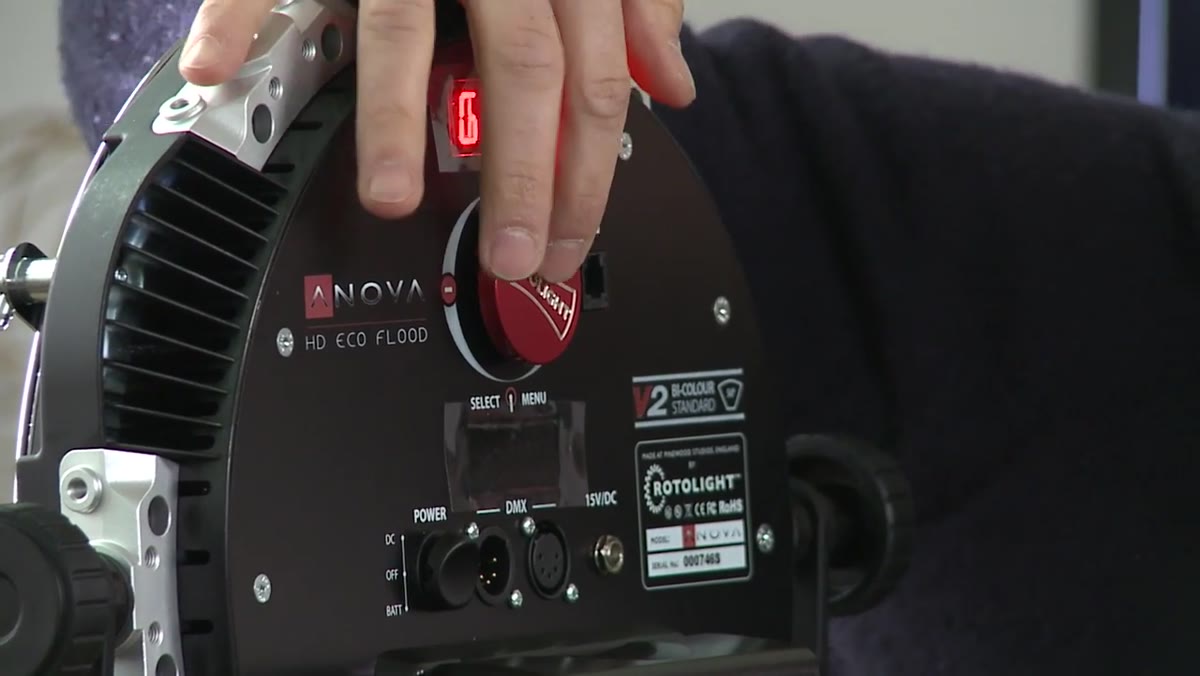 Scrivani showing the smartphone app used to control the LED light wirelessly
This is where modern LED technology pulls away from older options. The fixture Scrivani demonstrates connects to a phone app over Wi-Fi and also supports DMX linking, a standard cabling protocol used across professional lighting. That means you can wire every light on your set through one controller and adjust power, color temperature, and brightness from your phone without touching a single fixture.
Scrivani showing the smartphone app used to control the LED light wirelessly
This is where modern LED technology pulls away from older options. The fixture Scrivani demonstrates connects to a phone app over Wi-Fi and also supports DMX linking, a standard cabling protocol used across professional lighting. That means you can wire every light on your set through one controller and adjust power, color temperature, and brightness from your phone without touching a single fixture.
For a tabletop setup with two or three lights, this cuts the time you spend walking back and forth between your camera and your lights. You set a shot, look at it on your tethered screen, decide the fill is half a stop too bright, and dial it down without moving. The fixture Scrivani demonstrates also covers the full color temperature range from tungsten to daylight in a single unit, adjusted by a dial. That flexibility alone makes it a strong candidate for a one-light travel kit.
What I’d Add From My Own Experience
The conversation Scrivani has about fluorescent versus LED maps almost exactly to a decision I made for my own studio a few years ago. I used a fluorescent panel for two years before switching to a bicolor LED. The fluorescent taught me everything. I learned how diffusion affects shadow softness, how bank switching mimics a dimmer, and how to read color temperature by eye rather than just trusting the camera’s auto white balance. When I switched to LED, I already understood what I was controlling.
If you’re starting out, don’t skip straight to the most sophisticated option just because it exists. The simpler the tool, the more clearly you see what the light is actually doing. I still keep a basic diffusion frame on a boom arm, something I built from a $15 shower curtain rod and some rip-stop nylon, and it works alongside my LED panel every single day.
The single most transferable idea from this tutorial is that continuous light is a system, not a single fixture. Once you understand that each element, the source, the diffusion, the color temperature, and the output control, is a separate variable you can adjust independently, you stop guessing and start solving. Watch the full tutorial on YouTube and pay attention to how Scrivani talks about each light not as a product recommendation but as a tool with specific behaviors. That framing is worth more than any gear list.