
Smoke, Foreground Bokeh, and a Band-Aid: What Peter McKinnon's Quick Product Setup Taught Me
There’s a specific kind of pressure that comes with a client who needs shots turned around fast. Not fast like “end of the week” fast. Fast like “we’re posting this in an hour” fast. I’ve been there more times than I can count, and the setups that save me are never the elaborate ones. They’re the ones built from three or four deliberate decisions that compound into something that looks like you spent all day on it.
That’s exactly what stopped me mid-scroll when I came across this tutorial from Peter McKinnon. In it, he gives himself thirty minutes to photograph a product he literally has to post that same day. No assistants, no elaborate rig, no studio. Just a window, a few smart tools, and a camera he clearly knows intimately. Watch the full tutorial on YouTube before or after reading this breakdown. Either way, here’s every technique extracted and explained so you can actually use it.
What struck me most was how intentionally he layers depth into the frame. A lot of beginner product shots look flat not because the lighting is bad, but because everything is in focus and nothing creates visual distance. This setup fixes that problem with tools you probably already own.
Step 1: Choose a Diffused Light Source
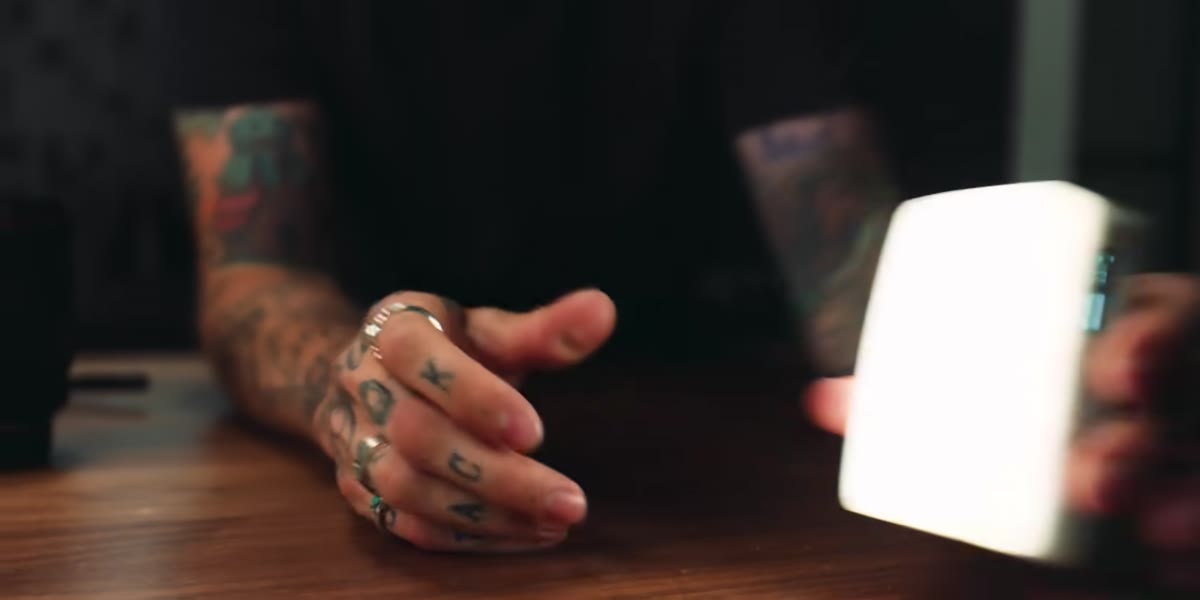 Diffuser placed over light source to soften output
Start with soft light, not harsh light. McKinnon uses a diffuser over his light to kill hard shadows and wrap the product in something more flattering. If you’re working near a window, a sheet of white acrylic or even a piece of parchment paper taped to the frame does the same job. The goal is to eliminate the sharp edge where light meets shadow on your product’s surface. That transition should be gradual. For small products, I keep a folding diffusion panel in my kit for exactly this reason. It takes five seconds to position and immediately elevates the quality of the light.
Diffuser placed over light source to soften output
Start with soft light, not harsh light. McKinnon uses a diffuser over his light to kill hard shadows and wrap the product in something more flattering. If you’re working near a window, a sheet of white acrylic or even a piece of parchment paper taped to the frame does the same job. The goal is to eliminate the sharp edge where light meets shadow on your product’s surface. That transition should be gradual. For small products, I keep a folding diffusion panel in my kit for exactly this reason. It takes five seconds to position and immediately elevates the quality of the light.
Step 2: Position the Product and Build the Foreground
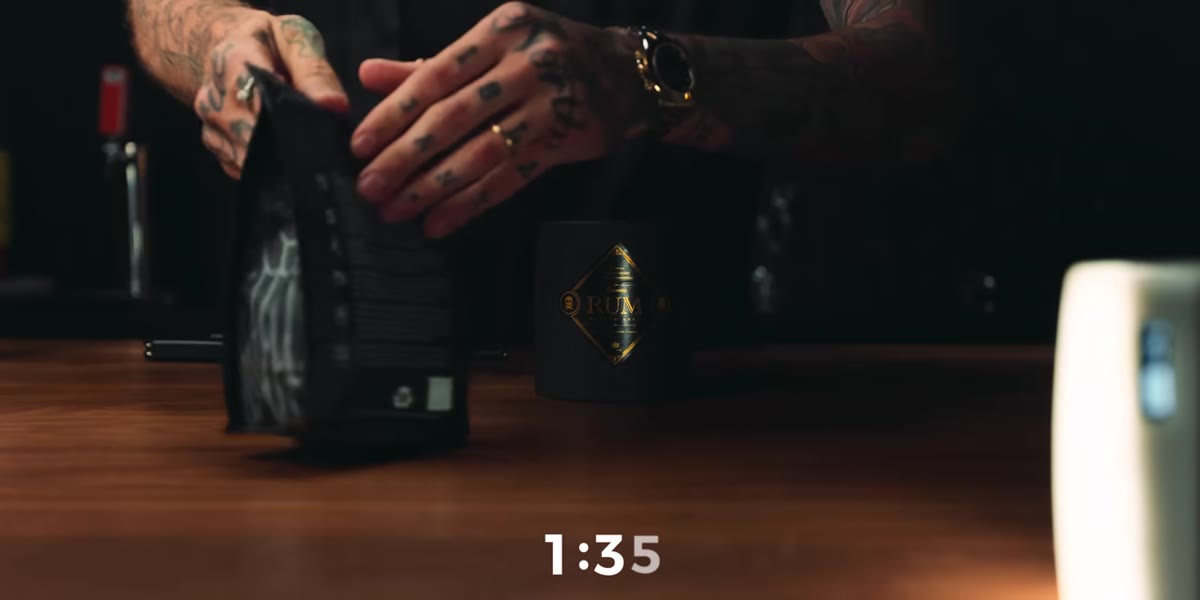 Product placed with foreground element added in front
Once your light is diffused, place your product and then add something in front of it between the lens and the subject. McKinnon uses a glass object, positioned so it partially overlaps the product’s label. This creates an out-of-focus foreground element that gives the image visual layers. It signals to the viewer that there’s a world in front of the subject, which makes the subject feel more embedded in a scene rather than just sitting on a table.
Product placed with foreground element added in front
Once your light is diffused, place your product and then add something in front of it between the lens and the subject. McKinnon uses a glass object, positioned so it partially overlaps the product’s label. This creates an out-of-focus foreground element that gives the image visual layers. It signals to the viewer that there’s a world in front of the subject, which makes the subject feel more embedded in a scene rather than just sitting on a table.
The foreground object doesn’t need to be elaborate. A plant sprig, a piece of crystal, a shallow dish, or even another version of the same product slightly in front works. The key is that when you shoot wide open, this object blurs out and becomes a soft, color-toned frame around your sharp subject. Think of it as free production value.
Step 3: Tape Your Light to the Set (Use Whatever Works)
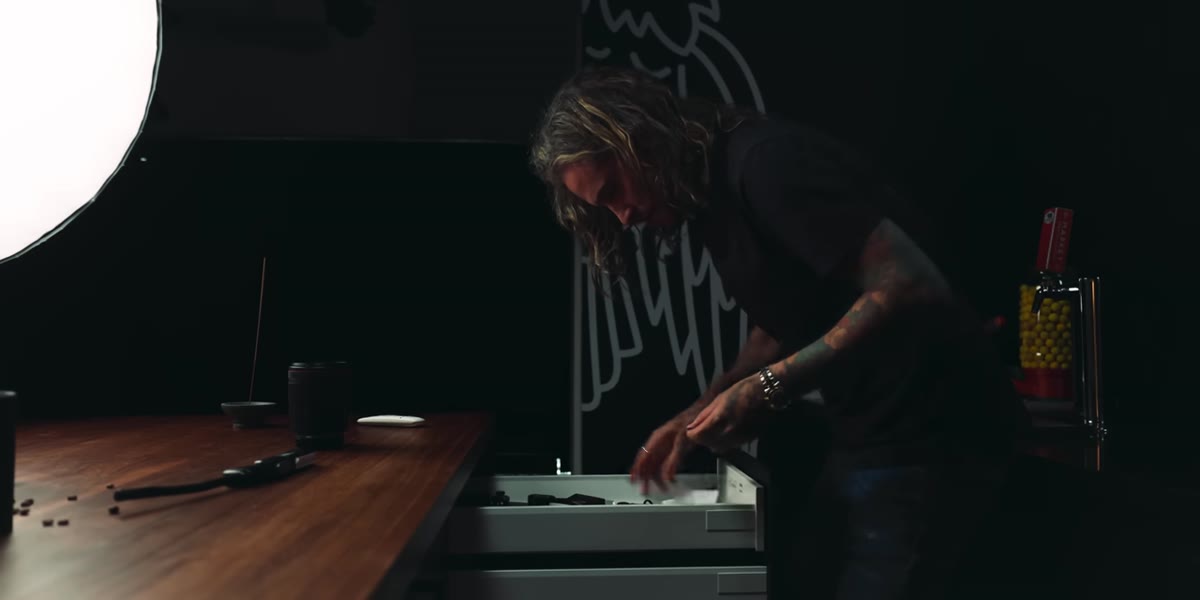 Magnetic tape light attached to surface using a band-aid
McKinnon is using a small light with magnetic tape on the back, designed to attach to metal surfaces. His shooting surface isn’t magnetic, so he grabs a band-aid from wherever photographers keep band-aids and uses that instead. This is the moment I rewound twice, not because it’s revolutionary, but because it’s the right instinct. Problem-solving with what’s on hand is the actual skill. The technique here is keeping a small continuous LED light in your kit and being flexible about how you mount it. The light adds a warm, directional glow behind or beside the product that reads as a practical light source in the final image.
Magnetic tape light attached to surface using a band-aid
McKinnon is using a small light with magnetic tape on the back, designed to attach to metal surfaces. His shooting surface isn’t magnetic, so he grabs a band-aid from wherever photographers keep band-aids and uses that instead. This is the moment I rewound twice, not because it’s revolutionary, but because it’s the right instinct. Problem-solving with what’s on hand is the actual skill. The technique here is keeping a small continuous LED light in your kit and being flexible about how you mount it. The light adds a warm, directional glow behind or beside the product that reads as a practical light source in the final image.
Step 4: Add Smoke for Atmosphere (Without Post-Processing)
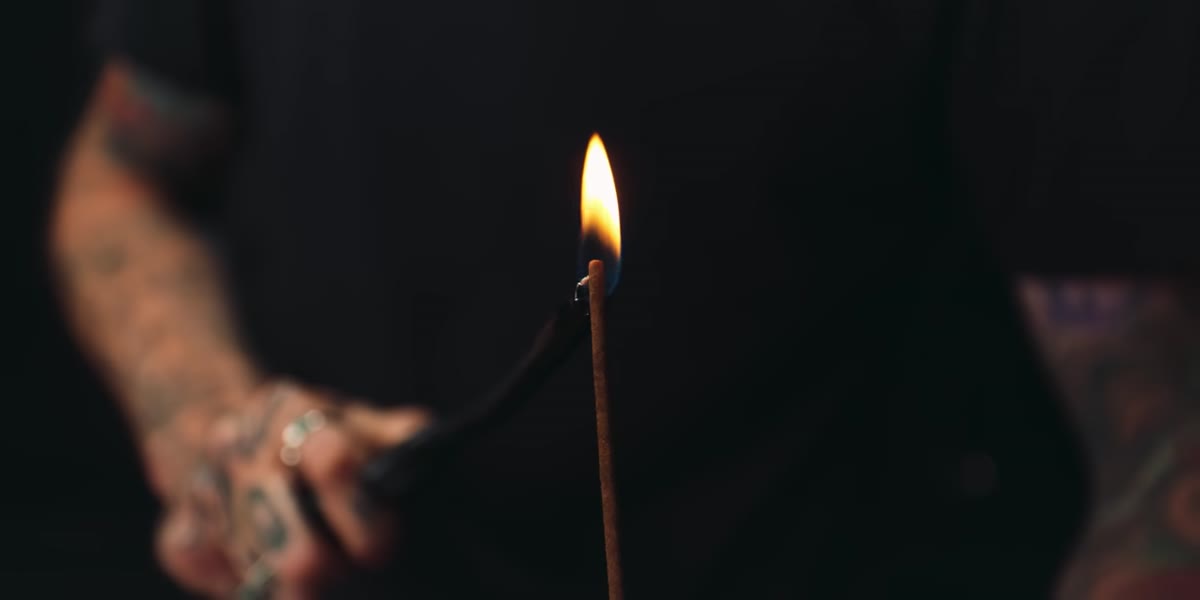 Incense stick producing continuous smoke in the background
This is the step most people would skip because it feels like a lot. It isn’t. McKinnon uses an incense stick to generate real, continuous smoke behind the product. You light it, let it heat up, blow out the flame, and it produces a slow, steady stream of smoke for fifteen minutes or more. No compositing, no stock footage overlays, no Photoshop.
Incense stick producing continuous smoke in the background
This is the step most people would skip because it feels like a lot. It isn’t. McKinnon uses an incense stick to generate real, continuous smoke behind the product. You light it, let it heat up, blow out the flame, and it produces a slow, steady stream of smoke for fifteen minutes or more. No compositing, no stock footage overlays, no Photoshop.
From an e-commerce standpoint, I’d only use this for lifestyle-adjacent product shots rather than pure white background catalog images. But for beauty products, candles, spirits, anything with a mood, this changes the shot entirely. The smoke catches the backlight and creates depth and atmosphere that you genuinely cannot replicate cleanly in post unless you have excellent source material to work from.
Step 5: Set Your Camera for Maximum Subject Separation
 Camera display showing f/1.2, 1/500s, ISO 400 settings
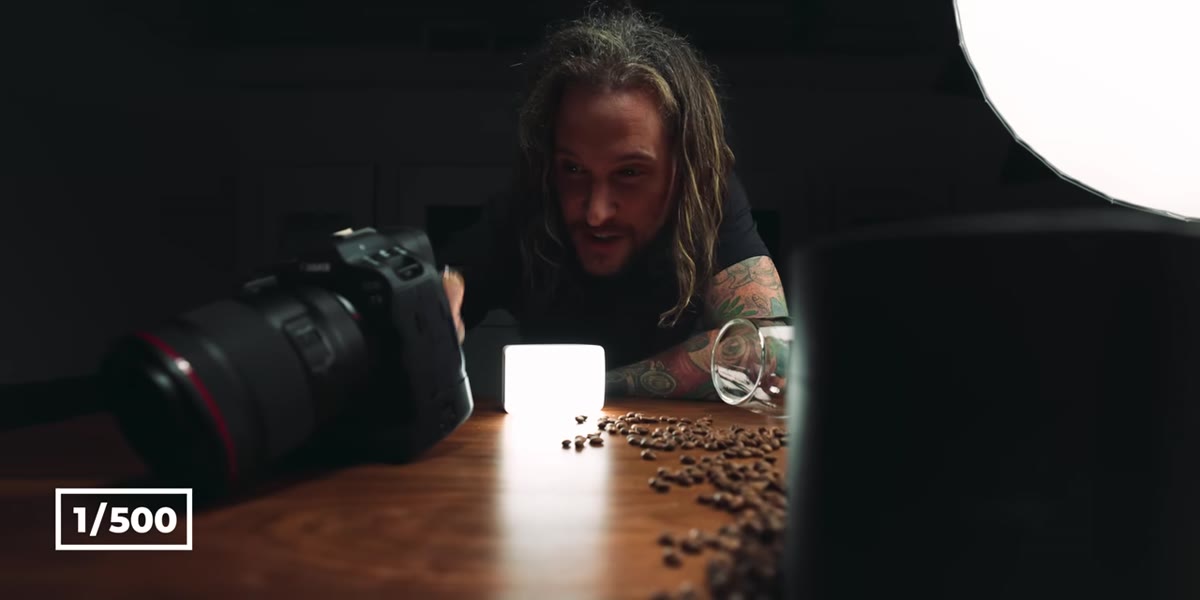
McKinnon shoots on a Canon R3 with a 50mm lens at f/1.2. His settings: 1/500 second shutter speed, ISO 400, white balance set to cloudy. The cloudy white balance is a deliberate creative call, not a correction. It pushes the image warmer, which flatters most products and makes the smoke and background glow feel rich rather than sterile.
Camera display showing f/1.2, 1/500s, ISO 400 settings
McKinnon shoots on a Canon R3 with a 50mm lens at f/1.2. His settings: 1/500 second shutter speed, ISO 400, white balance set to cloudy. The cloudy white balance is a deliberate creative call, not a correction. It pushes the image warmer, which flatters most products and makes the smoke and background glow feel rich rather than sterile.
The wide aperture does two jobs simultaneously. It throws the foreground element into soft bokeh and it separates the product from the smoky background, keeping your subject crisp while everything else dissolves into atmosphere. If you’re shooting with a kit lens that only opens to f/3.5 or f/4, you can compensate by increasing the distance between your foreground element and the product, and between the product and the background. Distance is free aperture.
What I’d Add From My Own Shoots
McKinnon’s setup is built around one key variable he has in abundance: a great lens. The 50mm f/1.2 does a lot of heavy lifting. If you’re teaching yourself product photography or helping a small business owner shoot on a budget, you can replicate most of this with a 50mm f/1.8, which runs under $150 used and produces genuinely beautiful separation at close focus distances.
The other thing I’d emphasize is consistency in your light position relative to the product. McKinnon moves quickly because he already knows where his light should land. When I work with clients who are setting up their own product photography at home, I have them mark their light position on the surface with tape so every session starts from the same baseline. It cuts setup time in half and makes editing easier because your shadows fall the same way every time. That kind of repeatability is what separates a product photography workflow from a one-off shoot.
The biggest thing this tutorial reinforced for me is that a compelling product image is almost never about one single element. It’s about layering. Diffused light, a foreground element, a practical background light, real atmospheric smoke, and a camera setting that separates all three planes. Each decision is simple. Together they produce something that looks like it took three times as long to set up as it actually did.
Watch the full tutorial on YouTube to see how quickly McKinnon moves through this in real time. The pace alone is instructive.