Light Tent Secrets: How to Shoot Clean, Professional Product Photos on Any Budget
I photograph products for a living, and the question I get most from small business owners is some version of: “Why do my photos look flat and amateur even when the product itself is beautiful?” Nine times out of ten, the answer isn’t the camera. It’s the light, and more specifically, it’s the lack of a controlled environment for that light to work in. A light tent — sometimes called a lightbox or photo cube — is one of the simplest, most affordable tools for solving that problem, and it’s something I’ve used on shoots ranging from a $50 DIY box in my kitchen to professional setups on client jobs.
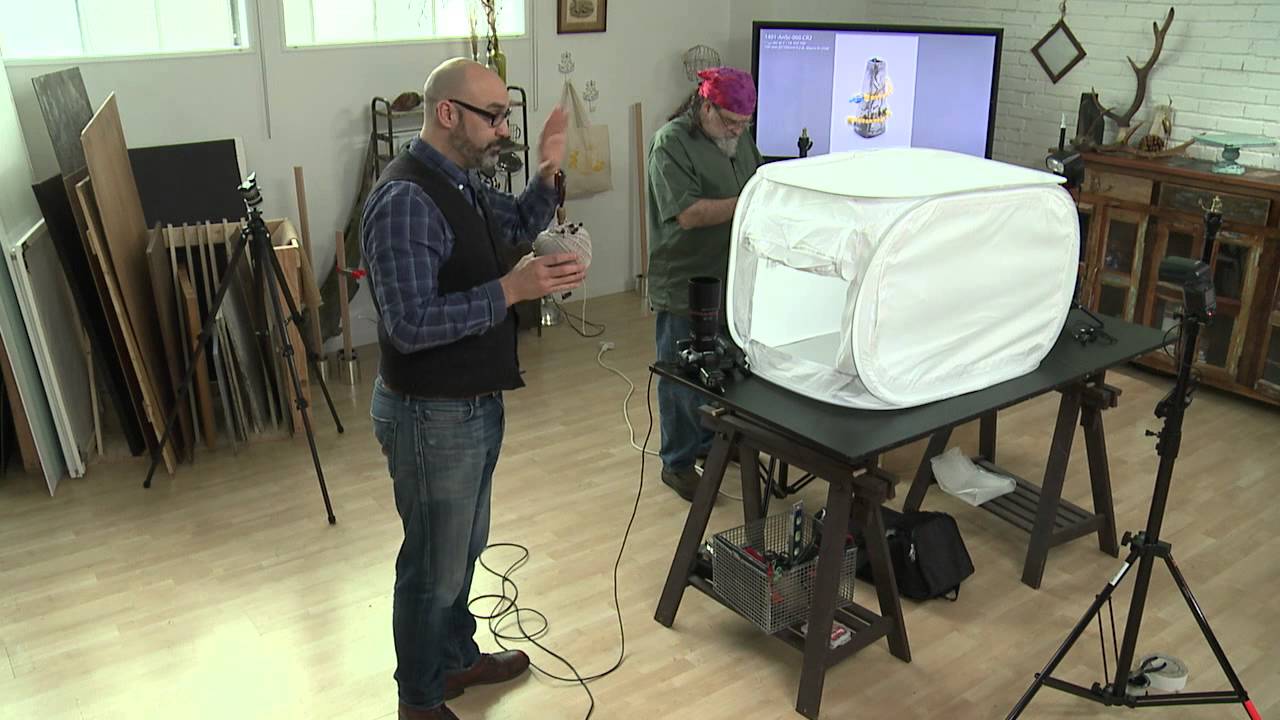
In this CreativeLive tutorial, food and product photographer Andrew Scrivani walks through how to use a collapsible light tent to photograph small objects cleanly and attractively. Watch the full tutorial on YouTube before or after reading this breakdown. What I appreciate about his approach is that he troubleshoots in real time, which means you see the actual decision-making process rather than a polished, error-free demo. That’s where the learning is. Here’s how to follow along and apply what he shows.
Step 1: Identify the Horizon Line Problem
 Visible horizon line across the light tent background
The first thing Scrivani points out is a hard horizontal line visible across the background of the tent. This is the point where the floor panel meets the back wall, and it immediately reads as amateurish in a final image. Your eye goes straight to it. If you’ve ever shot inside a light tent and wondered why your background looks broken or segmented rather than clean and seamless, this is why. The fix is not to edit it out in post. The fix is to address it inside the tent before you ever press the shutter.
Visible horizon line across the light tent background
The first thing Scrivani points out is a hard horizontal line visible across the background of the tent. This is the point where the floor panel meets the back wall, and it immediately reads as amateurish in a final image. Your eye goes straight to it. If you’ve ever shot inside a light tent and wondered why your background looks broken or segmented rather than clean and seamless, this is why. The fix is not to edit it out in post. The fix is to address it inside the tent before you ever press the shutter.
Step 2: Create a Background Sweep Using the Tent’s Built-In Plexi
 Andrew adjusting the Velcro sweep inside the light tent
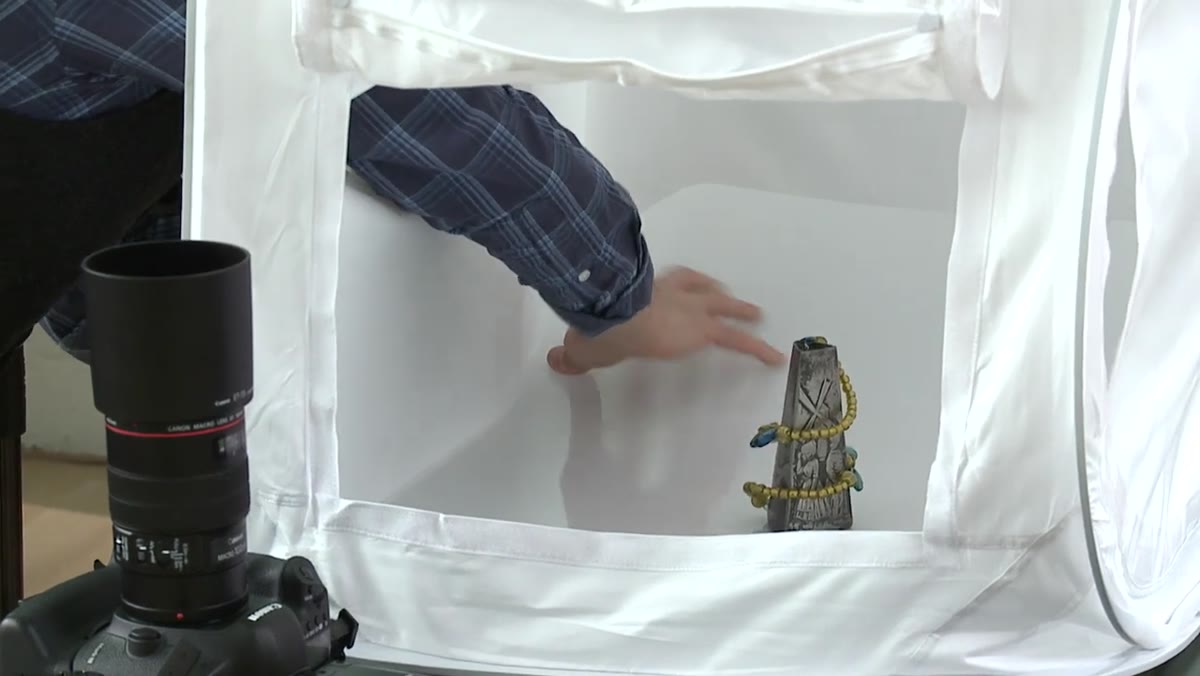
Most quality light tents include some mechanism for creating what photographers call an “infinity curve” or sweep. Scrivani’s tent uses a white Plexi panel secured with Velcro, and by pulling it up and repositioning it, you create a curved, continuous surface from the floor to the back wall. The result is a seamless background with no visible seam or horizon line. When you do this correctly, the background in your final image appears to extend infinitely behind the product, which is exactly what you want for clean e-commerce shots. If your tent uses fabric instead of Plexi, the same principle applies. Pull the material into a gentle arc rather than letting it fall at a right angle.
Andrew adjusting the Velcro sweep inside the light tent
Most quality light tents include some mechanism for creating what photographers call an “infinity curve” or sweep. Scrivani’s tent uses a white Plexi panel secured with Velcro, and by pulling it up and repositioning it, you create a curved, continuous surface from the floor to the back wall. The result is a seamless background with no visible seam or horizon line. When you do this correctly, the background in your final image appears to extend infinitely behind the product, which is exactly what you want for clean e-commerce shots. If your tent uses fabric instead of Plexi, the same principle applies. Pull the material into a gentle arc rather than letting it fall at a right angle.
Step 3: Flex the Plexi to Adjust the Sweep Angle
 Andrew pulling Plexi upward to increase sweep curve
Here’s something most beginner tutorials skip: the sweep isn’t one fixed shape. Scrivani demonstrates that you can pull the Plexi panel further upward to increase the curve, giving you more usable seamless background area. This matters when you’re shooting slightly taller or wider subjects, or when you want to position your product further back in the frame. More curve means more visual breathing room. Spend 60 seconds testing this before you place your product inside. Shoot a test frame without anything in the tent, check the background, and adjust until the sweep is smooth from edge to edge.
Andrew pulling Plexi upward to increase sweep curve
Here’s something most beginner tutorials skip: the sweep isn’t one fixed shape. Scrivani demonstrates that you can pull the Plexi panel further upward to increase the curve, giving you more usable seamless background area. This matters when you’re shooting slightly taller or wider subjects, or when you want to position your product further back in the frame. More curve means more visual breathing room. Spend 60 seconds testing this before you place your product inside. Shoot a test frame without anything in the tent, check the background, and adjust until the sweep is smooth from edge to edge.
Step 4: Consider the Shooting Angle and Tent Orientation
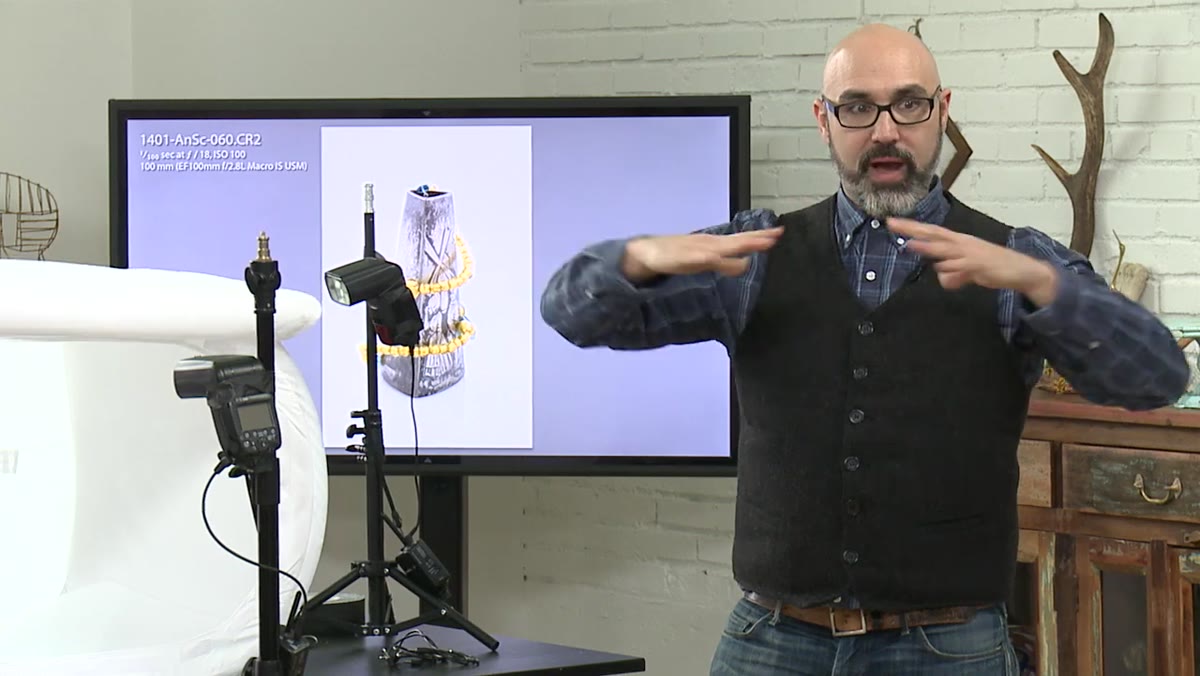 Andrew rotating the tent to demonstrate wide shooting angle
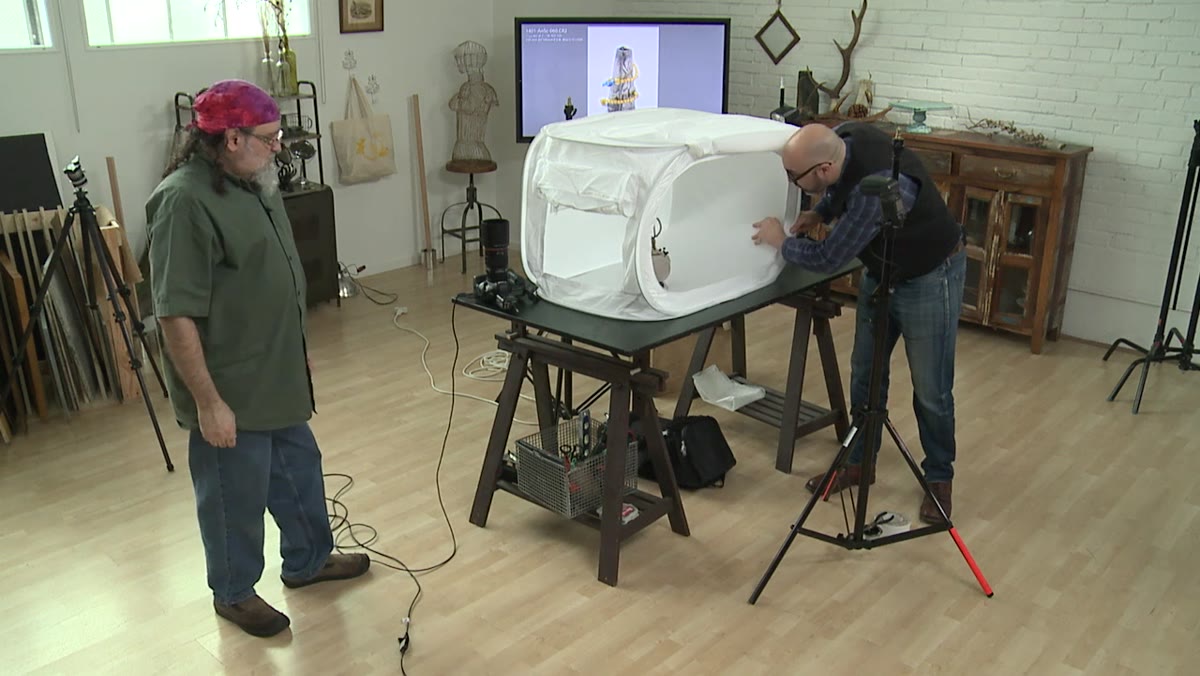
One detail that often gets overlooked is that a light tent is not locked into a single shooting orientation. Scrivani rotates the cube to show that you can shoot through different openings depending on your subject’s dimensions. If you’re photographing something wide, like a flat lay of accessories or a longer object, rotating the tent and shooting through a different opening gives you a wider field of view without losing your lighting setup. The light diffusion panels on the outside of the tent still do their job regardless of which direction you’re shooting. This is especially useful if you’re switching between products of different sizes on the same shoot day without reconfiguring your lights.
Andrew rotating the tent to demonstrate wide shooting angle
One detail that often gets overlooked is that a light tent is not locked into a single shooting orientation. Scrivani rotates the cube to show that you can shoot through different openings depending on your subject’s dimensions. If you’re photographing something wide, like a flat lay of accessories or a longer object, rotating the tent and shooting through a different opening gives you a wider field of view without losing your lighting setup. The light diffusion panels on the outside of the tent still do their job regardless of which direction you’re shooting. This is especially useful if you’re switching between products of different sizes on the same shoot day without reconfiguring your lights.
Step 5: Style the Product with Intentional Props
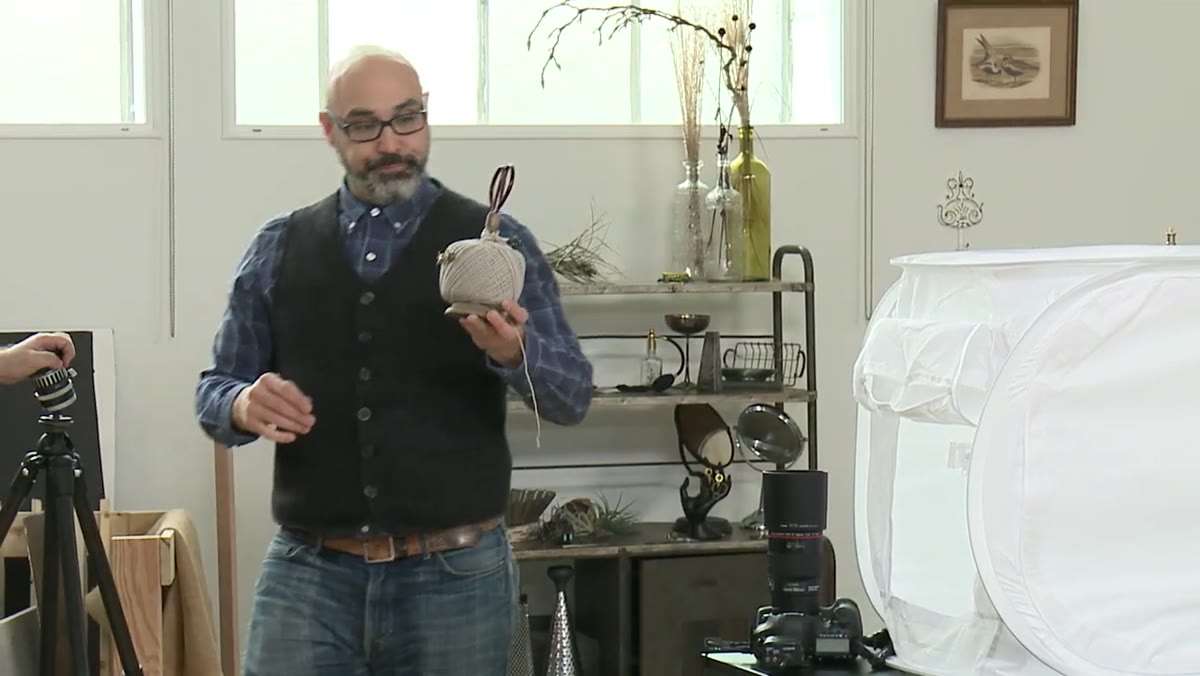 Brass propeller earrings placed inside light tent with string prop
Scrivani places a pair of brass earrings inside the tent and immediately reaches for a piece of textured string to use as a prop. This is worth pausing on. He’s not just placing the product and shooting. He’s thinking about what visual context makes the object more compelling and what textures will add depth without competing with the subject. For jewelry specifically, a plain white background can make small items look clinical and weightless. A natural fiber, a piece of fabric, or a wooden surface underneath can give the product a sense of scale and warmth. The key is that the prop should support the product visually, not distract from it.
Brass propeller earrings placed inside light tent with string prop
Scrivani places a pair of brass earrings inside the tent and immediately reaches for a piece of textured string to use as a prop. This is worth pausing on. He’s not just placing the product and shooting. He’s thinking about what visual context makes the object more compelling and what textures will add depth without competing with the subject. For jewelry specifically, a plain white background can make small items look clinical and weightless. A natural fiber, a piece of fabric, or a wooden surface underneath can give the product a sense of scale and warmth. The key is that the prop should support the product visually, not distract from it.
Step 6: Capture Both a Full Shot and a Detail Close-Up
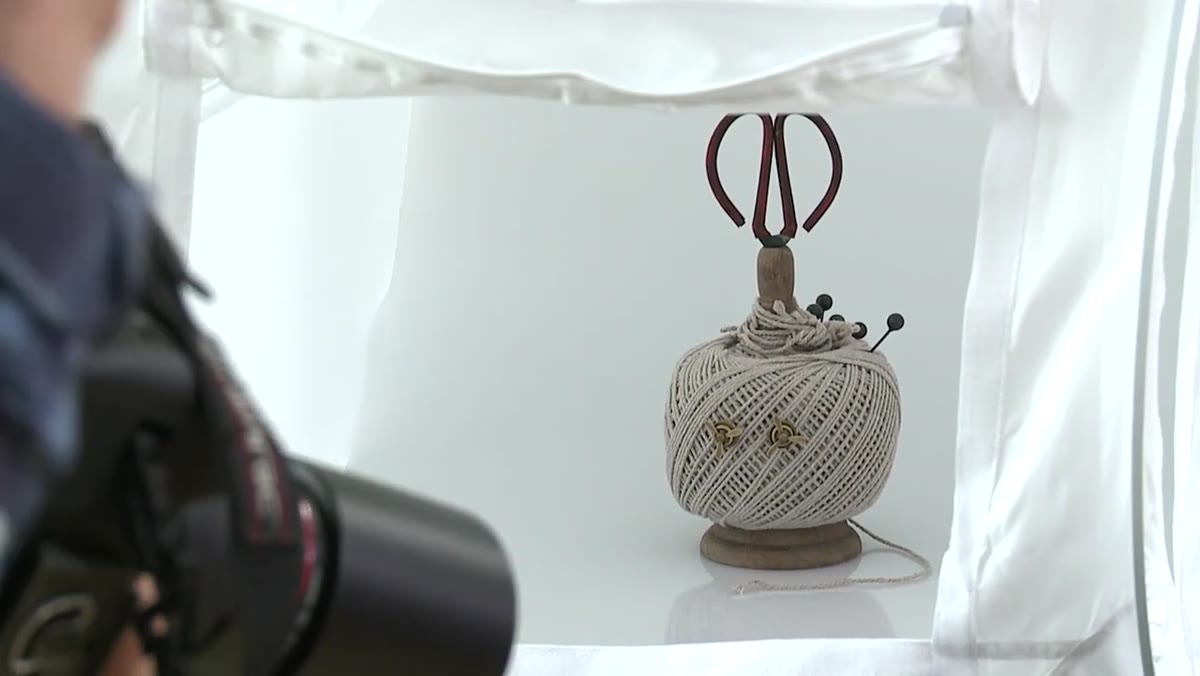 Andrew preparing to shoot wide then zoom in on earring detail
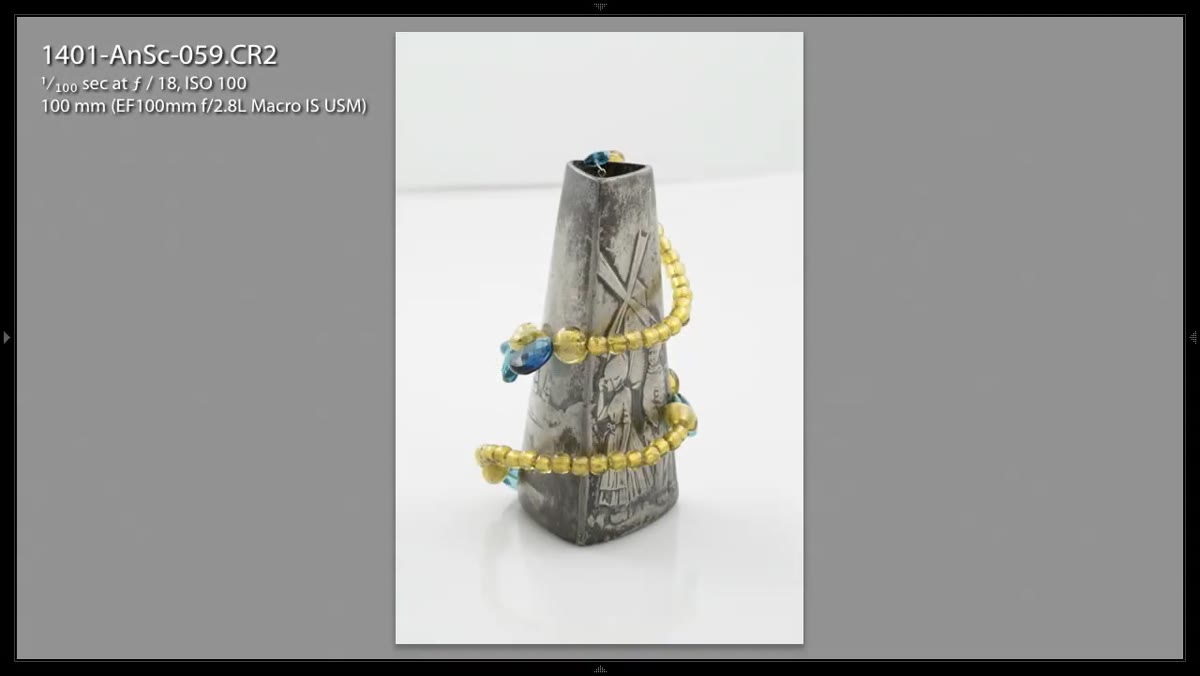
Scrivani plans two shots before he moves anything: one full shot showing the earrings as a whole, and one zoomed-in detail shot focusing on the texture and finish of the small propeller elements. This is standard practice in e-commerce photography for a reason. The full shot gives the buyer context and scale. The detail shot gives them confidence in quality. When shooting small items like jewelry, the detail close-up often converts better than the hero shot because it answers the question the buyer is actually asking: “What does this look like up close?” Shoot both orientations, horizontal and vertical, so you have options for different platform formats from Amazon listings to Instagram.
Andrew preparing to shoot wide then zoom in on earring detail
Scrivani plans two shots before he moves anything: one full shot showing the earrings as a whole, and one zoomed-in detail shot focusing on the texture and finish of the small propeller elements. This is standard practice in e-commerce photography for a reason. The full shot gives the buyer context and scale. The detail shot gives them confidence in quality. When shooting small items like jewelry, the detail close-up often converts better than the hero shot because it answers the question the buyer is actually asking: “What does this look like up close?” Shoot both orientations, horizontal and vertical, so you have options for different platform formats from Amazon listings to Instagram.
What I’d Add from My Own Experience
The one thing this tutorial doesn’t get into is surface swapping, which is where I think light tents become genuinely versatile. The white Plexi floor Scrivani uses is a clean default, but I regularly swap it out for marble contact paper, raw linen, or a matte black acrylic sheet depending on the product and brand aesthetic. You can cut any of these materials to size and lay them right on top of the Plexi. This single change can take a photo from looking like a stock image to looking like a styled editorial shot, without adding any complexity to your lighting setup. My kitchen lightbox has a whole stack of surface swatches organized by color, and I test new combinations constantly. If you’re photographing products with a specific brand palette, matching or complementing that palette in your surface choice is one of the fastest ways to make your images feel intentional and on-brand.
The single most important thing I took away from watching Scrivani work through this setup is that product photography in a light tent is not set-it-and-forget-it. It’s a series of small adjustments, each one making the next element easier to control. Fix the sweep first. Then set the orientation. Then style the product. Then shoot wide and close. Do it in that order and you’ll come out with images that actually do the job they’re supposed to do: make someone want to buy.
Watch the full tutorial on YouTube and watch how Scrivani narrates his thinking as he goes. That real-time problem-solving is worth more than the finished shots.