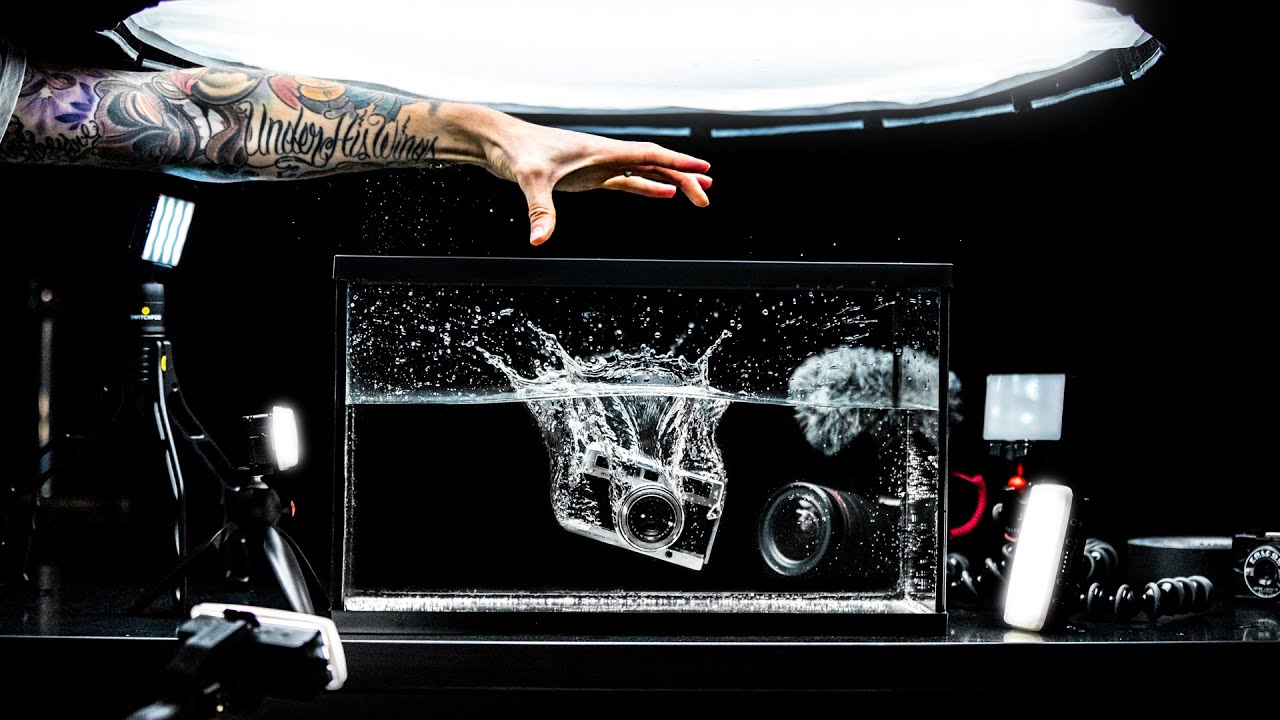
How to Shoot Underwater Product Photos for Under $50 (No Dive Housing Required)
There is a category of product shot that stops thumbs mid-scroll. The underwater image is one of them. Bubbles, refraction, depth, drama. It reads as high-budget even when it isn’t, and for e-commerce sellers trying to stand out in a grid of white-background JPEGs, that visual surprise is worth real money. I know this because I have seen it work firsthand. One of the first things I changed for a client’s listings was the hero image style, and the jump in engagement was immediate. So when I came across this technique in a Peter McKinnon tutorial, I paid close attention, because it confirmed something I had been experimenting with on my kitchen counter for months: you do not need expensive equipment to produce images that look like they came from a professional studio shoot.
Watch the full tutorial on YouTube
What McKinnon lays out is genuinely accessible. The core setup costs around fifty dollars and uses gear most photographers already own or can borrow. The technique originated from a real client problem, photographing a water-themed deck of cards when he had no pool, no underwater housing, and no budget for either. What he landed on is the kind of solution that only comes from creative necessity, and it scales beautifully for product work.
Step 1: Get a Fish Tank and Think About Background
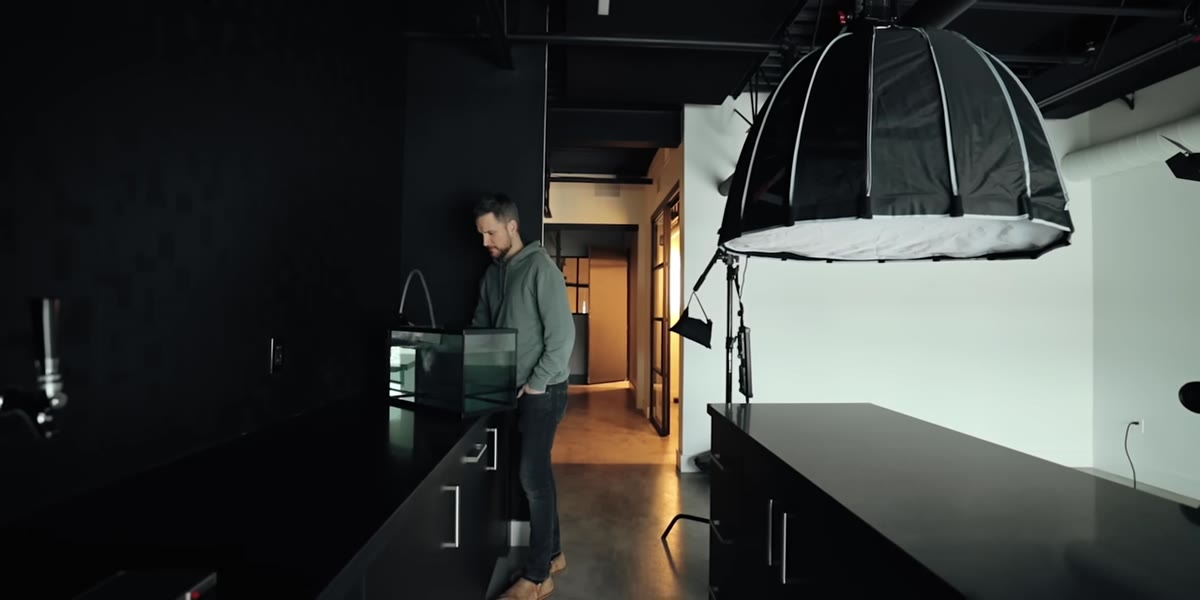
 Fish tank placed against a dark black backdrop wall
Head to a pet store or order online and pick up a basic glass fish tank. McKinnon paid fifty dollars at PetSmart. Glass matters here, not acrylic. Acrylic scratches and creates optical distortion that is difficult to correct in post. A standard 10 to 20 gallon rectangular tank gives you enough interior space to drop products in at interesting angles while keeping the front glass close to your lens.
Fish tank placed against a dark black backdrop wall
Head to a pet store or order online and pick up a basic glass fish tank. McKinnon paid fifty dollars at PetSmart. Glass matters here, not acrylic. Acrylic scratches and creates optical distortion that is difficult to correct in post. A standard 10 to 20 gallon rectangular tank gives you enough interior space to drop products in at interesting angles while keeping the front glass close to your lens.
Position the tank so your background is as far away from it as possible. McKinnon places his against a black wall and pushes the tank toward the camera, maximizing the distance between the water and the backdrop. That distance is what lets the background fall into a clean, dark void rather than a muddy gray smear. If you do not have a black wall, tape black foam board or black seamless paper a few feet behind the tank.
Step 2: Fill the Tank Carefully
 Water level visible inside tank, line of water shown near top
Fill the tank, but not all the way to the rim. McKinnon notes that the most visually interesting images happen when the waterline is visible in the frame. That line creates a natural horizon, separating the above-water world from the underwater space, and gives the final image a sense of environment rather than just a wet product shot.
Water level visible inside tank, line of water shown near top
Fill the tank, but not all the way to the rim. McKinnon notes that the most visually interesting images happen when the waterline is visible in the frame. That line creates a natural horizon, separating the above-water world from the underwater space, and gives the final image a sense of environment rather than just a wet product shot.
Leave several inches of air space above the water. You need room to drop or submerge products, and you need the waterline to read clearly in your composition. If you overfill it, you lose that visual layer entirely. Underfilling is always easier to correct than overfilling.
Step 3: Set Up Your Lighting for Maximum Depth of Field
 Aperture wireless lights positioned on either side of the fish tank
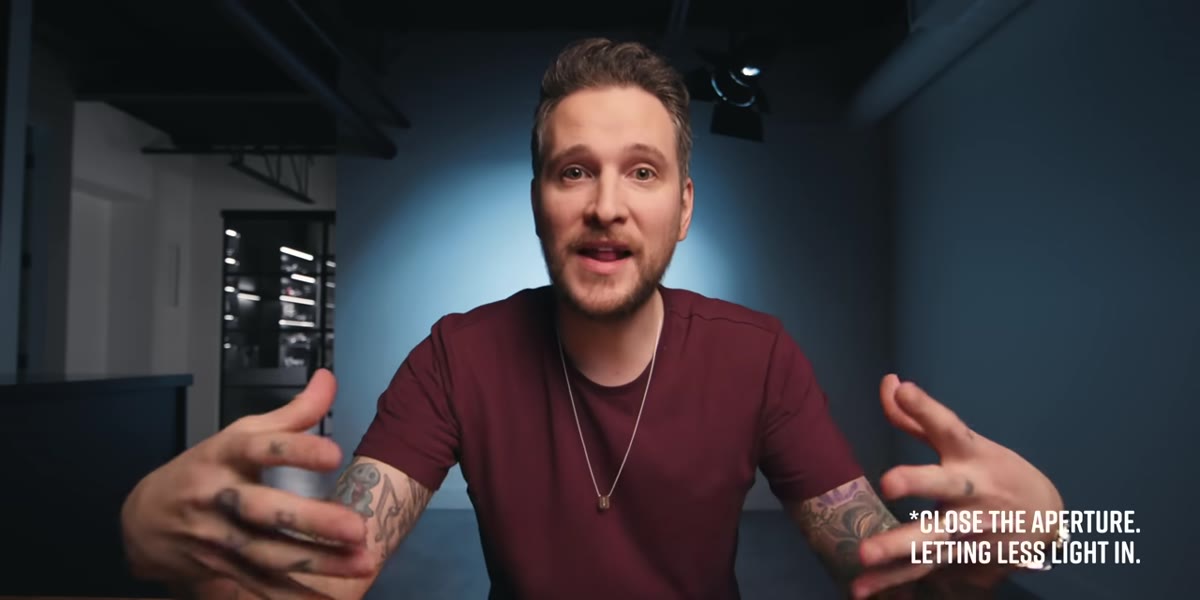
This is the step most tutorials skip past, and it is the one that determines whether your photos are sharp or frustrating. McKinnon’s lighting goal is not aesthetics first. It is sheer volume of light, because the shooting conditions demand a closed-down aperture.
Aperture wireless lights positioned on either side of the fish tank
This is the step most tutorials skip past, and it is the one that determines whether your photos are sharp or frustrating. McKinnon’s lighting goal is not aesthetics first. It is sheer volume of light, because the shooting conditions demand a closed-down aperture.
When you are photographing something falling or sinking through water, the subject moves through the frame unpredictably. If you shoot wide open at f/1.8 or f/2, your depth of field is so shallow that most frames will be soft. You need to stop down to f/8 or tighter to get a workable focus plane, and that requires a lot of light to maintain a usable shutter speed. McKinnon surrounds the tank with constant LED video lights, including one mounted directly above. If you do not own video lights, position the tank right against a large window on a bright overcast day. Overcast light is diffused and even, which prevents harsh reflections on the glass.
Step 4: Choose Your Camera Settings
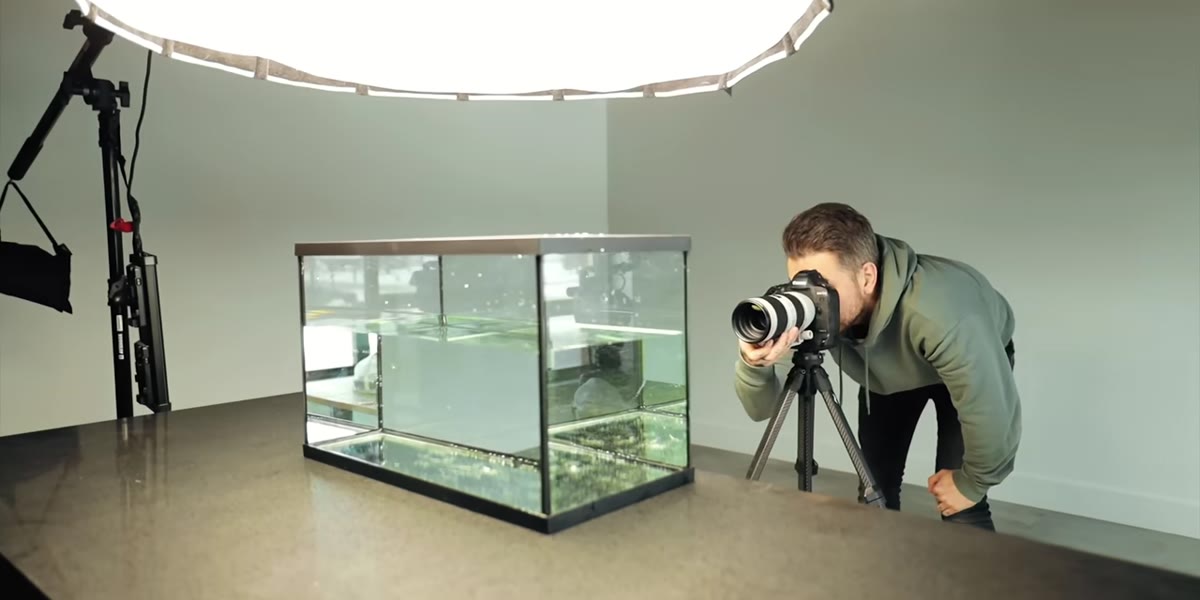
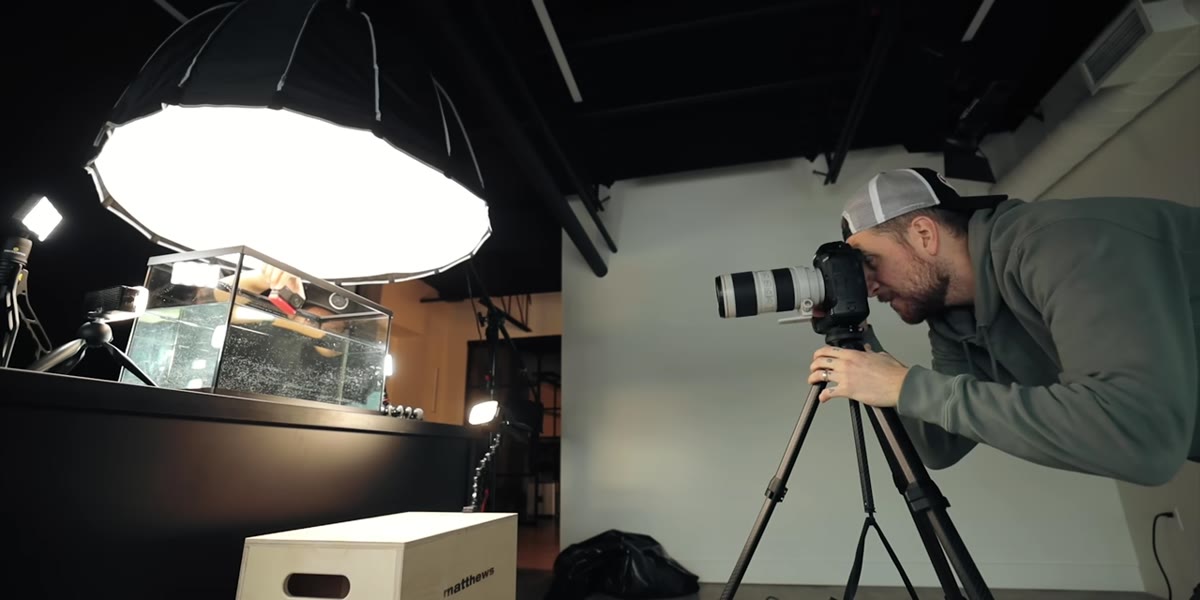
 Camera mounted and positioned at eye level with the fish tank
With your lights blazing, set your aperture to f/8 or higher. Start your ISO as low as possible to keep noise out of what will likely be a darker, moody image. Your shutter speed needs to be fast enough to freeze motion. For slow sinking objects, 1/500 is usually sufficient. For anything dropped from a height that creates a splash at the surface, push to 1/1000 or faster.
Camera mounted and positioned at eye level with the fish tank
With your lights blazing, set your aperture to f/8 or higher. Start your ISO as low as possible to keep noise out of what will likely be a darker, moody image. Your shutter speed needs to be fast enough to freeze motion. For slow sinking objects, 1/500 is usually sufficient. For anything dropped from a height that creates a splash at the surface, push to 1/1000 or faster.
Shoot in manual mode. Auto exposure will fight you constantly because the dark background reads as underexposed and the camera will keep trying to brighten the frame. Lock your exposure, get a test reading on something placed inside the tank, and adjust from there. Shoot RAW. The underwater color cast will need some correction, and RAW gives you the latitude to handle it without destroying the image.
Step 5: Stage and Drop Your Product
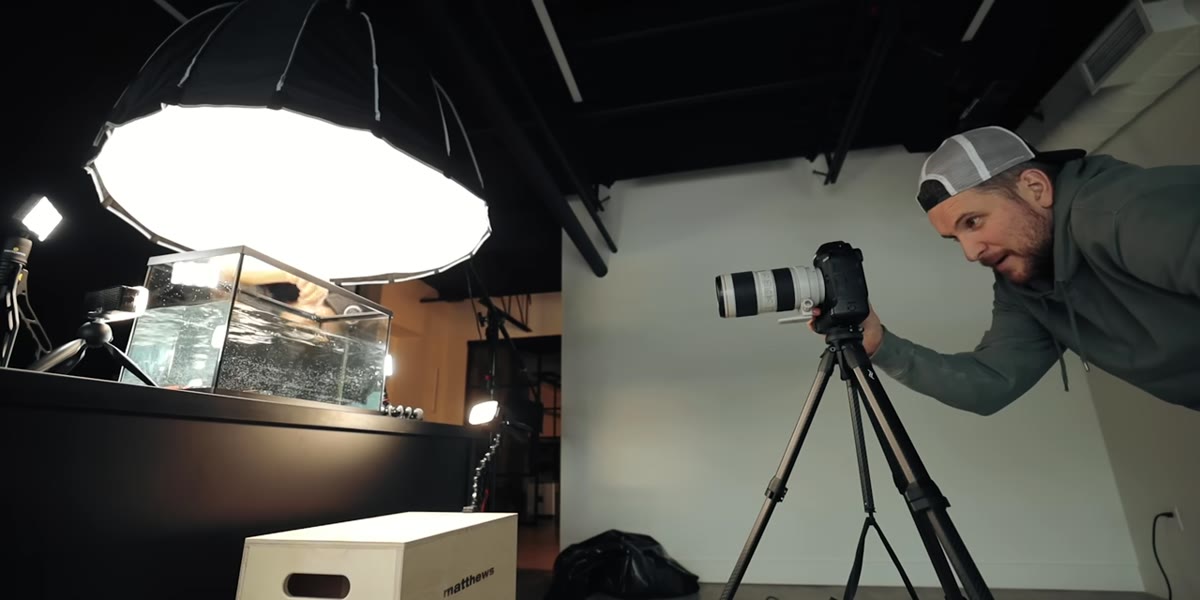
 Product being dropped into water, splashing at the surface
This is where the fun starts and patience becomes essential. Some products can simply be submerged and photographed at rest. Others look best caught mid-drop, hitting the surface or sinking through the water column. Test both approaches.
Product being dropped into water, splashing at the surface
This is where the fun starts and patience becomes essential. Some products can simply be submerged and photographed at rest. Others look best caught mid-drop, hitting the surface or sinking through the water column. Test both approaches.
For drop shots, have a second person drop the product on a count so you can time your burst. Set your camera to continuous high-speed shooting and hold the shutter through the moment of impact. You will take dozens of frames to get three or four keepers. That is completely normal. Products with visual texture, like cards, bottles, or wrapped goods, tend to photograph beautifully because the water distorts and enhances those surface details in ways that are impossible to replicate in a dry studio.
Step 6: Review and Cull Immediately
 Shot review happening, assessing sharpness of underwater frames
After each drop, take thirty seconds to review your frames on the camera’s rear LCD before resetting for the next attempt. You are looking for two things: sharp focus on the product and an interesting position in the frame. Discard anything soft or where the product landed in an awkward crop. Reviewing as you go saves editing time later and tells you whether you need to adjust your shutter speed or focus point before the next drop.
Shot review happening, assessing sharpness of underwater frames
After each drop, take thirty seconds to review your frames on the camera’s rear LCD before resetting for the next attempt. You are looking for two things: sharp focus on the product and an interesting position in the frame. Discard anything soft or where the product landed in an awkward crop. Reviewing as you go saves editing time later and tells you whether you need to adjust your shutter speed or focus point before the next drop.
What I Would Add From My Own Work
Glass reflection is the silent killer of fish tank photography. Even with a dark background, if your lights are positioned at the wrong angle, you will get a ghost of yourself or your light source bouncing back off the front glass panel. Test this before you drop a single product. Stand behind your camera, look at the front glass, and reposition lights until no reflection is visible from your shooting angle. Slightly angling the lights toward the sides of the tank rather than shooting straight into the front glass usually solves it. A polarizing filter on your lens can also cut residual glare if repositioning alone is not enough.
The single most transferable lesson from this setup is that creative lighting problems are almost always solvable with cheap gear and specific thinking. A fifty-dollar fish tank produces images that look nothing like a fifty-dollar shoot, because the technique is what creates the value, not the equipment. If you are shooting products for a brand or an Etsy shop and white-background photos are not converting, this is a setup worth building for an afternoon.
Watch the full tutorial on YouTube and see exactly how McKinnon lights and positions his setup. Seeing the light placement in motion makes the logic click faster than any diagram I could draw.