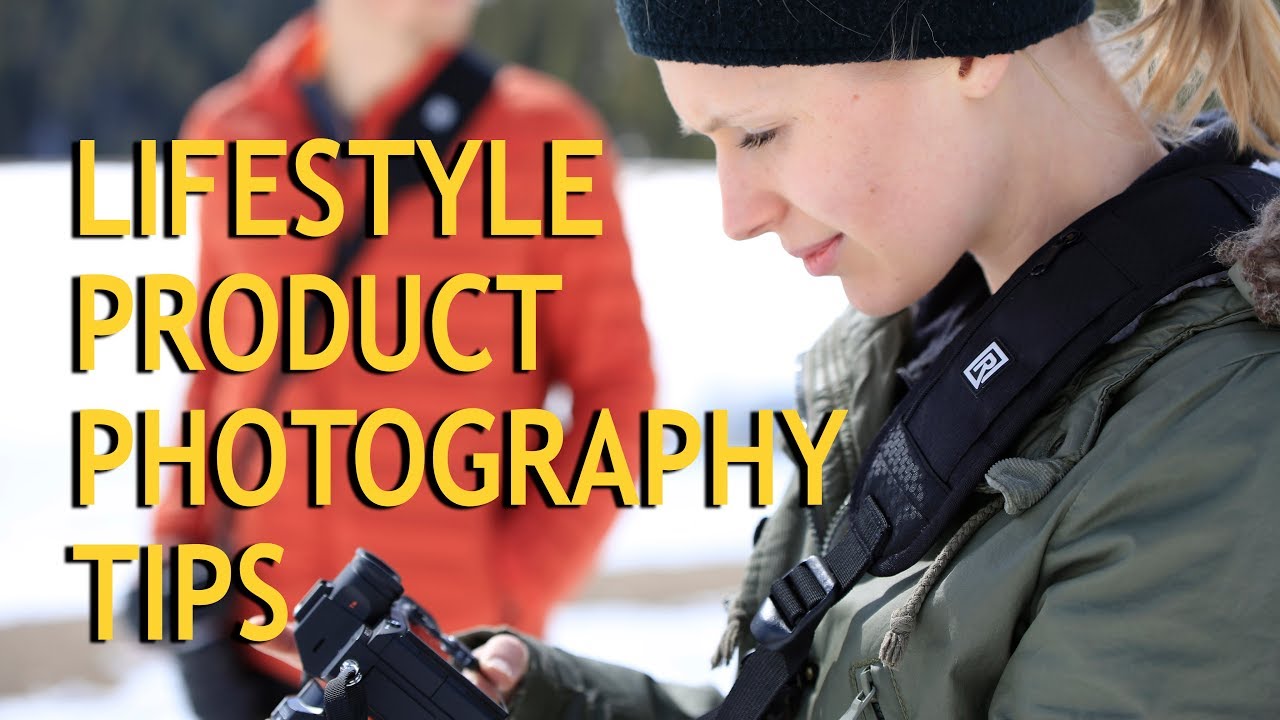
How to Shoot Lifestyle Product Photos That Actually Tell a Story (Lessons from the Snow)
Most of my work happens indoors. Controlled light, white seamless, the same corner of my apartment I’ve shot in approximately ten thousand times. That environment is great for clean e-commerce images, but it tells the customer nothing about how a product actually lives in the world. Lifestyle photography is what bridges that gap, and it’s the category I get asked about most by small business owners who want something more than a flat lay on a marble slab.
When a client sends me a camera strap, a hiking backpack, or a piece of outdoor gear and says “make it feel real,” that’s a different problem than lighting a bracelet in my kitchen lightbox. So when I came across Watch the full tutorial on YouTube from The Slanted Lens, I watched it twice with a notebook open. Jay P. Morgan takes a BlackRapid camera strap out into snowy Utah and demonstrates exactly how he structures a lifestyle shoot from concept to execution. The setting is dramatic, but the principles apply whether you’re at a ski resort or a city park.
What I appreciate about his approach is that it’s built around a framework, not luck. Every decision he makes has a reason behind it. Here’s how I’d walk through it if I were doing this shoot myself.
Step 1: Know the Product Before You Shoot a Single Frame
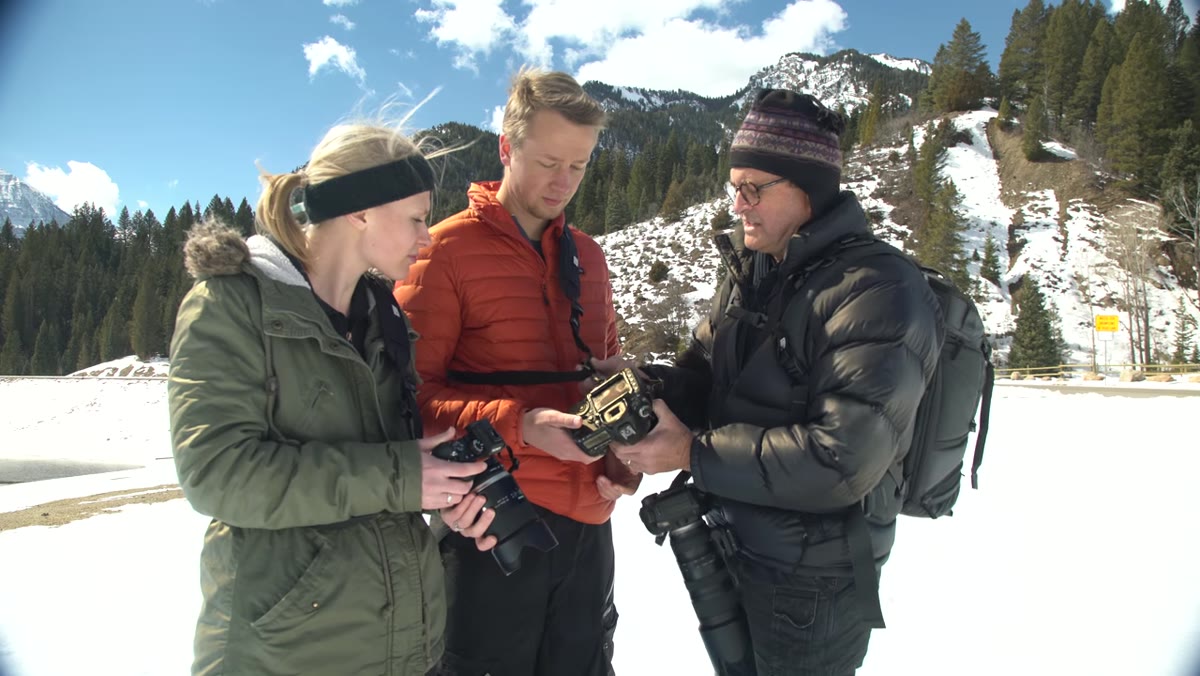 Jay demonstrating how the carabiner clips onto the BlackRapid strap
Before you ever lift your camera, you need to understand what you’re selling. Jay spends real time with the BlackRapid strap, working through how the carabiner attaches, where the safety clip hooks in, and what the shoulder padding looks like under use. This isn’t fussing, it’s research.
Jay demonstrating how the carabiner clips onto the BlackRapid strap
Before you ever lift your camera, you need to understand what you’re selling. Jay spends real time with the BlackRapid strap, working through how the carabiner attaches, where the safety clip hooks in, and what the shoulder padding looks like under use. This isn’t fussing, it’s research.
A client will reject an otherwise beautiful image the moment they spot incorrect product usage. The strap buckled on the wrong side, the label facing the wrong direction, the zipper pull tucked away when it should be visible. These details matter enormously to the brand. If you’re shooting a product you don’t use personally, spend 20 minutes handling it before the shoot day, and brief your talent on how to use it correctly so there’s no figuring-it-out on camera.
Step 2: Build Your Shot List Around a Story Arc
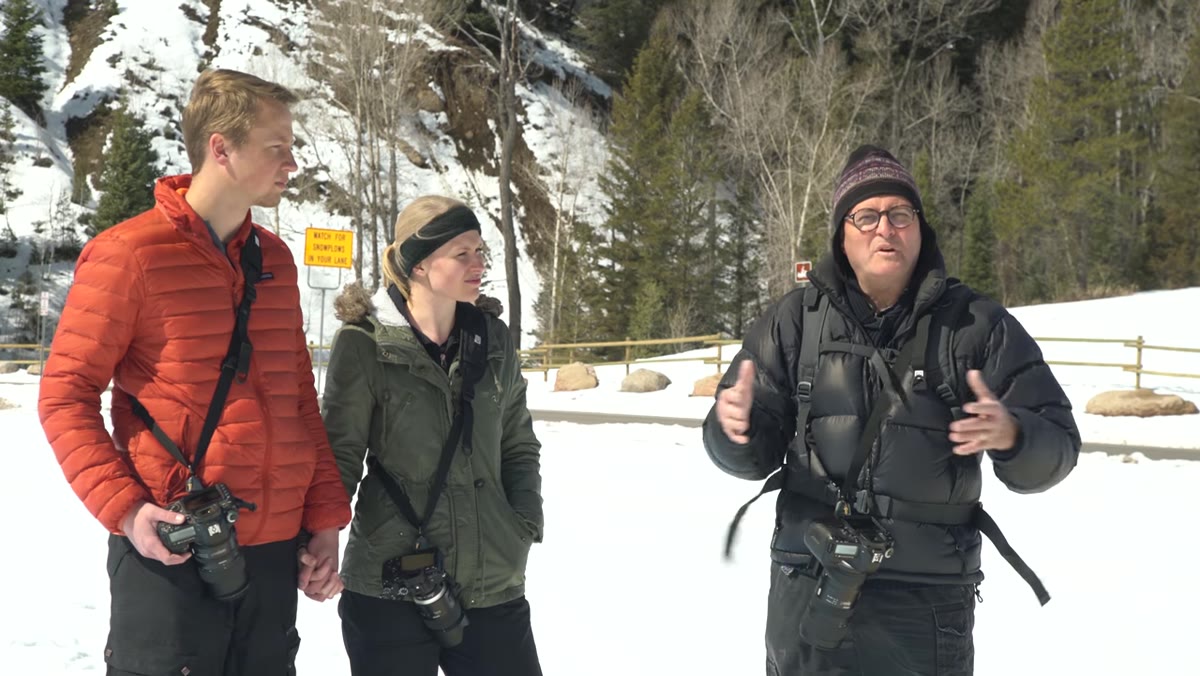 Jay gesturing toward the snowy mountain landscape as he discusses establishing shots
Jay frames his shot list the same way a film director would structure a scene: wide, medium, close. He calls it “wide, tight, and interesting,” and I’d tattoo it on my hand if I were the type. The wide shot establishes the world. The medium shot shows the people in it. The tight shot reveals the product and its details.
Jay gesturing toward the snowy mountain landscape as he discusses establishing shots
Jay frames his shot list the same way a film director would structure a scene: wide, medium, close. He calls it “wide, tight, and interesting,” and I’d tattoo it on my hand if I were the type. The wide shot establishes the world. The medium shot shows the people in it. The tight shot reveals the product and its details.
Think of your final deliverable as a short visual story. Your client needs a hero image that sells the feeling (wide), supporting images that show the product in context (medium), and detail shots that close the sale (tight). Planning these before you arrive on location means you’re not improvising under pressure with a model waiting and light changing every 20 minutes.
Step 3: Choose Your Location for the Story, Not Just the Scenery
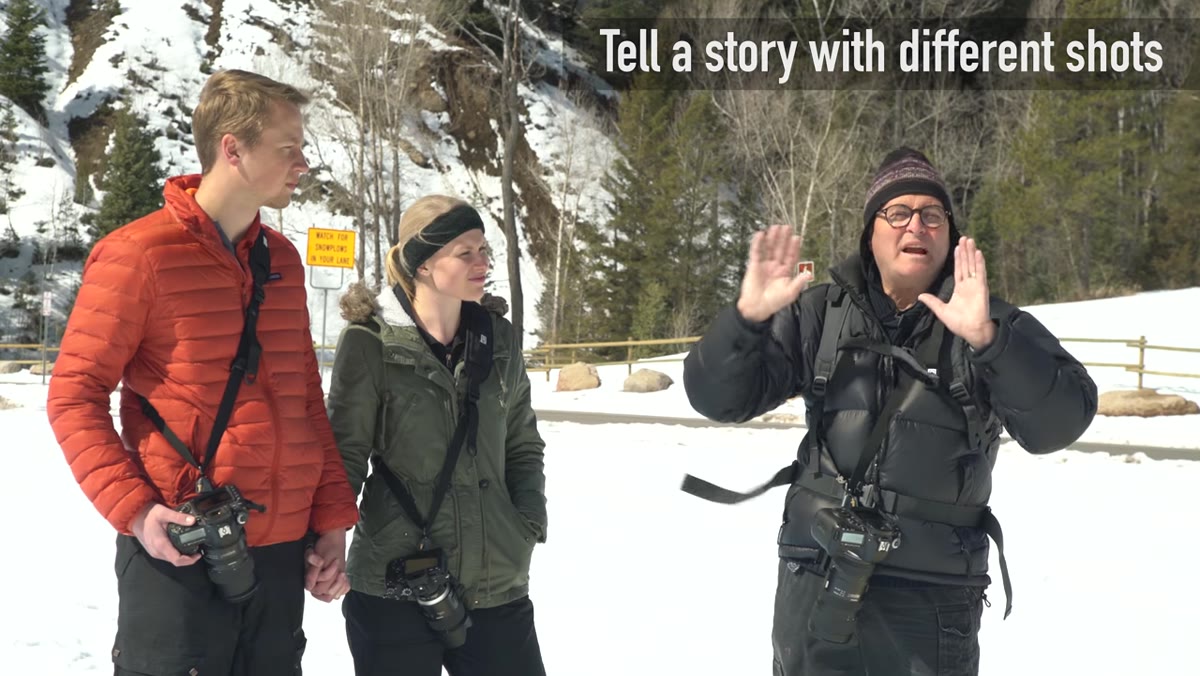 Wide view of Tibble Fork Reservoir showing snow-covered trees and open landscape
The location isn’t decoration. It’s part of the product’s argument. Jay shoots at Tibble Fork Reservoir in Utah because the snowy mountain environment communicates something specific: this strap belongs in adventure. The setting does half the storytelling before you even see the product.
Wide view of Tibble Fork Reservoir showing snow-covered trees and open landscape
The location isn’t decoration. It’s part of the product’s argument. Jay shoots at Tibble Fork Reservoir in Utah because the snowy mountain environment communicates something specific: this strap belongs in adventure. The setting does half the storytelling before you even see the product.
When you’re scouting, ask what the location implies about the product’s lifestyle. A coffee brand shot in a cozy cabin reads differently than the same brand shot on a rooftop. Neither is wrong, but they’re selling different feelings. Lock that in before the shoot day, not during it.
Step 4: Warm Up Your Talent Before the Camera Comes Out
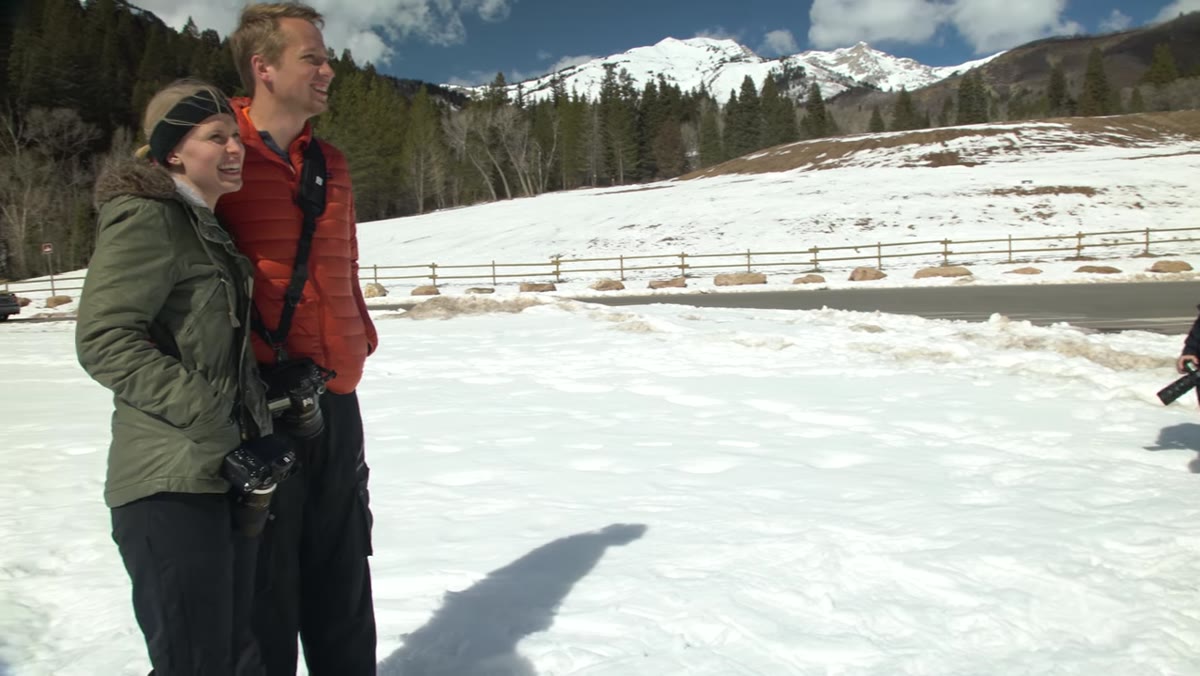 Jay talking with talent in a relaxed, candid moment between setups
Jay is deliberate about this, and it’s something I see newer photographers skip entirely. He talks to his subjects, asks where they’re from, makes them laugh. With couples especially, this pays off immediately because the camera reads comfort or tension with no ambiguity.
Jay talking with talent in a relaxed, candid moment between setups
Jay is deliberate about this, and it’s something I see newer photographers skip entirely. He talks to his subjects, asks where they’re from, makes them laugh. With couples especially, this pays off immediately because the camera reads comfort or tension with no ambiguity.
A tense model looks like they’re holding a product at gunpoint. A relaxed model looks like they forgot the camera was there. The second one sells products. Give yourself ten minutes of genuine conversation before you start shooting. Let the camera come out slowly. Your talent’s body language will shift noticeably.
Step 5: Leverage Natural Chemistry When You Have It
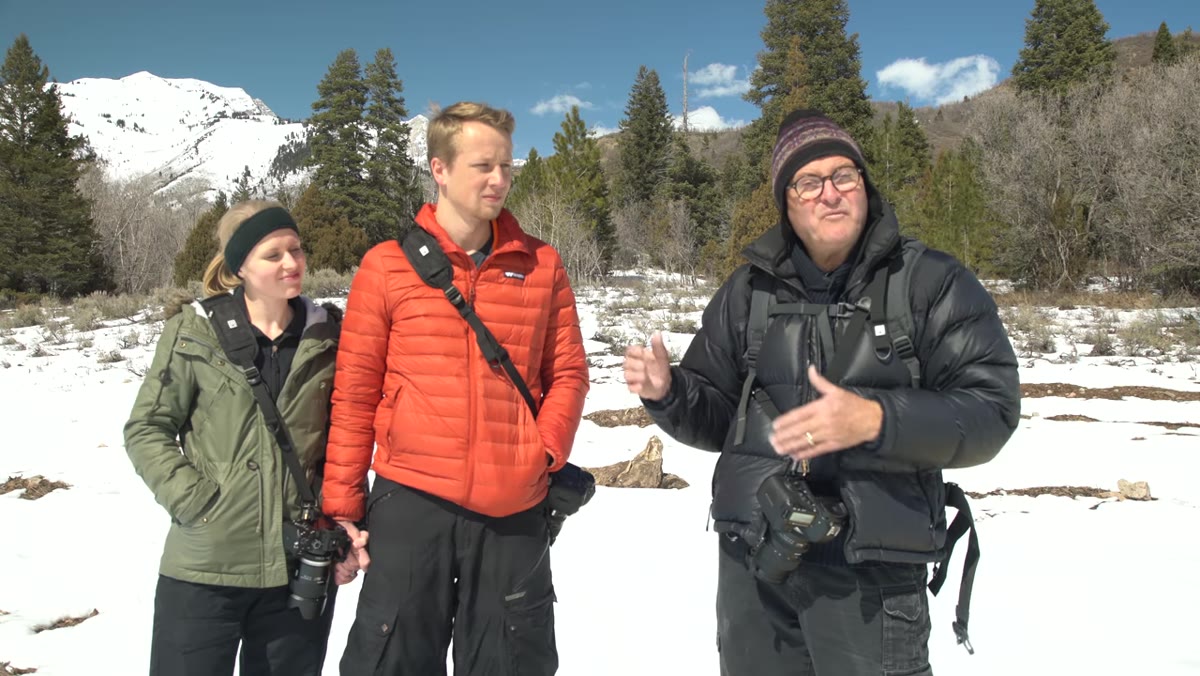 Couple laughing together naturally during the shoot in the snowy landscape
Jay specifically mentions that he loves working with real couples for lifestyle shoots because the chemistry is already there. You’re not manufacturing a connection between two strangers, you’re just pointing a camera at one that already exists.
Couple laughing together naturally during the shoot in the snowy landscape
Jay specifically mentions that he loves working with real couples for lifestyle shoots because the chemistry is already there. You’re not manufacturing a connection between two strangers, you’re just pointing a camera at one that already exists.
When casting or choosing talent for a lifestyle shoot, think about this. Two friends who are genuinely comfortable with each other will almost always outperform two strangers who are technically better models. For small business clients on a tight budget, this is actually an advantage. Have the brand owner shoot with their partner, their best friend, their actual customer. Authenticity is not something you can light your way around.
Step 6: Get the Unusual Angle on Every Setup
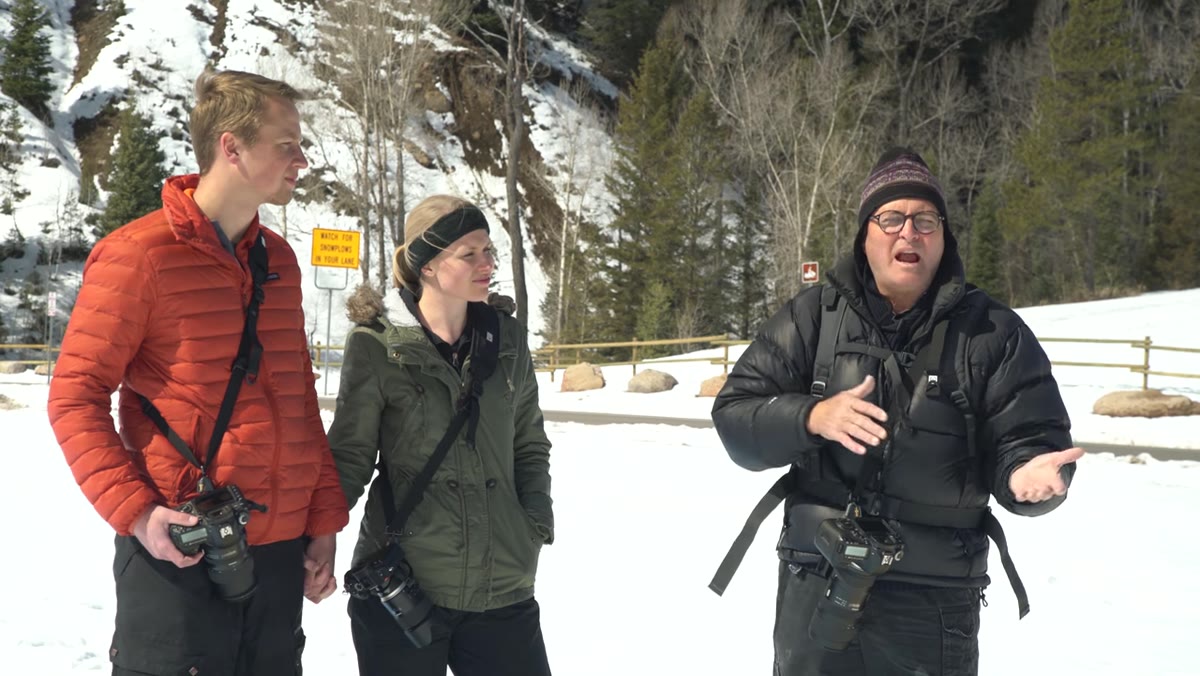 Jay describing varied shooting angles including ground level and elevated positions
Jay’s instruction to “lay on the ground, get up high, look for interesting light” is not a creative suggestion. It’s a production requirement. For every setup, after you’ve captured the obvious shot, move. Get low and shoot up against the sky. Get above and compress the landscape. Find where the light is coming through the trees and position your subject in front of it.
Jay describing varied shooting angles including ground level and elevated positions
Jay’s instruction to “lay on the ground, get up high, look for interesting light” is not a creative suggestion. It’s a production requirement. For every setup, after you’ve captured the obvious shot, move. Get low and shoot up against the sky. Get above and compress the landscape. Find where the light is coming through the trees and position your subject in front of it.
The interesting shot is rarely the one you take standing at eye level with a medium lens. It’s the one that required some physical effort. Bring a small step stool to location shoots. Wear clothes you can kneel in. These are not glamorous tips, but they will change your images.
What I’d Add from My Own Shoots
The one thing I’d layer on top of Jay’s framework is a product-only detail sequence at the end of the shoot, after your talent has wrapped. Once the people are gone, place the product in the environment by itself and shoot a set of clean detail images. Strap on a rock, strap on a log, strap arranged against the snow. These images give the client pure product shots with environmental context, and they’re often the ones that end up on product pages. No talent fees, no scheduling. Just you, the product, and whatever light you have left.
The single most important idea in this tutorial is the story framework: wide, tight, interesting. If you walk into a lifestyle shoot with that structure already mapped to your shot list, you will leave with usable images. Everything else, the talent warmup, the location choice, the unusual angles, feeds into that structure.
Watch the full tutorial on YouTube to see Jay work through this in real time. The snow location makes every principle land immediately, and seeing the product handled correctly by trained talent is worth the watch on its own.