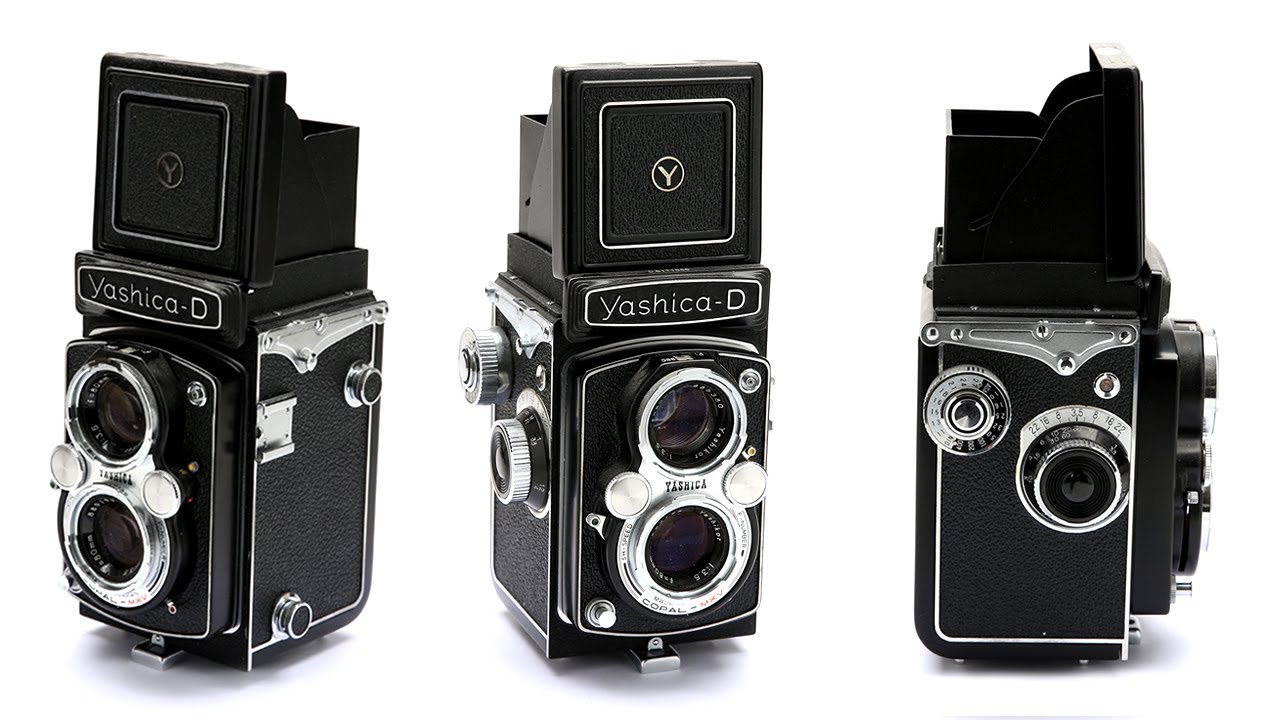
How to Shoot 360-Degree Product Photography on White (The Setup That Actually Works)
I photograph a lot of products for small business owners, and the question I get more than almost any other is some version of: “Can I show my product from all angles without hiring a video crew?” The answer is yes, and it’s more accessible than most people think. When a client selling handmade leather goods asked me to help them show the stitching, hardware, and shape of their bags without the flat, lifeless feel of a single static shot, I went back to a tutorial I had bookmarked months earlier. Watch the full tutorial on YouTube from The Slanted Lens. Jay P. Morgan walks through the entire workflow, from turntable setup to lighting to camera settings, with the kind of specificity that makes you feel like you’ve actually done it before you try.
What I appreciate about this tutorial is that it treats 360-degree photography as a discipline, not a gimmick. The difference between a 360 spin and a product video isn’t just technical. When you shoot individual RAW frames and stitch them together, you get detail and color accuracy that video compression destroys. If your product has texture, fine print, chrome accents, or anything tactile, a 360 sequence of high-resolution stills is the only format that does it justice.
Here is the full breakdown so you can follow along without pausing the video every thirty seconds.
Step 1: Set Up Your Turntable
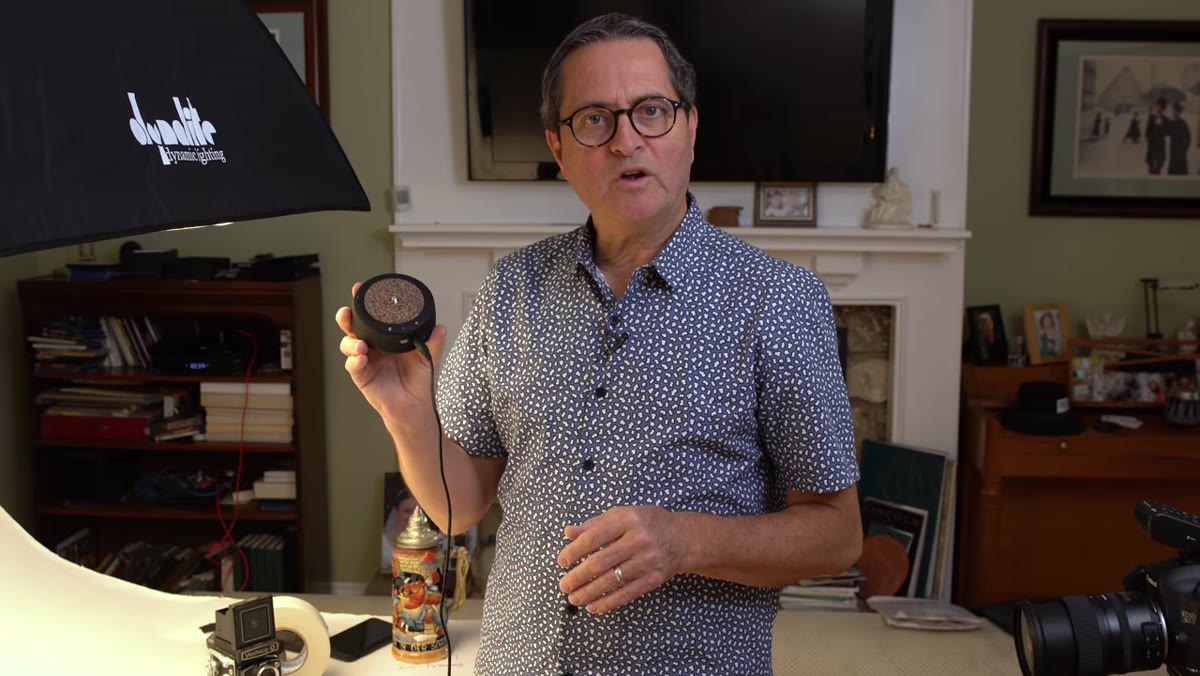 Genie Mini turntable with product table disc attached and centered
The turntable used in this tutorial is the Genie Mini by Syrp, paired with Syrp’s dedicated product table attachment. The base screws onto the motorized unit, and a reversible disc sits on top, giving you either a black or white shooting surface. There is a centering dot on the disc so you can confirm your product is sitting exactly in the middle before you start. Off-center placement will cause the product to drift visually as it rotates, which creates a distracting, unprofessional result.
Genie Mini turntable with product table disc attached and centered
The turntable used in this tutorial is the Genie Mini by Syrp, paired with Syrp’s dedicated product table attachment. The base screws onto the motorized unit, and a reversible disc sits on top, giving you either a black or white shooting surface. There is a centering dot on the disc so you can confirm your product is sitting exactly in the middle before you start. Off-center placement will cause the product to drift visually as it rotates, which creates a distracting, unprofessional result.
The Genie Mini is controlled through a phone app, which is where you set your frame count. For e-commerce spin sequences, 20 to 36 frames gets you a smooth enough rotation for most interactive viewers. If you want to export the sequence as an animated video, push that number to 300 or 400 frames for fluid motion. The interval between frames is also adjustable. The tutorial notes that 1.5 seconds between captures works when you are triggering a strobe, but if your setup allows it, tightening that down to about one second keeps the session moving without losing sync.
Step 2: Build the White Background
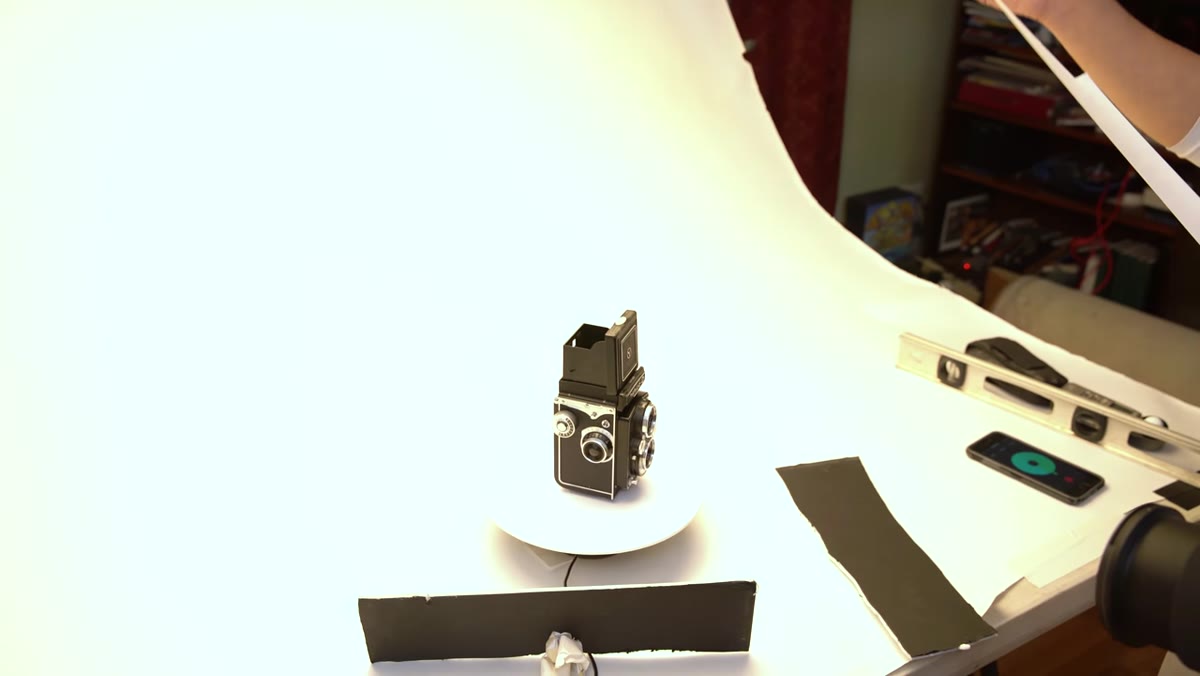 White paper roll sweeping from wall to product table, forming seamless curve
Before placing any lights, you need a clean white sweep. A paper roll mounted on a wall or stand, pulled down and forward to create a seamless curve behind and beneath the product, is the standard approach here. The key is that the background is not just a backdrop. In this setup, all that white material is doing double duty: it gives you the clean white you want behind the product, and it acts as a giant bounce surface that wraps fill light around the product from every direction.
White paper roll sweeping from wall to product table, forming seamless curve
Before placing any lights, you need a clean white sweep. A paper roll mounted on a wall or stand, pulled down and forward to create a seamless curve behind and beneath the product, is the standard approach here. The key is that the background is not just a backdrop. In this setup, all that white material is doing double duty: it gives you the clean white you want behind the product, and it acts as a giant bounce surface that wraps fill light around the product from every direction.
This is a critical concept. The white environment creates ambient fill before you have touched a single light. Products that have chrome, glass, or anything reflective especially benefit from this because the reflection they pick up is a clean, soft gradation rather than a harsh point source.
Step 3: Position the Overhead Softbox
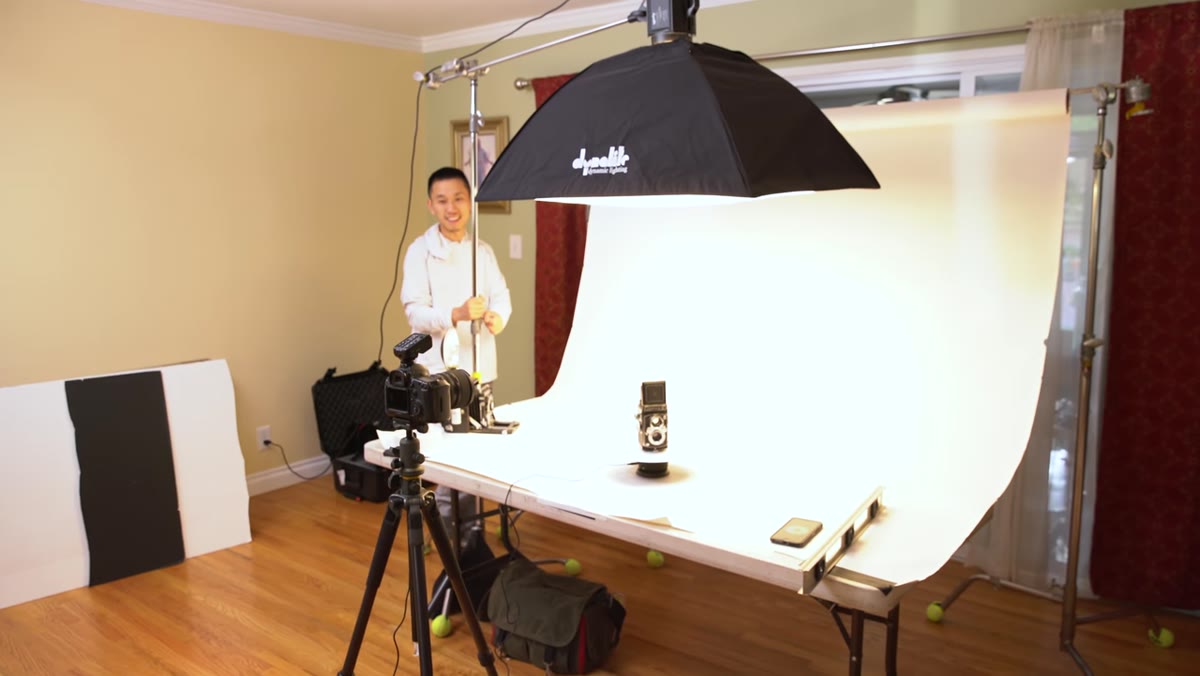 Large softbox positioned above and slightly behind the product on white sweep
A large softbox goes above the product, angled slightly toward the background rather than straight down. This placement accomplishes two things simultaneously. First, it illuminates the white background paper so it reads as pure white in camera. Second, the light spills forward and bounces off all that surrounding white, building up the ambient fill that wraps the product. One light. Two jobs.
Large softbox positioned above and slightly behind the product on white sweep
A large softbox goes above the product, angled slightly toward the background rather than straight down. This placement accomplishes two things simultaneously. First, it illuminates the white background paper so it reads as pure white in camera. Second, the light spills forward and bounces off all that surrounding white, building up the ambient fill that wraps the product. One light. Two jobs.
The softbox should be large relative to the product. Bigger light sources produce softer gradients, which means smoother transitions on curved or rounded surfaces like bottles, shoes, or the Oktoberfest stein used in the demo.
Step 4: Add a Foam Core Key Card
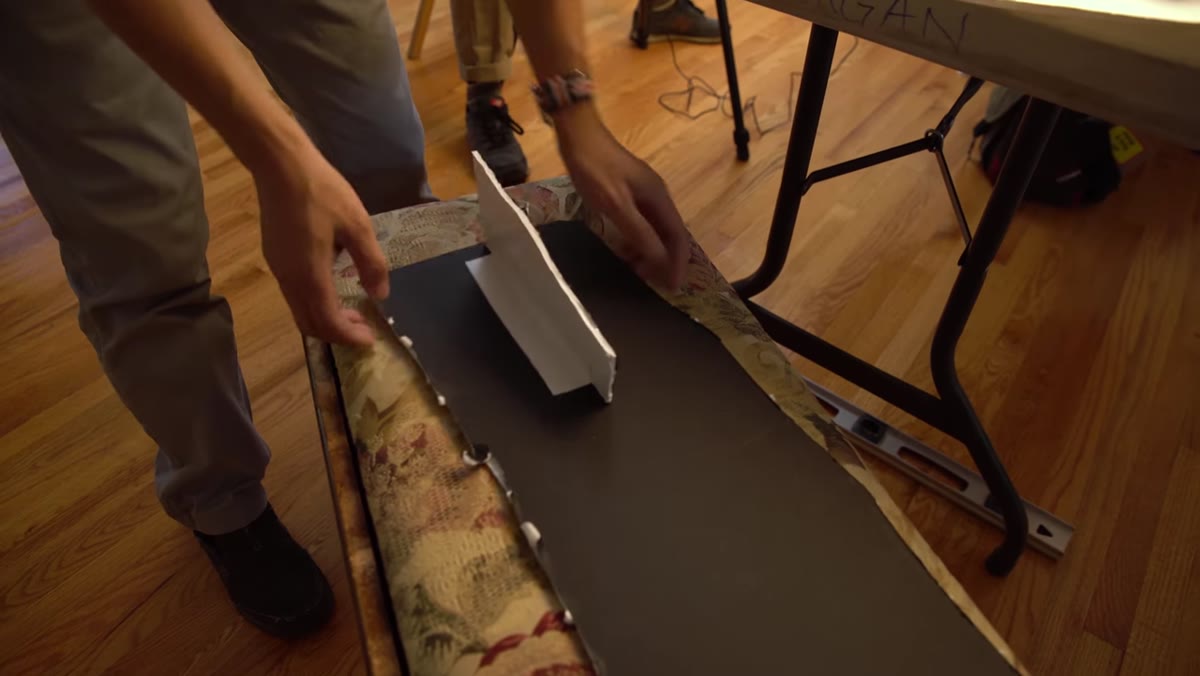 White foam core card placed at product side, adding directional highlight
Once your base exposure is set with the overhead softbox, you introduce a piece of white foam core as a key light. The foam core is positioned to the side of the product and angled to catch the overhead light and redirect it as a brighter, more directional hit on one side. This creates the tonal separation that makes a product look three-dimensional rather than flat.
White foam core card placed at product side, adding directional highlight
Once your base exposure is set with the overhead softbox, you introduce a piece of white foam core as a key light. The foam core is positioned to the side of the product and angled to catch the overhead light and redirect it as a brighter, more directional hit on one side. This creates the tonal separation that makes a product look three-dimensional rather than flat.
The reason you use foam core instead of another strobe here is control and consistency. As the turntable rotates, you want the product to look good from every angle, not just the ones facing your key light. The ambient fill from the white set holds the shadow side, and the foam core adds just enough brightness differential to give the product shape. For highly reflective products like chrome cameras or metallic hardware, you can place cards on both sides simultaneously to give the reflection something clean to pick up all the way around the rotation.
Step 5: Set Camera for Static, Controlled Capture
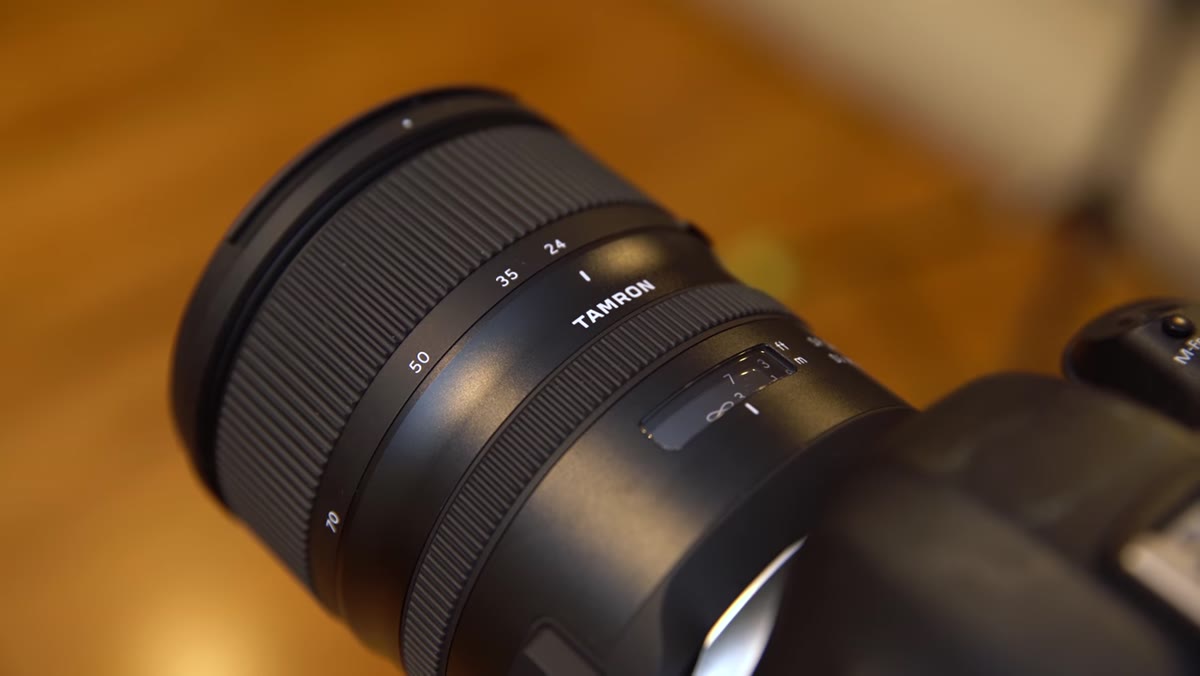 Lens stabilization disabled, autofocus locked before rotation begins
Two settings matter a lot here and both are about eliminating unwanted movement. Turn off image stabilization on the lens. When a camera is mounted on a tripod and connected to a motorized trigger, stabilization systems can introduce micro-jitter between frames, which shows up as inconsistency in a 360 sequence. Static shots do not need stabilization. It helps handheld, and it hurts you here.
Lens stabilization disabled, autofocus locked before rotation begins
Two settings matter a lot here and both are about eliminating unwanted movement. Turn off image stabilization on the lens. When a camera is mounted on a tripod and connected to a motorized trigger, stabilization systems can introduce micro-jitter between frames, which shows up as inconsistency in a 360 sequence. Static shots do not need stabilization. It helps handheld, and it hurts you here.
The same logic applies to autofocus. Use autofocus to lock focus on the product before the sequence starts, then switch the lens to manual so focus does not hunt or shift during capture. Even a small focus pull between frames becomes obvious when you are reviewing 20 to 36 images side by side or assembling them into an interactive viewer.
Step 6: Slate the Sequence
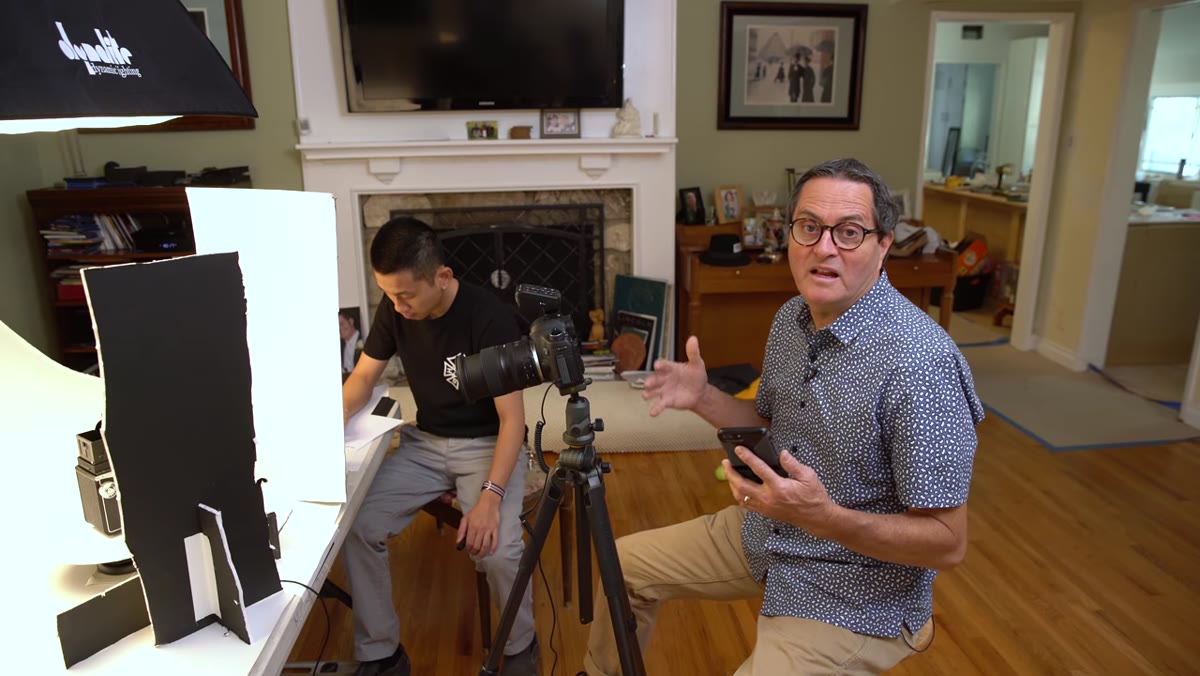 Assistant holding up slate or hand signal to mark beginning of sequence
Before triggering the first frame of the actual 360 sequence, have someone signal the start and end of the shoot on camera. The tutorial uses a simple slate, but a hand in front of the lens works just as well. When you are sorting through files in Adobe Bridge or Lightroom later, it becomes genuinely difficult to identify which frame is frame one when every image looks similar. A visual marker at the head and tail of the sequence saves you real time during post.
Assistant holding up slate or hand signal to mark beginning of sequence
Before triggering the first frame of the actual 360 sequence, have someone signal the start and end of the shoot on camera. The tutorial uses a simple slate, but a hand in front of the lens works just as well. When you are sorting through files in Adobe Bridge or Lightroom later, it becomes genuinely difficult to identify which frame is frame one when every image looks similar. A visual marker at the head and tail of the sequence saves you real time during post.
This is a small habit but it compounds. Once you are shooting multiple products in a session, clear separation between sequences keeps your file organization clean and prevents the nightmare of applying the wrong batch edit to the wrong product’s frames.
What I Do Differently With Small Products
The Slanted Lens setup scales beautifully for medium to large products. For small items like jewelry, cosmetics packaging, or tiny hardware components, I pull the softbox closer and reduce the white sweep to a half-sheet of foam core as both the background and the bounce surface. I keep the turntable the same. The lighting ratio principle stays identical. The adjustment is just physical scale.
I also shoot tethered directly into Lightroom so I can check the first few frames of the rotation in real time before letting the turntable run the full sequence. Catching an exposure problem or a product placement issue on frame two is much better than discovering it on frame twenty.
The single most important thing this tutorial teaches is that a 360-degree product sequence is really just a well-lit static product shot, repeated with precision. You are not learning a new kind of photography. You are learning to make one excellent frame and then reproduce it consistently while the product rotates. Get the light right, lock the camera down, trust the turntable, and the sequence builds itself.
Watch the full tutorial on YouTube to see Jay P. Morgan walk through the full build in real time, including how the different products respond differently to the same base lighting setup.