How to Set Up Dodge and Burn Layers in Photoshop for Cleaner Product Retouching
Dodge and burn is one of those techniques that sounds deceptively simple until you’re forty-five minutes into a retouch and you’ve painted yourself into a corner with no easy way back. I spent a long time avoiding it for that exact reason. Then I started applying it to product work, specifically jewelry and cosmetics packaging, and everything changed. The level of dimension you can pull out of a flat product shot with precise tonal work is genuinely hard to achieve any other way.
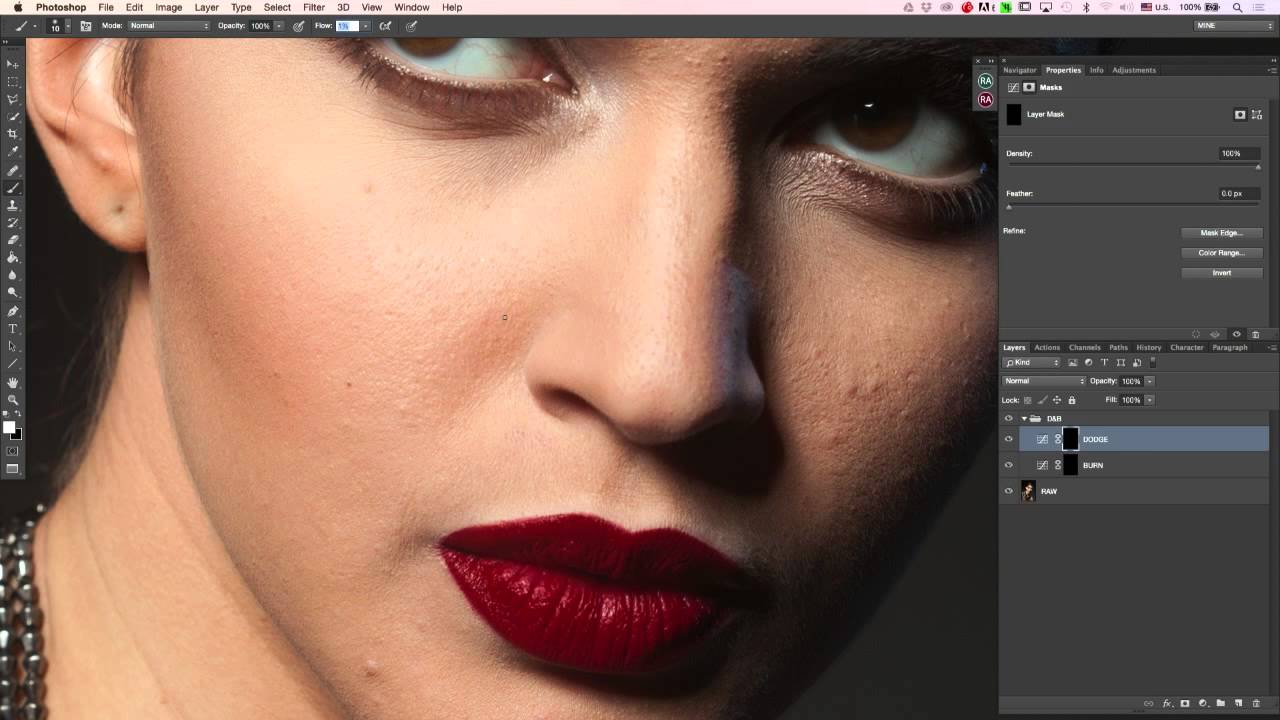
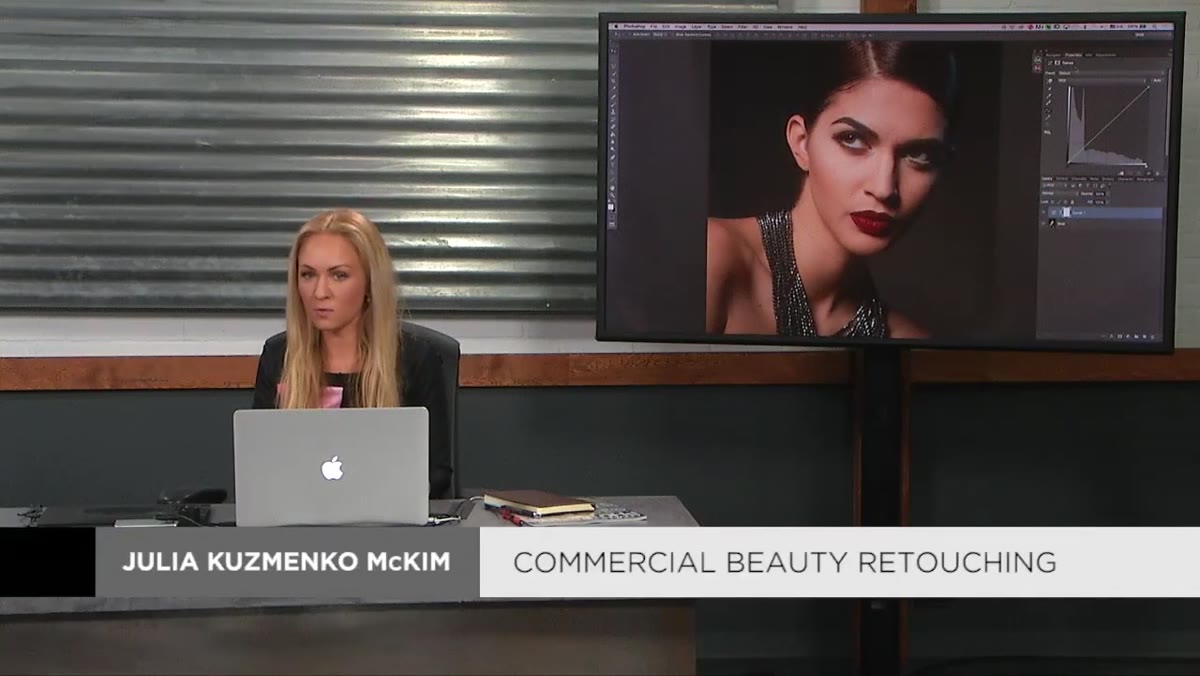
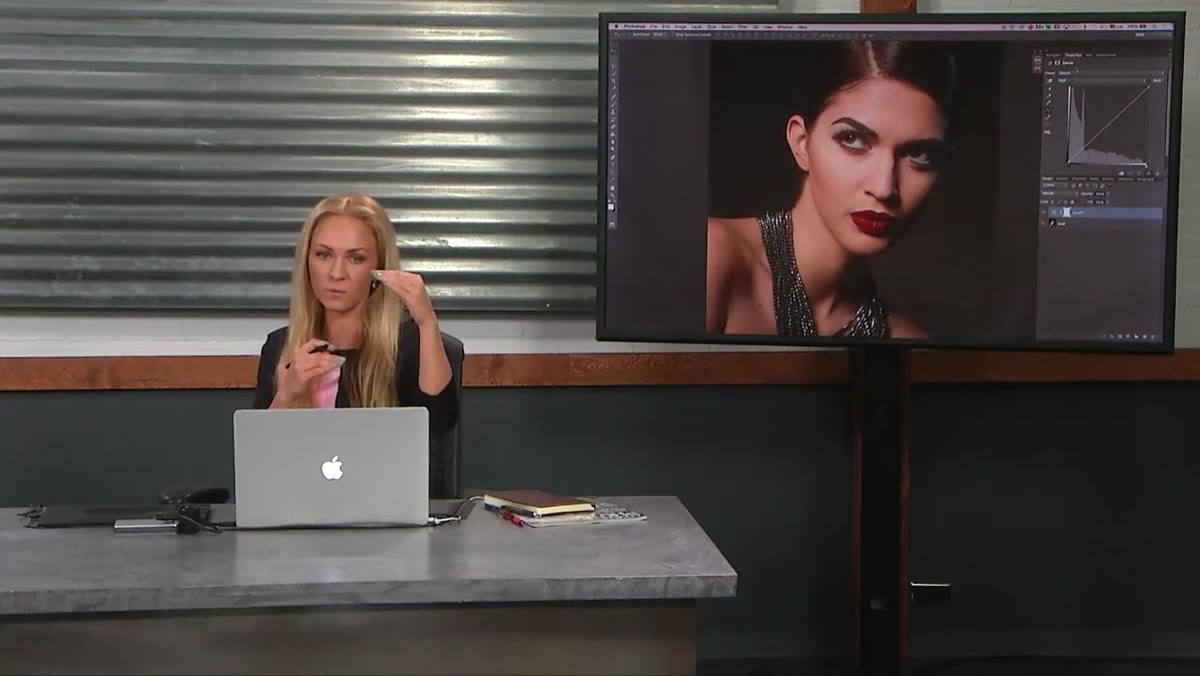
In this CreativeLive tutorial on commercial beauty retouching, retoucher and educator Miха Мс walks through how he builds his dodge and burn setup from scratch in Photoshop. Watch the full tutorial on YouTube before or after reading this, because seeing the brush strokes accumulate in real time reinforces what the written steps describe. The workflow he covers is curves-based, non-destructive, and organized in a way that protects every hour you’ve already put into a retouch. That last part is the one I wish someone had handed me earlier.
The technique applies cleanly to product and e-commerce work, not just beauty portraits. Any time you’re trying to emphasize the edge of a bottle, deepen the shadow under a ring, or lift a highlight on a lip gloss tube, you’re doing the same tonal sculpting this tutorial covers. Here is how to set it up.
Step 1: Understand Why Curves Beat the Gray Layer Method
 Two dodge and burn layer methods compared in panel
Most Photoshop tutorials teach dodge and burn using a 50% gray layer set to Overlay blending mode. You paint white to dodge and black to burn directly on that layer. It works, but it combines all your tonal work into one place. If you over-darken a section three hours in, you are undoing work that also contains everything you did right. The curves method keeps dodging and burning on completely separate layers, so you can dial back or delete one without touching the other. That separation is the whole philosophy here, and it is worth internalizing before you touch a single slider.
Two dodge and burn layer methods compared in panel
Most Photoshop tutorials teach dodge and burn using a 50% gray layer set to Overlay blending mode. You paint white to dodge and black to burn directly on that layer. It works, but it combines all your tonal work into one place. If you over-darken a section three hours in, you are undoing work that also contains everything you did right. The curves method keeps dodging and burning on completely separate layers, so you can dial back or delete one without touching the other. That separation is the whole philosophy here, and it is worth internalizing before you touch a single slider.
Step 2: Create Your Brighten Curve for Dodging
 Curves adjustment panel with midtone anchor point pulled up
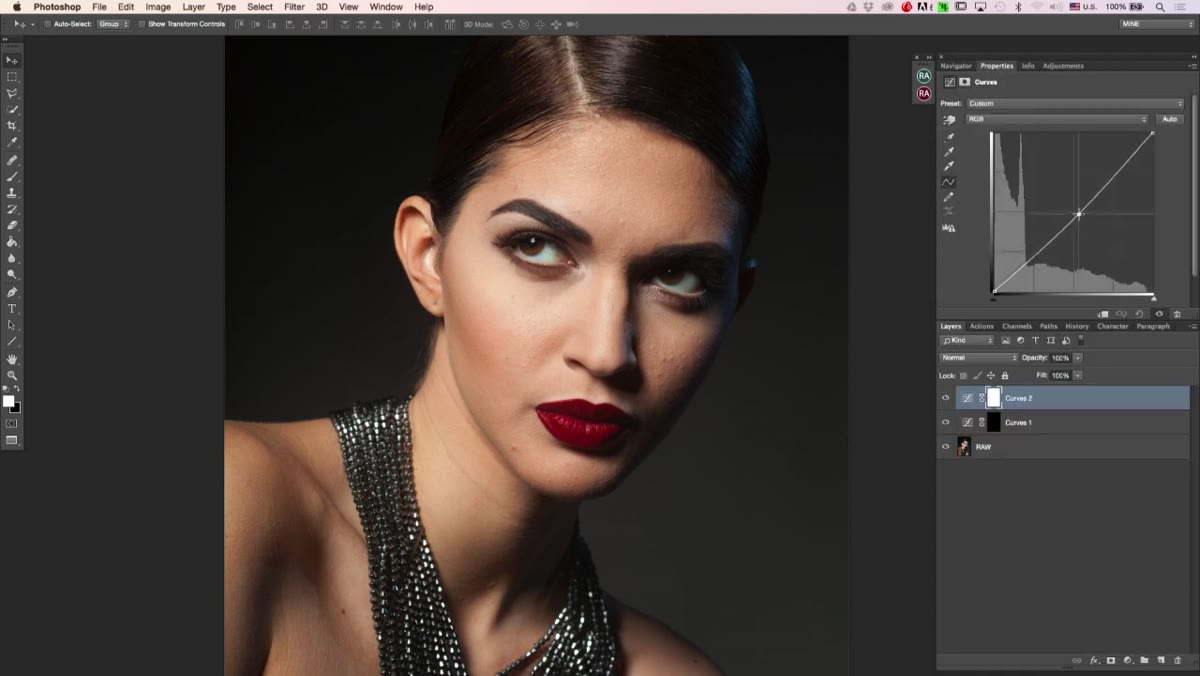
Add a Curves adjustment layer and pull the midtone anchor point upward. The lift does not need to be dramatic. A subtle brightening in the midtone range is enough because you will be building the effect gradually with a brush. Once the curve is set, invert the mask attached to that adjustment layer by pressing Cmd+I (Mac) or Ctrl+I (PC). This turns the mask completely black, which hides the brightening effect across the entire image. Nothing visually changes yet. That is correct. You are building a tool, not applying an edit.
Curves adjustment panel with midtone anchor point pulled up
Add a Curves adjustment layer and pull the midtone anchor point upward. The lift does not need to be dramatic. A subtle brightening in the midtone range is enough because you will be building the effect gradually with a brush. Once the curve is set, invert the mask attached to that adjustment layer by pressing Cmd+I (Mac) or Ctrl+I (PC). This turns the mask completely black, which hides the brightening effect across the entire image. Nothing visually changes yet. That is correct. You are building a tool, not applying an edit.
Step 3: Create Your Darken Curve for Burning
 Second curves layer with midtones pulled down, mask inverted
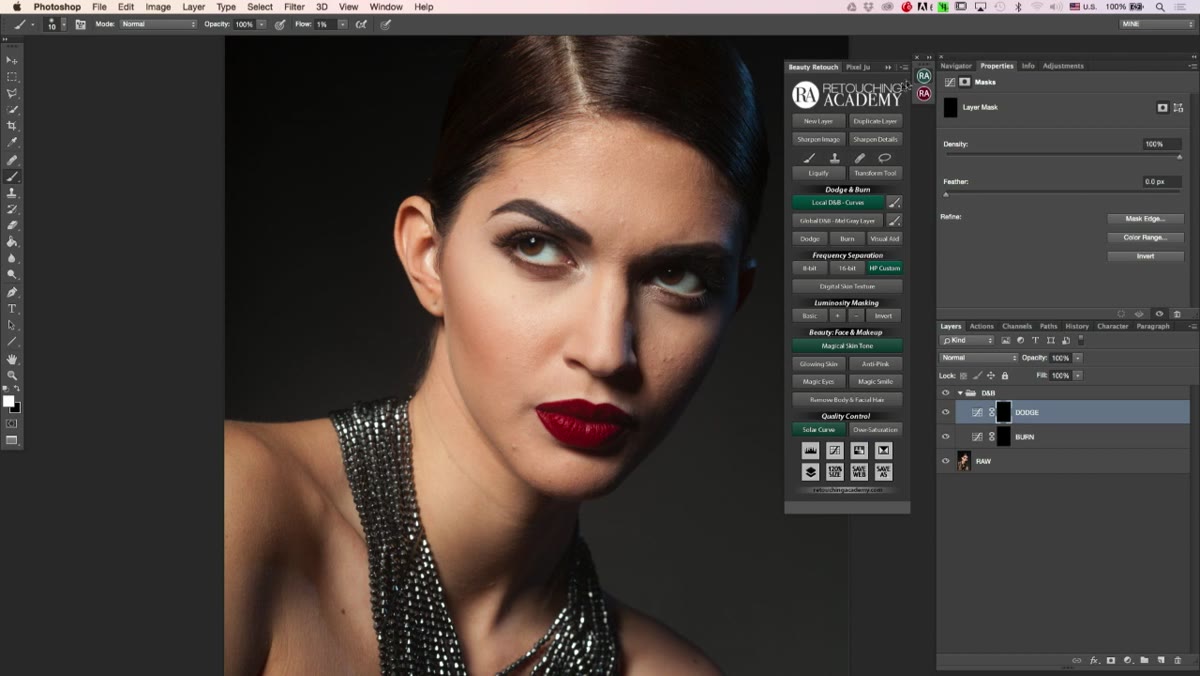
Repeat the same process with a second Curves adjustment layer, this time pulling the midtone anchor point downward to darken. Invert its mask the same way. Now you have two adjustment layers sitting in your panel: one that brightens and one that darkens, both completely hidden behind black masks. Label them clearly. The dodge layer goes on top. Group both inside a single folder and name it something obvious like “Dodge and Burn.” This folder becomes the one place you go for all tonal sculpting work from here on.
Second curves layer with midtones pulled down, mask inverted
Repeat the same process with a second Curves adjustment layer, this time pulling the midtone anchor point downward to darken. Invert its mask the same way. Now you have two adjustment layers sitting in your panel: one that brightens and one that darkens, both completely hidden behind black masks. Label them clearly. The dodge layer goes on top. Group both inside a single folder and name it something obvious like “Dodge and Burn.” This folder becomes the one place you go for all tonal sculpting work from here on.
Step 4: Configure Your Brush Before You Paint
 Brush settings panel showing 1% flow and 100% opacity
The brush setup is where most people get this technique wrong. Use a soft round brush. Turn off pen pressure sensitivity for both size and opacity if you are on a tablet. Set opacity to 100% and flow to 1%. That 1% flow setting is the key. It means each stroke deposits only a tiny amount of white or black onto the mask, so the effect builds incrementally rather than jumping to full intensity on the first pass. You are essentially sculpting in thin layers, which gives you far more control over gradients and transitions than any single heavy stroke would.
Brush settings panel showing 1% flow and 100% opacity
The brush setup is where most people get this technique wrong. Use a soft round brush. Turn off pen pressure sensitivity for both size and opacity if you are on a tablet. Set opacity to 100% and flow to 1%. That 1% flow setting is the key. It means each stroke deposits only a tiny amount of white or black onto the mask, so the effect builds incrementally rather than jumping to full intensity on the first pass. You are essentially sculpting in thin layers, which gives you far more control over gradients and transitions than any single heavy stroke would.
Step 5: Paint to Reveal the Dodge or Burn Effect
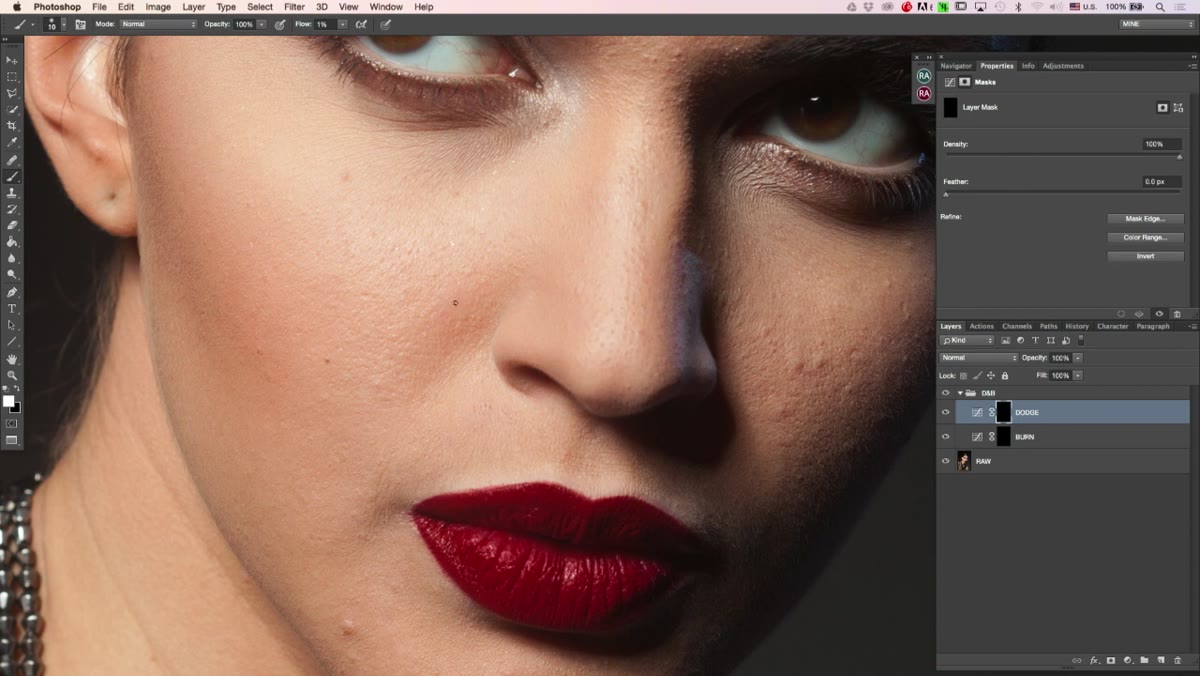 White brush stroke being applied to inverted black mask
Click on the mask of whichever adjustment layer you want to work with, dodge or burn, and paint with white to reveal it. Because the mask started fully black, painting white uncovers the brightness or darkness underneath. Paint slowly over the area you want to affect. Do not lift the stylus or mouse between strokes if you are building in one area. At 1% flow you can make many passes over the same spot and watch the tonal value shift gradually. Switch to painting with black if you accidentally go too far and need to cover the effect back up.
White brush stroke being applied to inverted black mask
Click on the mask of whichever adjustment layer you want to work with, dodge or burn, and paint with white to reveal it. Because the mask started fully black, painting white uncovers the brightness or darkness underneath. Paint slowly over the area you want to affect. Do not lift the stylus or mouse between strokes if you are building in one area. At 1% flow you can make many passes over the same spot and watch the tonal value shift gradually. Switch to painting with black if you accidentally go too far and need to cover the effect back up.
Step 6: Use Keyboard Shortcuts to Adjust on the Fly
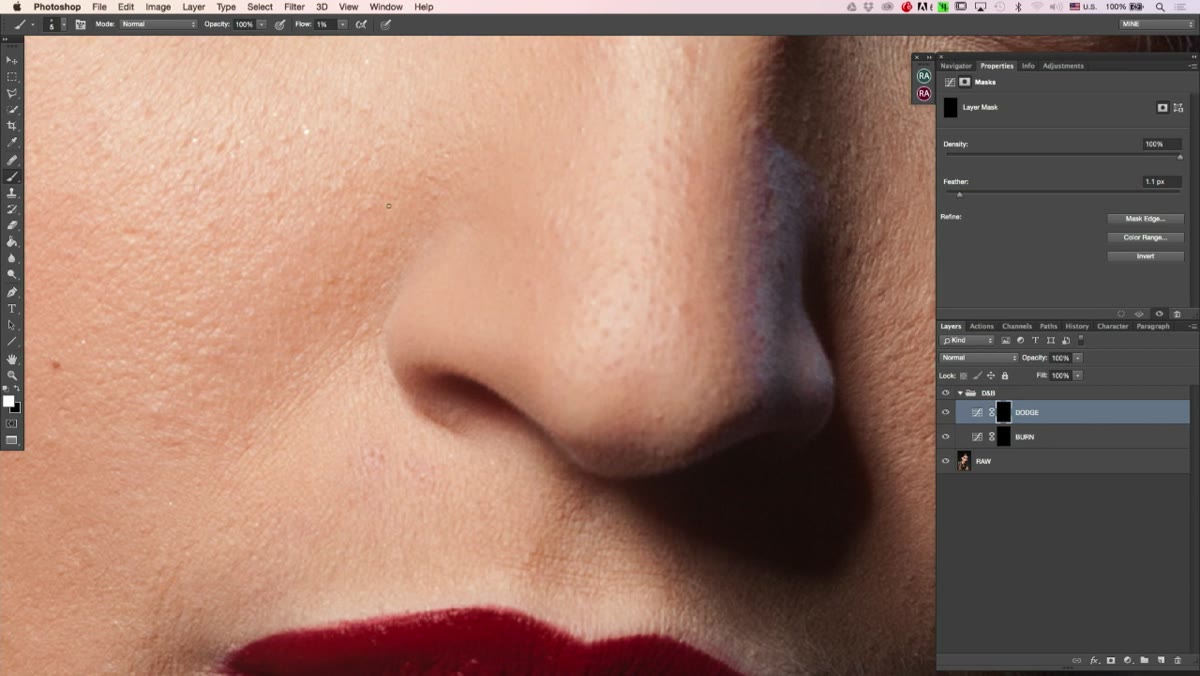 Keyboard shortcut changing brush flow mid-retouch
Memorizing two shortcuts will dramatically speed up this workflow. To change brush opacity, press any number key: 1 gives you 10%, 4 gives you 40%, 0 gives you 100%. To change flow, hold Shift and press a number key. If you are working on an area that is significantly darker than its surroundings, 1% flow will take a very long time to catch up. Jump to 20% flow for those heavier corrections, then drop back down for the transitions and edges where subtlety matters more. Switching between values mid-stroke is completely normal and expected in professional work.
Keyboard shortcut changing brush flow mid-retouch
Memorizing two shortcuts will dramatically speed up this workflow. To change brush opacity, press any number key: 1 gives you 10%, 4 gives you 40%, 0 gives you 100%. To change flow, hold Shift and press a number key. If you are working on an area that is significantly darker than its surroundings, 1% flow will take a very long time to catch up. Jump to 20% flow for those heavier corrections, then drop back down for the transitions and edges where subtlety matters more. Switching between values mid-stroke is completely normal and expected in professional work.
Step 7: Accept That This Process Is Slow by Design
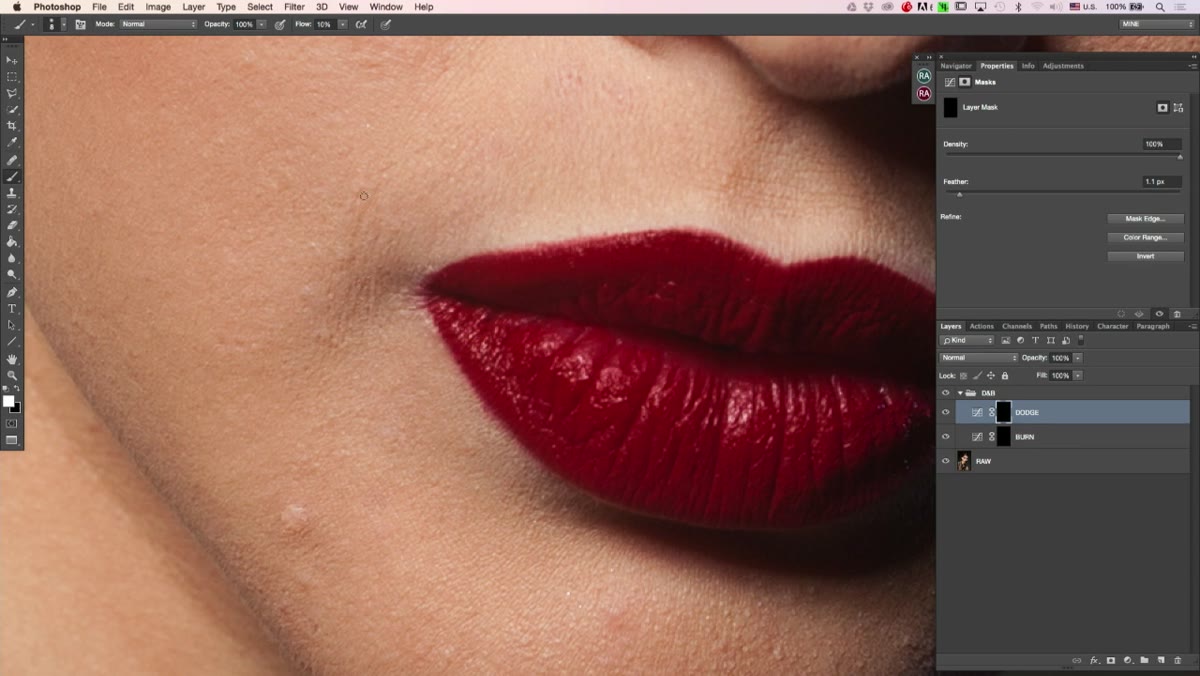 Time-lapse reference showing gradual tonal buildup on flat file
The tutorial is honest about this: when you watch someone dodge and burn at 1% flow in real time, the changes are nearly invisible. The effect is only clearly visible in time-lapse. That is not a bug. The slowness is what makes the result look natural rather than painted. If you are retouching a product image and nothing seems to be happening, that is usually a sign you are doing it correctly. Give it time, zoom in close, and trust that the tonal work is accumulating even when your eyes can barely detect it pass by pass.
Time-lapse reference showing gradual tonal buildup on flat file
The tutorial is honest about this: when you watch someone dodge and burn at 1% flow in real time, the changes are nearly invisible. The effect is only clearly visible in time-lapse. That is not a bug. The slowness is what makes the result look natural rather than painted. If you are retouching a product image and nothing seems to be happening, that is usually a sign you are doing it correctly. Give it time, zoom in close, and trust that the tonal work is accumulating even when your eyes can barely detect it pass by pass.
A Note on Applying This to Product Work Specifically
Portrait retouchers use dodge and burn to shape skin, but in product photography I find it most useful on surfaces with subtle texture: matte cosmetics packaging, brushed metal, fabric, unfinished wood. These materials have tonal variation that the camera captures unevenly under any lighting setup, and trying to fix it with global adjustments flattens the surface character you actually want to keep. Working with a low-flow brush on separate dodge and burn layers lets me lift a shadow in one corner of a perfume box without flattening the embossed logo two inches away. It also pairs well with frequency separation. I typically handle surface texture and fine detail on the high-frequency layer, and save all the large tonal shaping for the dodge and burn folder.
One practical addition I have made to this workflow: I duplicate the finished dodge and burn folder at the end of a session, flatten the duplicate to a stamp layer, and archive it. If a client requests a different crop or composite later, I still have the original layers intact and can rework specific areas without starting over.
The single most important idea in this tutorial is the commitment to keeping dodge and burn on separate, non-destructive layers rather than painting directly onto a merged file. Every hour you spend on a complex retouch is an investment you should be able to protect. This layer structure is how you do that. Watch the full tutorial on YouTube to see the brush work in motion, especially the section where the effect builds up over repeated strokes. That visual really does make the 1% flow logic click in a way the description alone cannot fully convey.