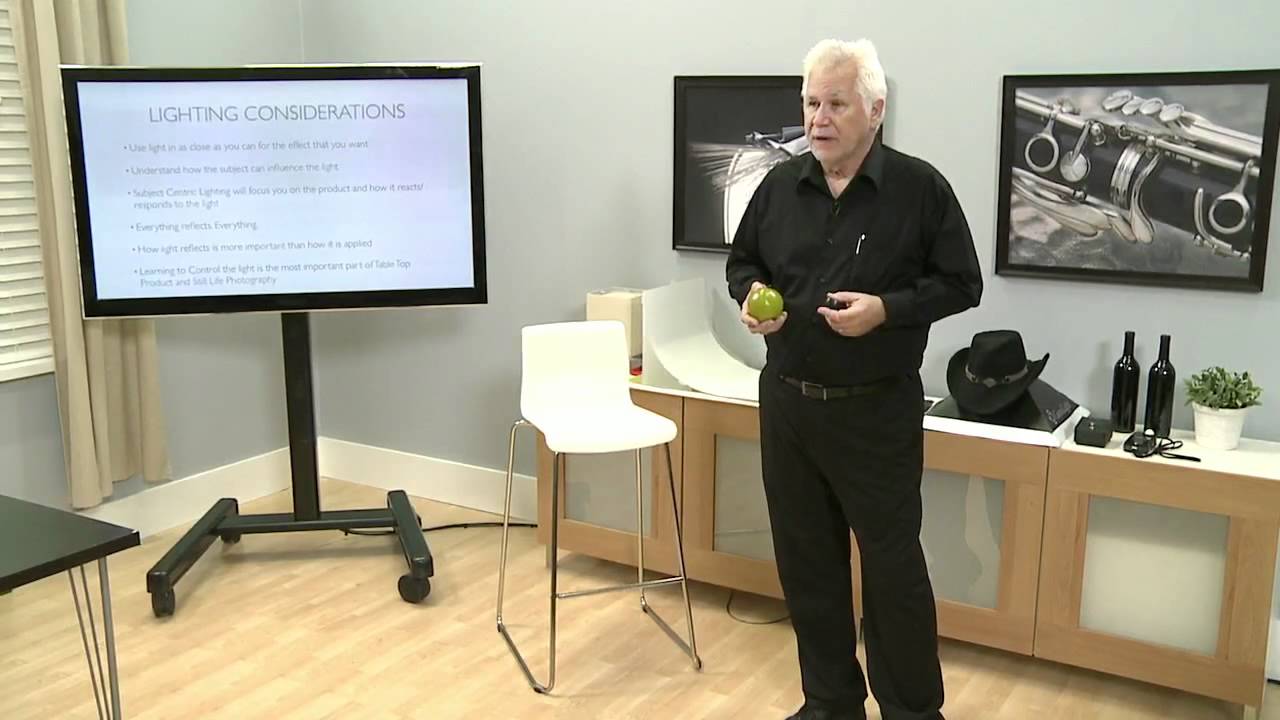
How to Light Small, Difficult Products for Real Dimension (Lessons from Don Giannatti's Tabletop Setup)
There is a specific kind of dread that hits when a client hands you something tiny, shiny, and irregularly shaped and says “make it look amazing.” Jewelry is the obvious culprit, but it applies to anything with reflective surfaces, fine detail, and no flat edges to rest a light against. For years, my go-to move was to throw it in my lightbox and hope for the best. The results were fine. Flat, but fine. Fine does not sell product.
Watch the full tutorial on YouTube
In this CreativeLive tutorial, photographer Don Giannatti walks through a real, unscripted tabletop session where a piece of jewelry genuinely stumped him on day one. Watching a working pro problem-solve in real time, out loud, is more instructive than any polished walkthrough. The lighting rig he builds by the end uses three lights and a small army of cards and stands, and the final image earns every one of them. Here is what he actually does, step by step, and what I take from it as someone who shoots small products for a living.
Step 1: Accept That This Takes Time
 Don addressing camera about the slow pace of product photography
The first thing Giannatti addresses is not a camera setting. It is mindset. Tabletop product work is slow. He is direct about it: this is not fast photography. Portrait sessions can move quickly because a skilled photographer can read a person and adjust. With objects, especially small reflective ones, every millimeter of light position changes what the camera sees. There is no shortcut.
Don addressing camera about the slow pace of product photography
The first thing Giannatti addresses is not a camera setting. It is mindset. Tabletop product work is slow. He is direct about it: this is not fast photography. Portrait sessions can move quickly because a skilled photographer can read a person and adjust. With objects, especially small reflective ones, every millimeter of light position changes what the camera sees. There is no shortcut.
If you come into a small-product session expecting to nail it in twenty minutes, you will get frustrated and settle for something mediocre. Budget real time. For a single hero shot of a complex product, I will sometimes spend two hours on setup alone before I take a single frame I consider final.
Step 2: Identify What Is Not Working Before You Change Everything
 Giannatti describing the failed flat-lay attempt with the jewelry piece
Giannatti’s team tried photographing the jewelry piece flat on a surface the previous day. It did not work. Instead of chasing the flat-lay, he broke down exactly why it failed and used that information to pivot. The piece needed to be seen from a different angle, with light hitting it in a way that revealed its structure rather than flattening it.
Giannatti describing the failed flat-lay attempt with the jewelry piece
Giannatti’s team tried photographing the jewelry piece flat on a surface the previous day. It did not work. Instead of chasing the flat-lay, he broke down exactly why it failed and used that information to pivot. The piece needed to be seen from a different angle, with light hitting it in a way that revealed its structure rather than flattening it.
Before you move a single light, ask yourself: what specifically is wrong with what I have? Is the light too flat? Is the background bleeding? Are you losing edge separation? Name the problem. You cannot solve something you have not diagnosed.
Step 3: Use a Boom to Suspend the Product
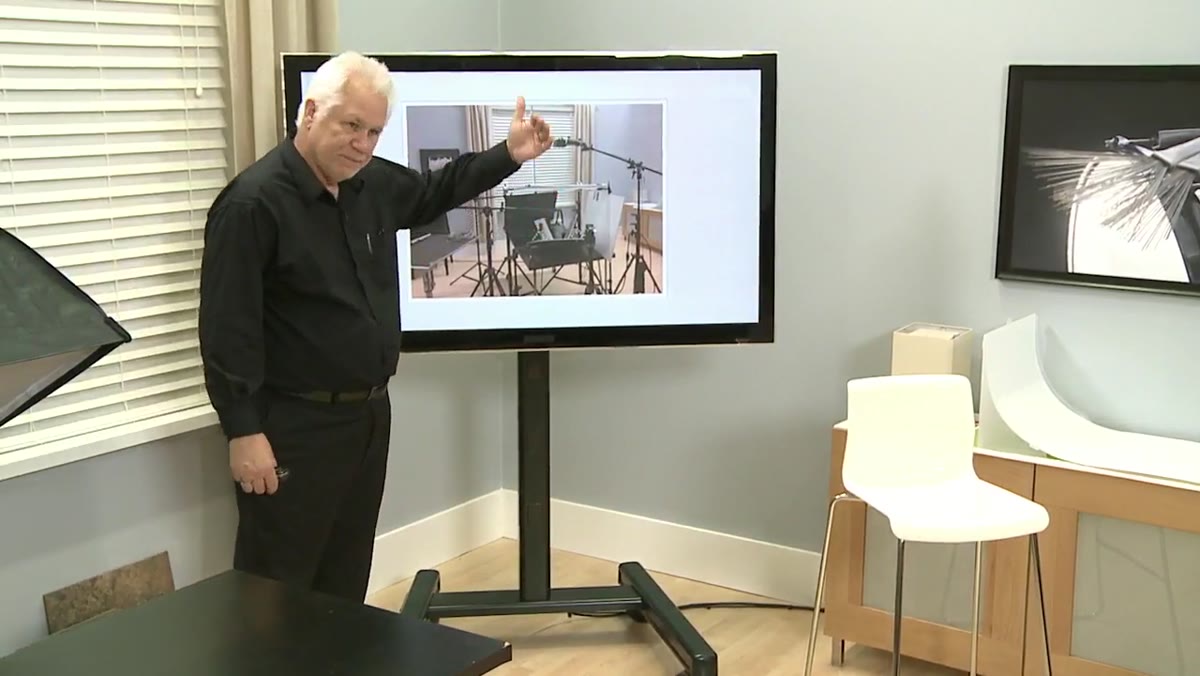 Jewelry piece hanging from boom arm above the table surface
The solution Giannatti’s team landed on was to hang the jewelry piece from a boom arm rather than resting it on a surface. This opens up the entire underside of the object to light and removes the problem of a surface reflection or an unwanted shadow beneath the piece. For jewelry especially, this is often the right move.
Jewelry piece hanging from boom arm above the table surface
The solution Giannatti’s team landed on was to hang the jewelry piece from a boom arm rather than resting it on a surface. This opens up the entire underside of the object to light and removes the problem of a surface reflection or an unwanted shadow beneath the piece. For jewelry especially, this is often the right move.
You do not need expensive rigging to do this. A basic boom arm on a light stand works. Use monofilament (thin fishing line) to hang the piece if you do not want the suspension hardware in frame. The line disappears easily in post against a dark background.
Step 4: Build Your Card Reflector System Around the Product
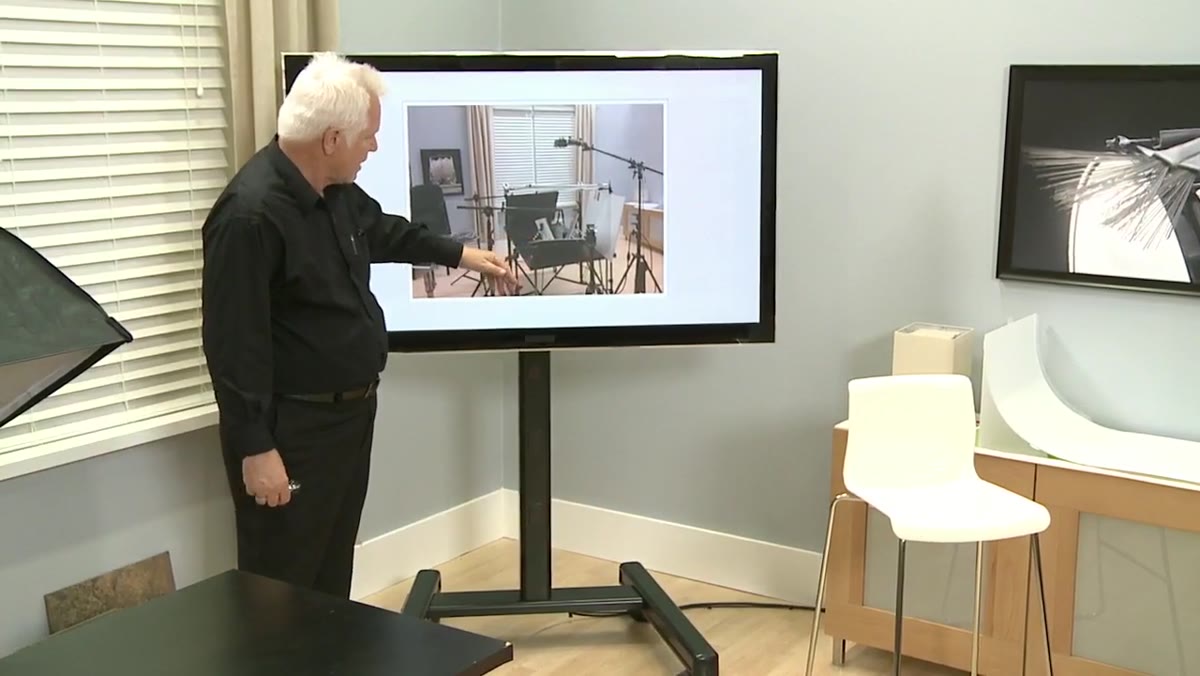 White card below and silver cards on either side of suspended jewelry
Once the piece was hanging, Giannatti placed a white card directly below it, then positioned two silver reflector cards on either side. The white card below bounces light up into the underside of the piece, filling in shadow without adding a second light source. The silver side cards wrap light around the object and create the edge separation that gives the image three-dimensionality.
White card below and silver cards on either side of suspended jewelry
Once the piece was hanging, Giannatti placed a white card directly below it, then positioned two silver reflector cards on either side. The white card below bounces light up into the underside of the piece, filling in shadow without adding a second light source. The silver side cards wrap light around the object and create the edge separation that gives the image three-dimensionality.
Card positioning is not set-it-and-forget-it. Move them slowly, centimeter by centimeter, and watch the object through your camera. Silver cards throw a harder, more directional bounce than white. White cards give a softer fill. Mixing both, as Giannatti does here, gives you control over how hard or soft each edge of the object appears.
Step 5: Solve the Background Problem with Angle, Not a Different Background
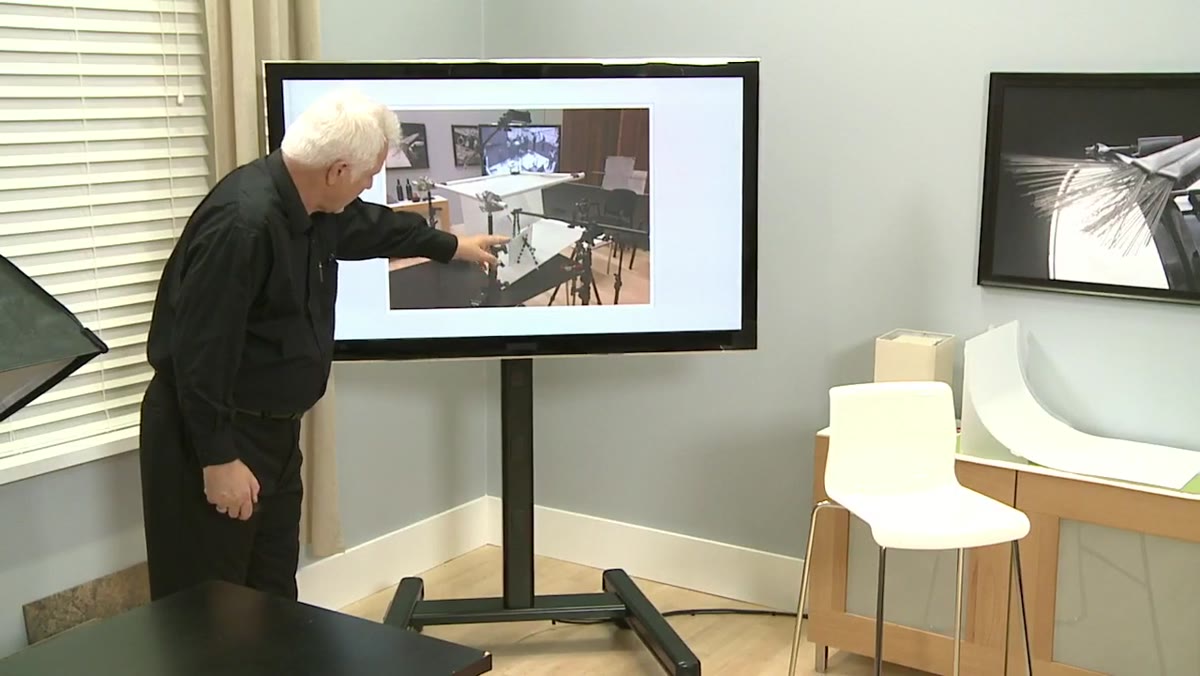 Black card tilted forward to create a shadow cavern behind the product
The background kept going gray instead of black. The foam core panels, even black ones, have just enough surface texture and sheen to catch the top light and kick it back toward the camera. Swapping materials did not solve it. What solved it was tilting the black card forward, creating a shadow cavity, almost like a shallow cave behind the product. That geometry blocked the light from catching the background surface, and the gray disappeared.
Black card tilted forward to create a shadow cavern behind the product
The background kept going gray instead of black. The foam core panels, even black ones, have just enough surface texture and sheen to catch the top light and kick it back toward the camera. Swapping materials did not solve it. What solved it was tilting the black card forward, creating a shadow cavity, almost like a shallow cave behind the product. That geometry blocked the light from catching the background surface, and the gray disappeared.
This is a principle I come back to constantly: if a surface is picking up unwanted light, change its angle relative to the light source before you reach for a different material. Angle is free. A new V-flat is not.
Step 6: Light from the Top and Grid Your Side Lights
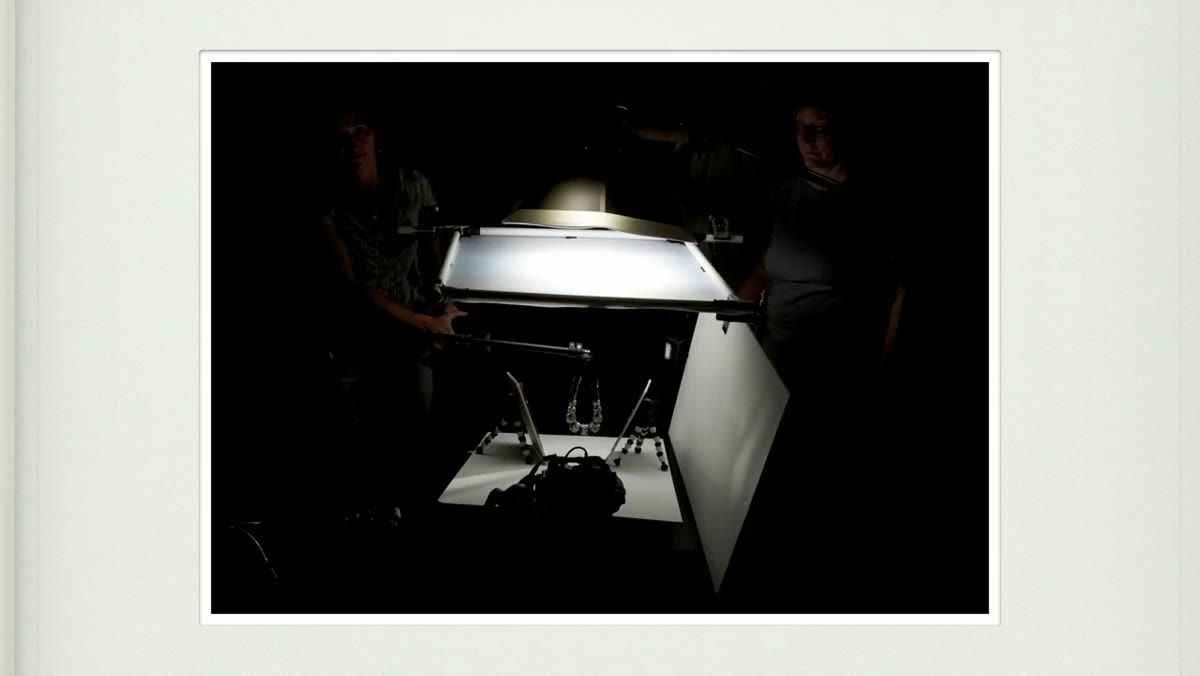 Softbox over scrim above product with grid-spotted speedlights aimed at back of object
The main light came from a softbox positioned above the product and fired through a scrim, which diffused and softened it further. Two speedlights with small grids were aimed at the back of the object from either side. The grid on a speedlight narrows the beam so it only hits what you point it at, which means you can light the back edge of a product without that light spilling onto the background or into your lens.
Softbox over scrim above product with grid-spotted speedlights aimed at back of object
The main light came from a softbox positioned above the product and fired through a scrim, which diffused and softened it further. Two speedlights with small grids were aimed at the back of the object from either side. The grid on a speedlight narrows the beam so it only hits what you point it at, which means you can light the back edge of a product without that light spilling onto the background or into your lens.
Matching the power of the two side speedlights matters. Giannatti mentions this explicitly. Unmatched power on the two sides will make the object look asymmetrical even if it is perfectly centered. Take a test frame, zoom in on both edges, and adjust until the rim light intensity reads as even.
What I Would Add: Test With a Stand-In First
Before I hang an actual hero product on a boom, I always test the setup with a similar object I do not care about damaging. A piece of costume jewelry, a wine glass, anything with a similar size and surface quality works as a lighting dummy. This lets me get the card positions and light ratios dialed in before the client’s actual piece is anywhere near my rig. Giannatti’s team burned real time on camera working through a piece that was too complex for a live demonstration. That happens. In a solo studio session with a paying client’s product, I cannot afford it.
The other thing I do differently is shoot tethered to a laptop from the start of any complex setup. Seeing the image at full size on a screen, rather than squinting at a camera LCD, cuts the number of rounds of “something looks off but I can’t tell what” in half.
The single most important idea in this tutorial is that dimension in a product photograph is built with geometry: the angle of the background, the position of reflector cards, the direction of each light. It is not primarily about how much gear you own. Giannatti’s final shot used three lights, but it also used a black table tilted at the right angle, silver cards at the right distance, and a willingness to keep adjusting until the image showed the object as it actually exists in three-dimensional space.
Watch the full tutorial on YouTube and watch specifically for how the team talks through each problem in real time. That problem-solving process is the actual lesson.