How to Light a Product Shot So Clean It Needs Zero Retouching
There is a specific kind of frustration I know well: spending forty minutes in Lightroom trying to fix something that should have been handled at the shoot. Patching reflections, chasing shadows, trying to reconstruct a highlight that never existed in the first place. Every minute in post is a minute you’re paying for a problem you created on set. The more I’ve focused on getting things right in camera, the faster my turnarounds have gotten and the more confident I feel handing over files.
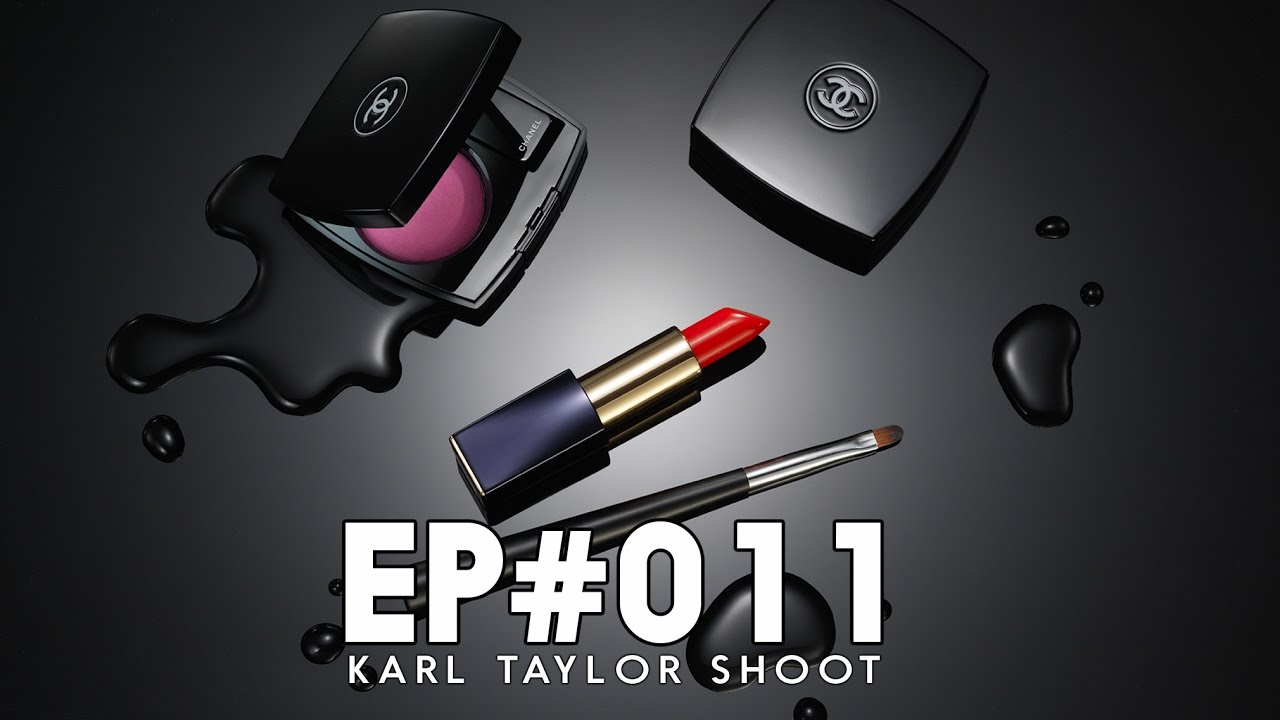
That’s exactly why this tutorial from Visual Education stopped me mid-scroll. Watch the full tutorial on YouTube - the creator walks through a complete beauty and cosmetics product setup on a gloss black acrylic surface, using pools of water as a compositional element, and delivers a finished frame without a single retouch. No cloning, no compositing, no frequency separation. Just methodical, layered lighting decisions made before the shutter fires. What follows is my breakdown of exactly how that setup works, step by step.
Step 1: Build Your Surface and Diffusion Frame First
 Camera on mono stand above low black gloss acrylic table
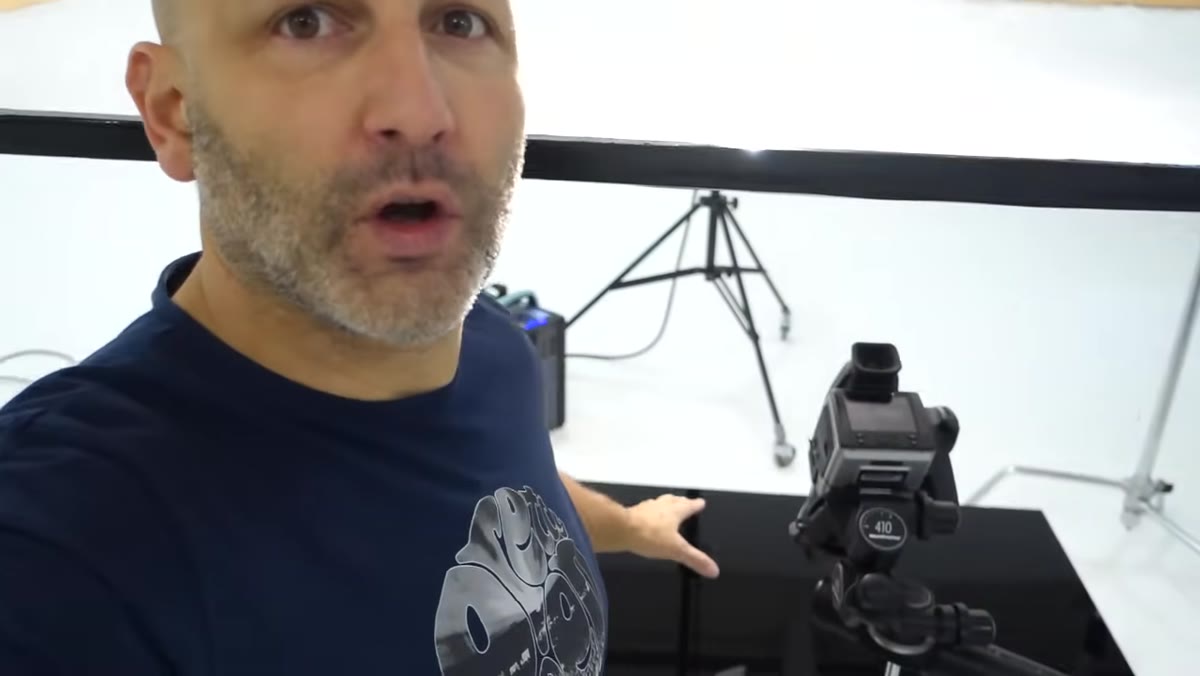
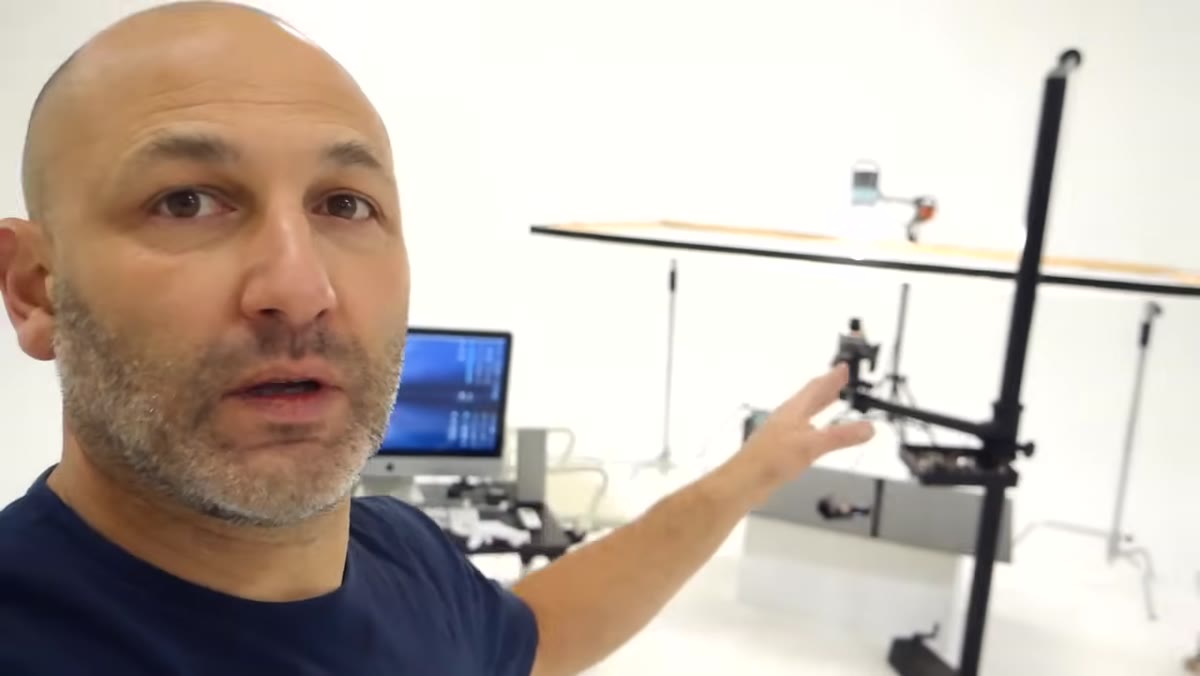
Before a single light goes on, the physical structure of the set determines everything else. In this setup, the camera sits on a mono stand shooting down toward a low table covered in black gloss acrylic. Above the table, a large DIY scrim frame is suspended from two C-stands. That frame holds diffusion material, which will soften whatever light passes through it.
Camera on mono stand above low black gloss acrylic table
Before a single light goes on, the physical structure of the set determines everything else. In this setup, the camera sits on a mono stand shooting down toward a low table covered in black gloss acrylic. Above the table, a large DIY scrim frame is suspended from two C-stands. That frame holds diffusion material, which will soften whatever light passes through it.
The logic here is spatial: you want the diffusion source to sit between your light and your surface so you’re never pointing a hard light directly at something reflective. Gloss acrylic shows every light source as a distinct shape. Diffusion turns a single strobe into a broad, soft panel. Get this architecture right before you worry about exposure or product placement.
Step 2: Start With One Light and Dial in the Surface First
 Overexposed first test shot on gloss black acrylic surface
The first light in the rig is a single strobe firing straight down through the diffusion frame. The initial test shot comes back completely blown out, which is exactly the right place to start. Rather than guessing at power settings, the approach is to fire, assess, and reduce until the pool of light on the acrylic looks controlled and intentional.
Overexposed first test shot on gloss black acrylic surface
The first light in the rig is a single strobe firing straight down through the diffusion frame. The initial test shot comes back completely blown out, which is exactly the right place to start. Rather than guessing at power settings, the approach is to fire, assess, and reduce until the pool of light on the acrylic looks controlled and intentional.
In the video, the strobe drops from power 8 down to power 5, then lower still, until the surface shows a clean, contained glow rather than a flat wash of overexposure. The key discipline here is to assess the surface independently of the products. Don’t try to evaluate your bottles or packaging at this stage. Get the acrylic reading the way you want it first. Products are a separate problem.
Step 3: Place Products Deliberately Around Your Water Elements
 Product placement with water pools being considered on surface
Once the surface exposure is locked, composition comes next, and this is where planning pays off. Pools of water are being used as reflective, organic elements that break up the flatness of the acrylic. But water placement isn’t random. Each pool needs to fall within the existing light so it catches that glow rather than sitting dark and dead between products.
Product placement with water pools being considered on surface
Once the surface exposure is locked, composition comes next, and this is where planning pays off. Pools of water are being used as reflective, organic elements that break up the flatness of the acrylic. But water placement isn’t random. Each pool needs to fall within the existing light so it catches that glow rather than sitting dark and dead between products.
Think of water on a reflective surface as a secondary mirror. Where you position it determines whether it adds depth or creates a muddy distraction. Work out the full composition before moving on to individual product lighting, because repositioning products later will shift your water, which will shift your reflections, and you’ll be chasing your tail.
Step 4: Reposition the Scrim Frame to Open Up Lighting Angles
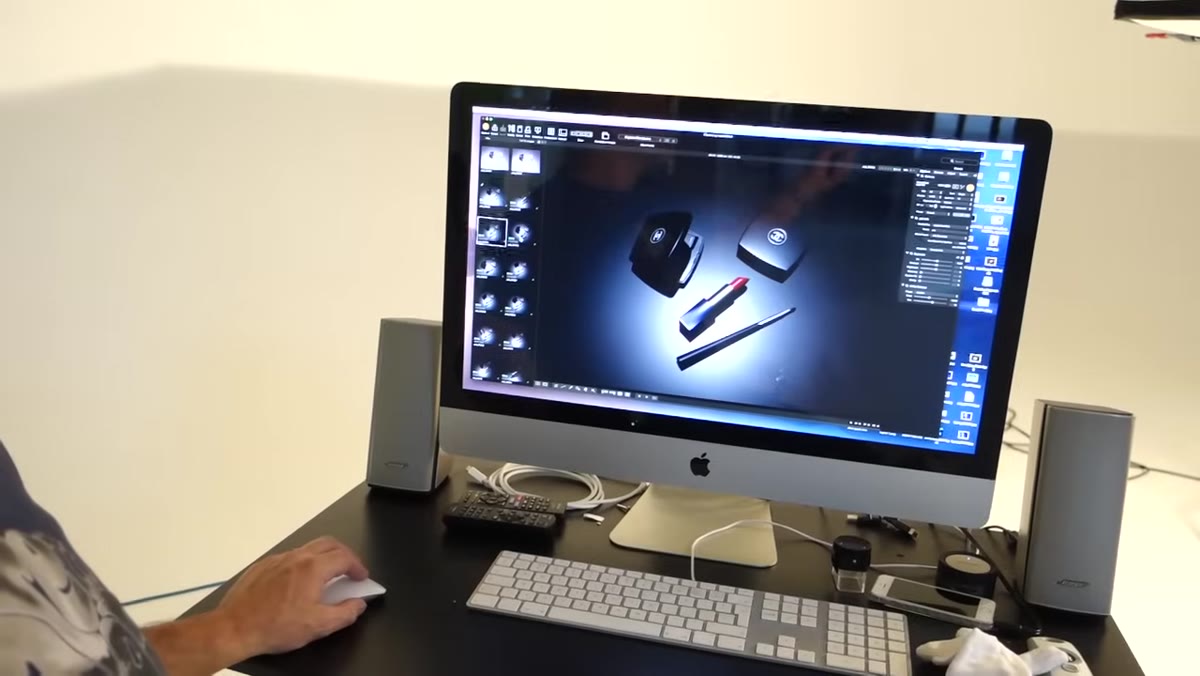 Scrim frame being rotated to clear C-stand legs from one side
Here is a problem most photographers hit and solve badly: you want a light coming in from a specific side, but your existing stand legs are blocking that angle. The solution in this tutorial is to rotate the entire scrim frame so that one end is clear of obstructions. That opens up a clean path for a second light to come in from the opposite side of the set.
Scrim frame being rotated to clear C-stand legs from one side
Here is a problem most photographers hit and solve badly: you want a light coming in from a specific side, but your existing stand legs are blocking that angle. The solution in this tutorial is to rotate the entire scrim frame so that one end is clear of obstructions. That opens up a clean path for a second light to come in from the opposite side of the set.
It sounds simple, but it reflects a broader principle. Your support equipment shouldn’t dictate your lighting angles. If a stand is in the way, move the stand. Build the lighting position you need, then find a way to support it. Working backwards from your stands almost always produces compromised results.
Step 5: Add a Second Light to Illuminate From the Side
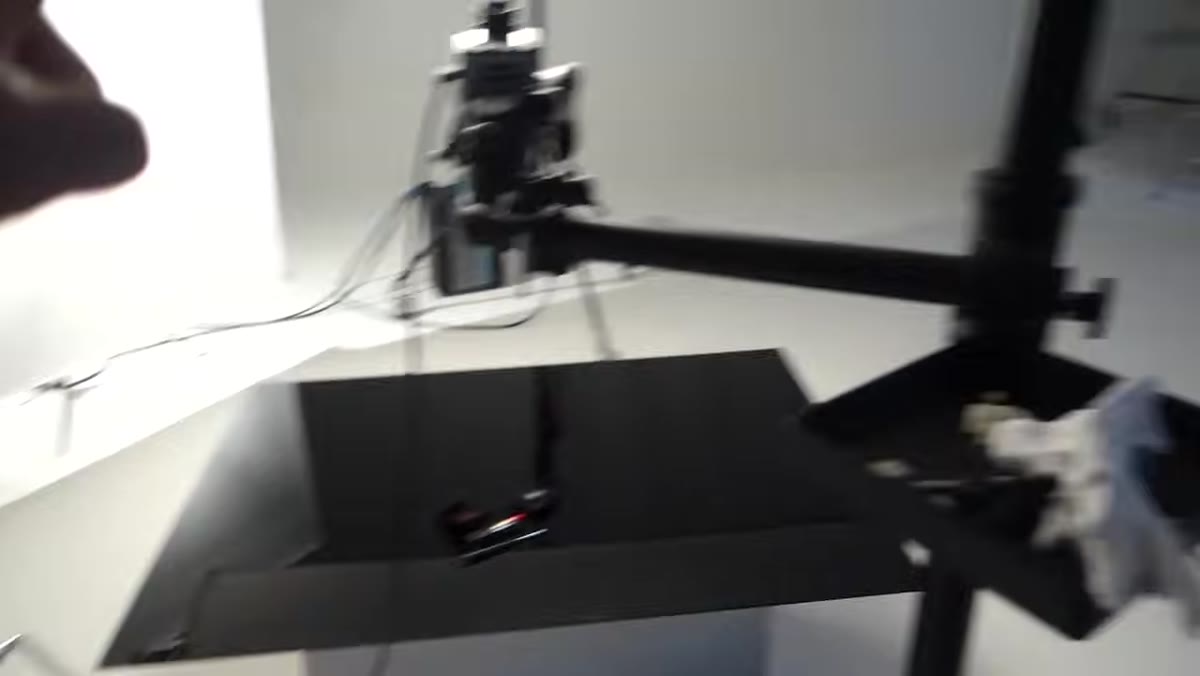 Second light positioned behind scrim roll on the side of the set
A second strobe is now introduced behind a secondary roll of diffusion material on the side of the set. Its job is to push light into the interior of a cylindrical product, specifically the inside of a blusher capsule, giving it that inner glow that makes cosmetic packaging look luxurious on screen.
Second light positioned behind scrim roll on the side of the set
A second strobe is now introduced behind a secondary roll of diffusion material on the side of the set. Its job is to push light into the interior of a cylindrical product, specifically the inside of a blusher capsule, giving it that inner glow that makes cosmetic packaging look luxurious on screen.
This is the difference between a product that reads as present in the frame and one that looks genuinely illuminated. Side and back lighting on translucent or semi-translucent packaging creates a sense of depth. Without it, the product looks like a flat object sitting in front of a light. With it, the light appears to live inside the product.
Step 6: Use a Projection Attachment to Sculpt the Light Precisely
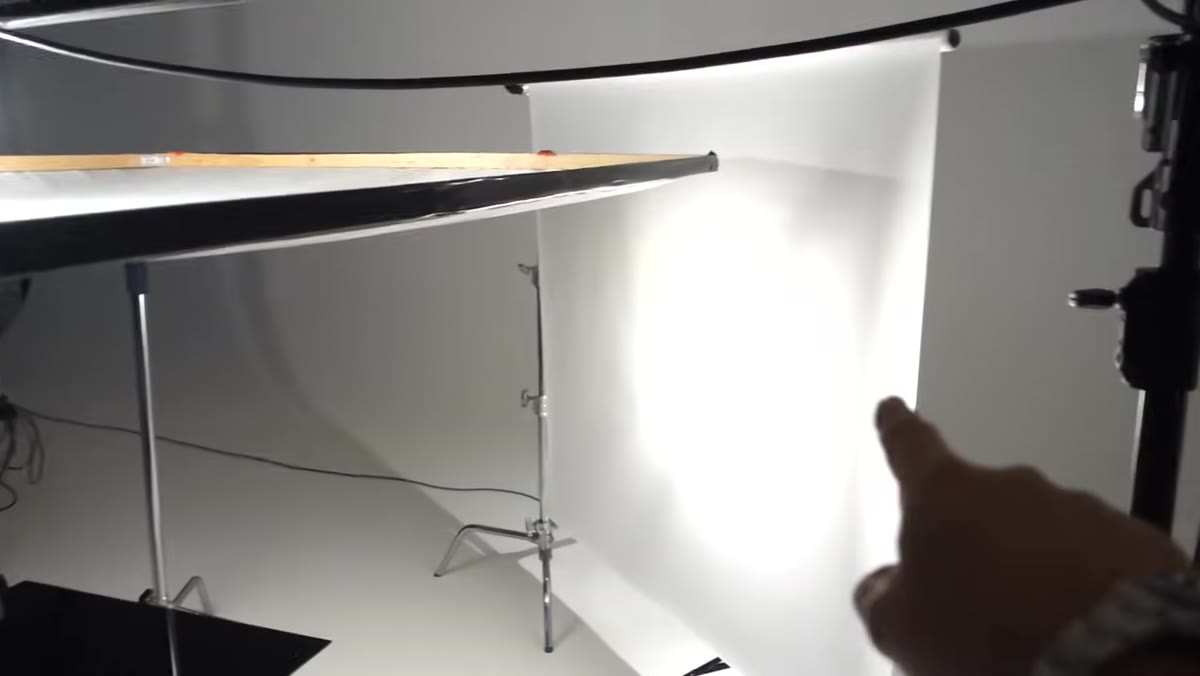 Pico light with projection lens and aperture blades on set
This is the most technically specific step in the whole setup and the one most photographers at the intermediate level haven’t tried yet. A small strobe fitted with a projection attachment carries a focusing lens and, critically, internal aperture blades that work like barn doors but with far more precision. By moving individual blades, you can shape the beam of light into an exact rectangle or narrow strip, hitting only the surface area you want.
Pico light with projection lens and aperture blades on set
This is the most technically specific step in the whole setup and the one most photographers at the intermediate level haven’t tried yet. A small strobe fitted with a projection attachment carries a focusing lens and, critically, internal aperture blades that work like barn doors but with far more precision. By moving individual blades, you can shape the beam of light into an exact rectangle or narrow strip, hitting only the surface area you want.
In practice this means you can light the inside of a capsule without spilling onto the product next to it, or add a highlight to one side of a bottle without washing out the label. It is granular control that would otherwise require hours of masking in post. The physical shaping of light is always faster and more convincing than painting it in digitally.
Step 7: Use White Card Inside the Product as a Micro Fill
 Small white card placed inside blusher capsule to bounce fill
A small strip of white card placed inside the open capsule bounces a little fill light back up into the shadow at the base of the opening. It isn’t doing dramatic work, but it lifts what would otherwise be a hard crescent shadow that would read as neglect in the final image.
Small white card placed inside blusher capsule to bounce fill
A small strip of white card placed inside the open capsule bounces a little fill light back up into the shadow at the base of the opening. It isn’t doing dramatic work, but it lifts what would otherwise be a hard crescent shadow that would read as neglect in the final image.
This kind of micro fill is something I use constantly in small product work, especially for jewelry and cosmetics. A single folded index card, a piece of foam core cut to size, or even white foam tape applied to the inside of a bottle cap can change the shadow quality meaningfully. You’re not fighting the lighting rig, you’re refining it.
What I’d Add From My Own Experience
The setup in this tutorial is built for a controlled studio environment with professional strobes. Most of my clients shooting their own products are working in apartments with speed lights or LED panels. The good news is the principle scales down completely. A large piece of white foam core diffusing a single LED panel above a sheet of black acrylic from a hardware store will get you 80 percent of this result. The scrim frame can be two light stands and a shower curtain rod. The aperture-blade projection attachment is the one genuinely specialized tool, but for most e-commerce work, careful flag placement with black foam core gets close.
The method, not the gear, is what matters here. Start with the surface. Lock your exposure before you worry about the product. Add lights one at a time and assess after each one. Work physically before you work digitally.
The single most important thing I took from this tutorial is this: great product photography is a sequence of small, deliberate decisions made before you press the shutter. Every problem you solve on set is a problem that doesn’t exist in post. Watch the full tutorial on YouTube to see the complete setup in motion.