How to Fix Leaning Products in Packshot Photography Using Photoshop's Distort Tool
There is a specific kind of frustration that comes from finishing a packshot session, pulling the images up on screen, and realizing your products look like they are about to tip over. The lighting is clean, the background is white, the reflection came out beautifully. And yet something looks off. Subtly, annoyingly off. I have been there more times than I want to admit, and I have watched clients notice it before I did, which is worse.
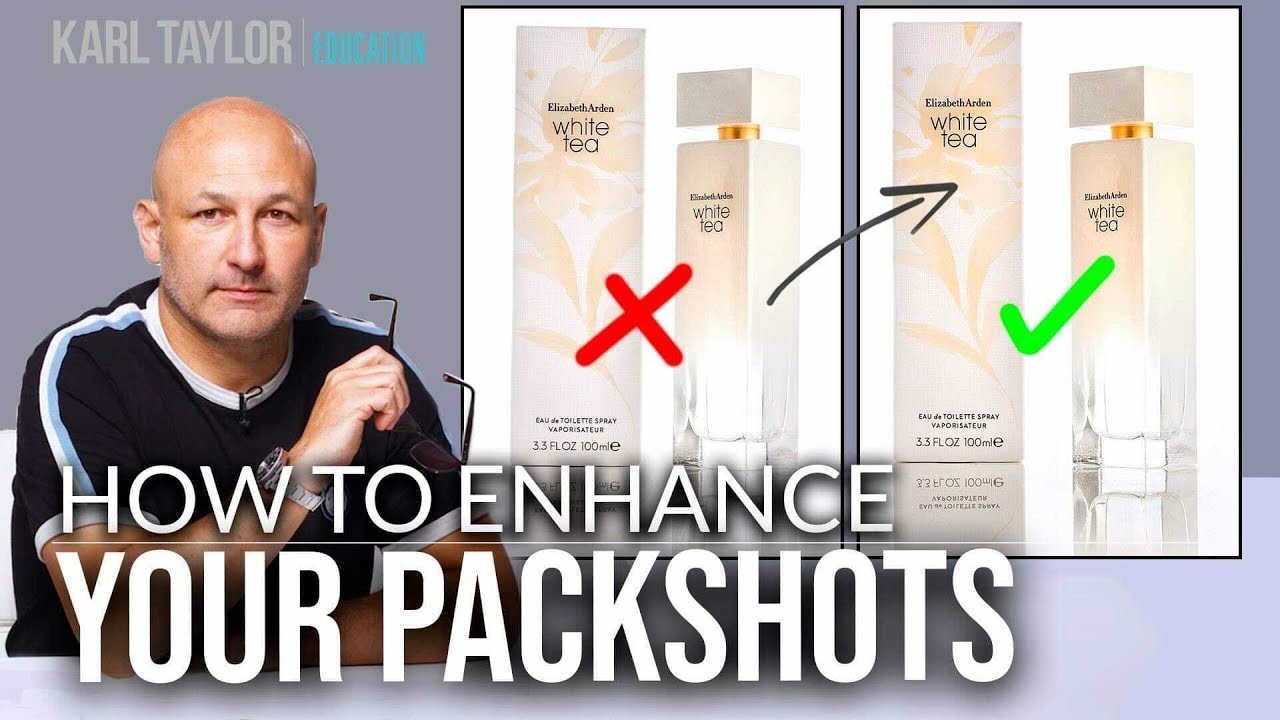
This is exactly the problem addressed in a recent Visual Education tutorial from their “Fix the Photo” series. Watch the full tutorial on YouTube. The instructor works through a member-submitted image of two Elizabeth Arden skincare products on a white background. The shot is genuinely well done. Good exposure, clean white, a nice reflection underneath. But both products have a slight lean to them, what the instructor calls the “leaning tower of pizza” effect, and it quietly undermines the whole image. The fix takes less than five minutes in Photoshop, and it is one of those techniques that once you know it, you will use it constantly.
What I want to do here is walk you through the exact process so you can apply it to your own packshots without having to pause and rewind.
Step 1: Assess the Lean Before You Touch Anything
 Two leaning skincare products on white reflective background
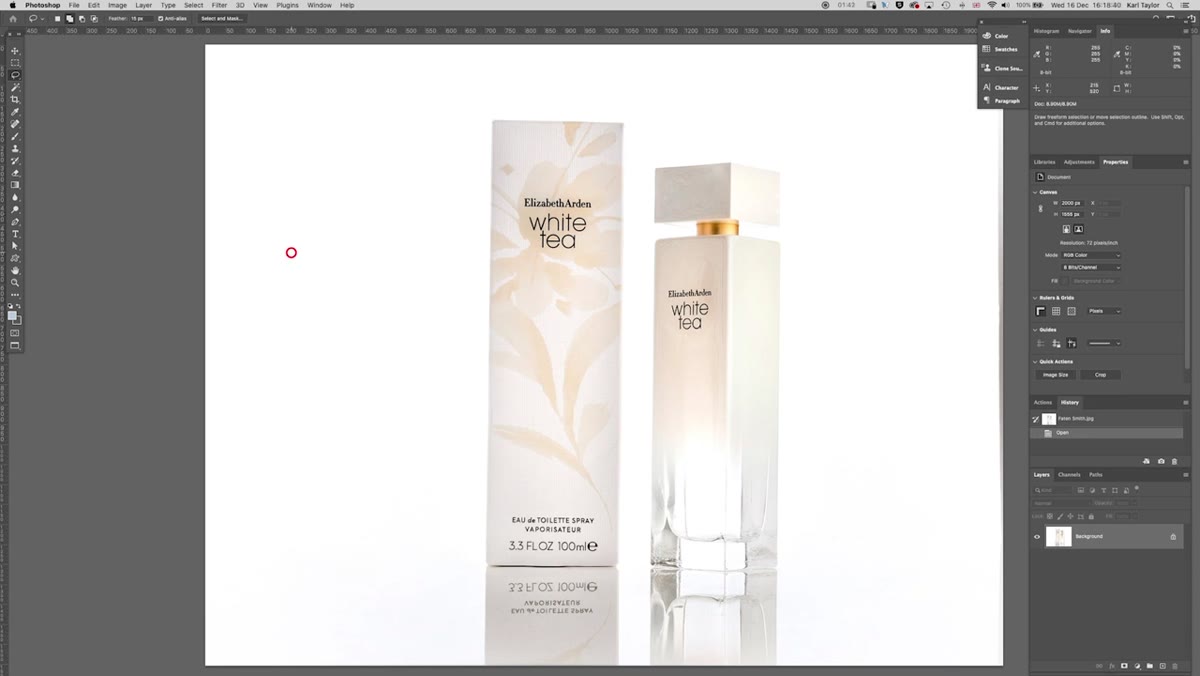
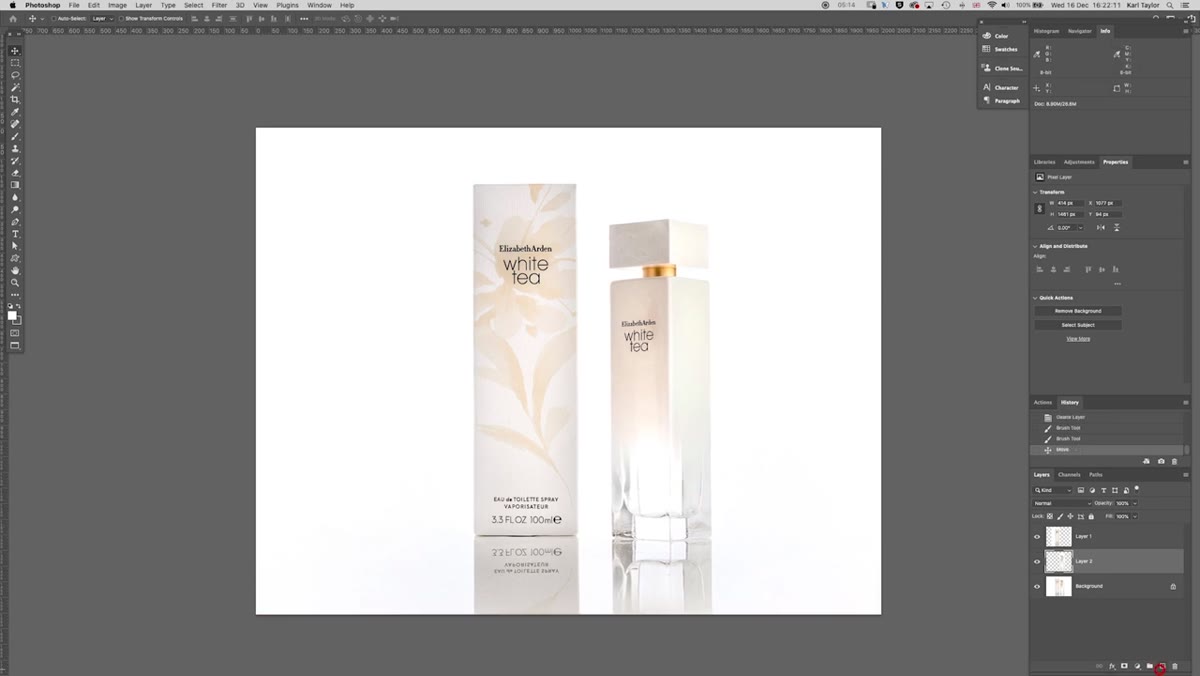
Before opening any tools, look at your image critically and identify how many products are leaning and whether they are leaning at the same angle. This matters because if you treat the whole image as one unit, you lose the ability to correct each product individually. In the tutorial image, both products lean, but at slightly different angles. That detail drives the entire approach that follows.
Two leaning skincare products on white reflective background
Before opening any tools, look at your image critically and identify how many products are leaning and whether they are leaning at the same angle. This matters because if you treat the whole image as one unit, you lose the ability to correct each product individually. In the tutorial image, both products lean, but at slightly different angles. That detail drives the entire approach that follows.
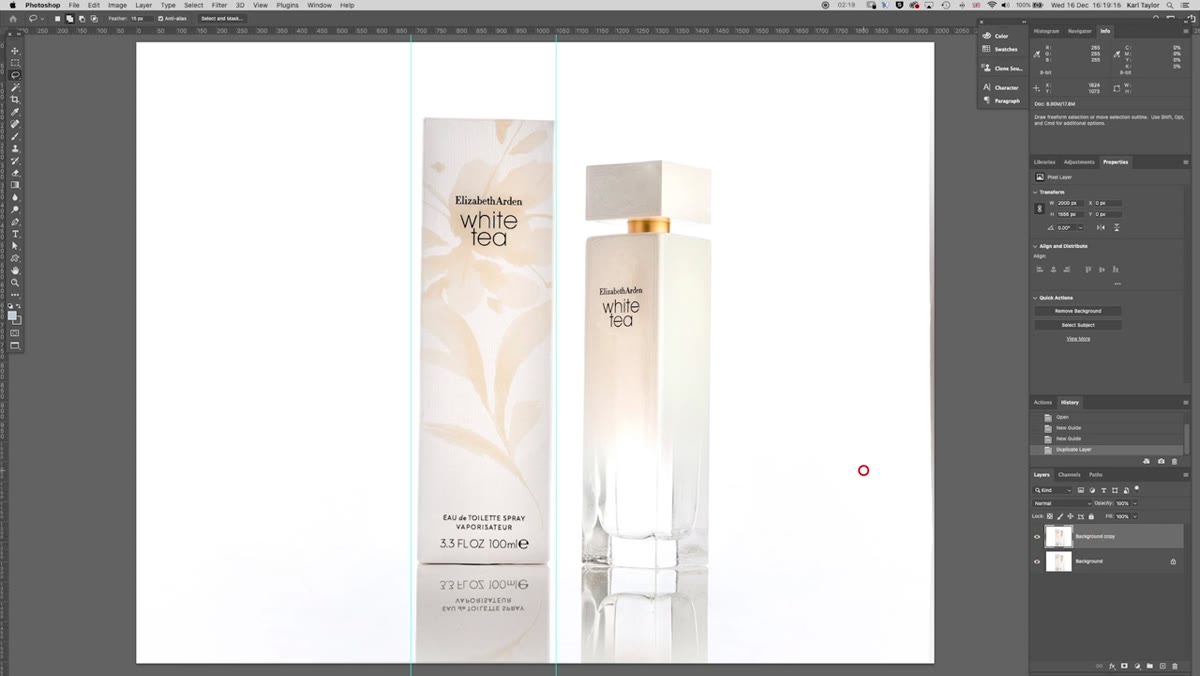
If you are not sure whether something is leaning, drop a vertical guide onto your canvas in Photoshop. Go to View, then New Guide, set it to vertical, and place it alongside the edge of your product. The guide will make any tilt immediately obvious. Trust what you see, not what you think should be there.
Step 2: Isolate the First Product onto Its Own Layer
 New layer created in Photoshop layers panel
Select your background layer and use whatever selection tool works best for your subject. For clean packshots with white backgrounds, the Quick Selection tool or Object Select usually does a solid job. Once you have a clean selection around the first product, press Command+J (or Ctrl+J on Windows) to copy that selection onto its own new layer. Do not skip this step. Keeping each product on a separate layer is what gives you independent control over position and angle later.
New layer created in Photoshop layers panel
Select your background layer and use whatever selection tool works best for your subject. For clean packshots with white backgrounds, the Quick Selection tool or Object Select usually does a solid job. Once you have a clean selection around the first product, press Command+J (or Ctrl+J on Windows) to copy that selection onto its own new layer. Do not skip this step. Keeping each product on a separate layer is what gives you independent control over position and angle later.
If your selection has rough edges, clean them up before moving on. A sloppy selection now becomes a visible halo or hard edge later, especially around fine details like product labels or curved edges.
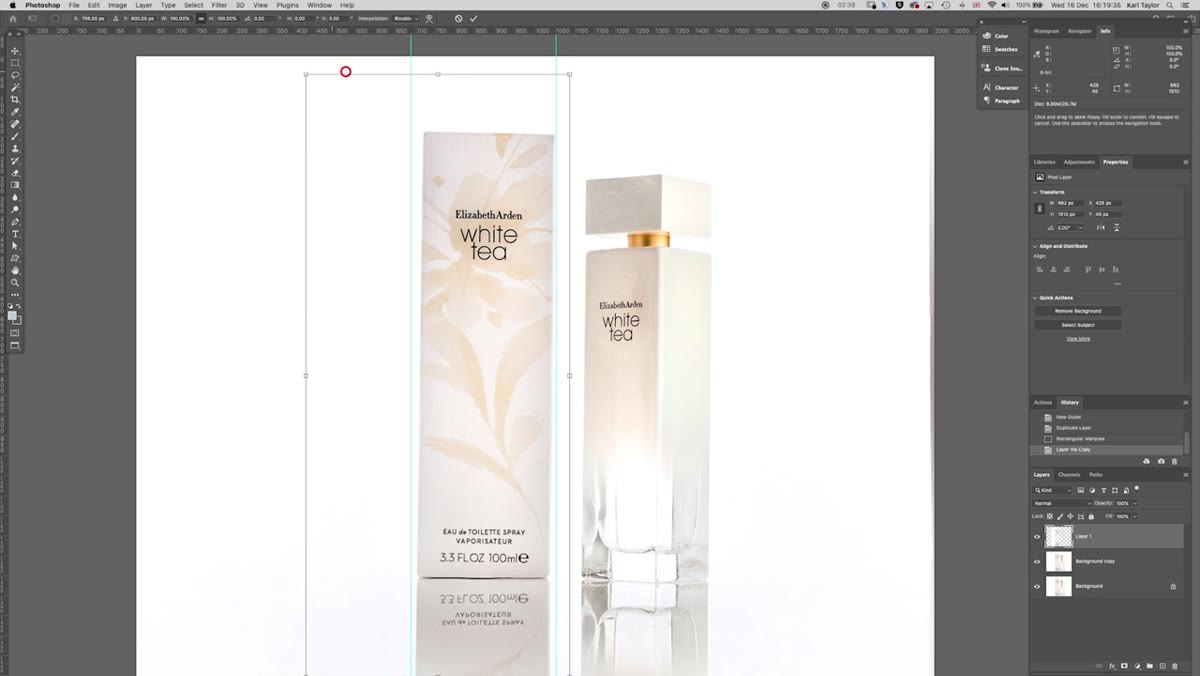
Step 3: Apply Transform Distort to Correct the Lean
 Edit Transform Distort menu path highlighted in Photoshop
With your isolated product layer selected, go to Edit, then Transform, then Distort. This is different from the standard Free Transform rotation because Distort lets you move individual corner points independently rather than rotating the whole layer as a rigid unit. That independence is what lets you bring one side of the product up or down without affecting the other.
Edit Transform Distort menu path highlighted in Photoshop
With your isolated product layer selected, go to Edit, then Transform, then Distort. This is different from the standard Free Transform rotation because Distort lets you move individual corner points independently rather than rotating the whole layer as a rigid unit. That independence is what lets you bring one side of the product up or down without affecting the other.
Grab the corner handle on the high side of the lean and drag it in the direction you need to correct. On a Mac, holding the Control key while dragging gives you finer, more precise control over small adjustments. Move slowly. The goal is to get the top edge of the product label or lid reading as horizontal, not to overcorrect in the other direction. Use a horizontal guide (View, New Guide, Horizontal) positioned at the top of where your product should sit to give yourself a reference line while you work.
Step 4: Repeat the Process for Each Additional Product
 Second product selected separately on its own layer
Go back to your original layer and repeat the selection and Command+J process for each remaining product. Even if two products appear to lean at the same angle, isolate them separately. In practice, subtle differences almost always exist, and giving yourself per-product control means you can also reposition them relative to each other later.
Second product selected separately on its own layer
Go back to your original layer and repeat the selection and Command+J process for each remaining product. Even if two products appear to lean at the same angle, isolate them separately. In practice, subtle differences almost always exist, and giving yourself per-product control means you can also reposition them relative to each other later.
Apply Edit, Transform, Distort to each new layer in turn, using your guides to check alignment as you go. Take your time here. Getting this right is the difference between an image that looks corrected and one that looks professionally shot.
Step 5: Reposition Products and Paint Out Gaps
 White paint brush covering gap between repositioned product layers
Once your products are straightened, you may find small gaps, missing edges, or bits of background that have shifted out of place. Moving and distorting layers on a white background creates these gaps naturally. The fix is straightforward: create a new empty layer below your product layers, sample the white background color with the eyedropper, and paint over any gaps with a soft brush at 100% opacity.
White paint brush covering gap between repositioned product layers
Once your products are straightened, you may find small gaps, missing edges, or bits of background that have shifted out of place. Moving and distorting layers on a white background creates these gaps naturally. The fix is straightforward: create a new empty layer below your product layers, sample the white background color with the eyedropper, and paint over any gaps with a soft brush at 100% opacity.
If you want to adjust the spacing between products, now is the time. With each product on its own layer, you can nudge them closer together or further apart using the Move tool. Any new gaps that appear underneath can be painted out the same way. This is also the moment to decide whether the overall composition feels balanced, since you now have the freedom to move things you did not have before the correction.
What I Would Add from My Own Workflow
The tutorial covers the correction beautifully, but I want to flag something it does not address: catching this problem before the retouch stage. On set, I now place a small level on top of boxed or flat-surfaced products before shooting. It takes ten seconds and catches lean before it gets baked into the shot. For curved or irregular products, I use a vertical guide in my tethering software as a visual check while I am still shooting.
When that is not an option, such as when I am working with images a client has already shot, I also find it helpful to zoom out to around 25% in Photoshop before assessing lean. Up close, your eye adjusts and compensates. Zoomed out, the tilt becomes much harder to ignore.
One more thing: if you are correcting a product with a visible reflection below it, you will need to correct the reflection separately or rebuild it. The Distort tool will not automatically update a mirrored layer. Factor that into your time estimate before you start, especially on large batch jobs.
The single most important takeaway from this tutorial is that Photoshop’s Distort tool, not rotation, is the right way to fix lean in packshot work. Rotation moves the whole product as a unit and often introduces new problems at the edges. Distort lets you push and pull individual corners, which matches how real optical lean actually behaves. It is more precise, more flexible, and faster once you have done it a few times.
Watch the full tutorial on YouTube to see the before and after comparison at the end. The difference is subtle but decisive, which is exactly the point. In e-commerce photography, subtle is where conversions are won or lost.