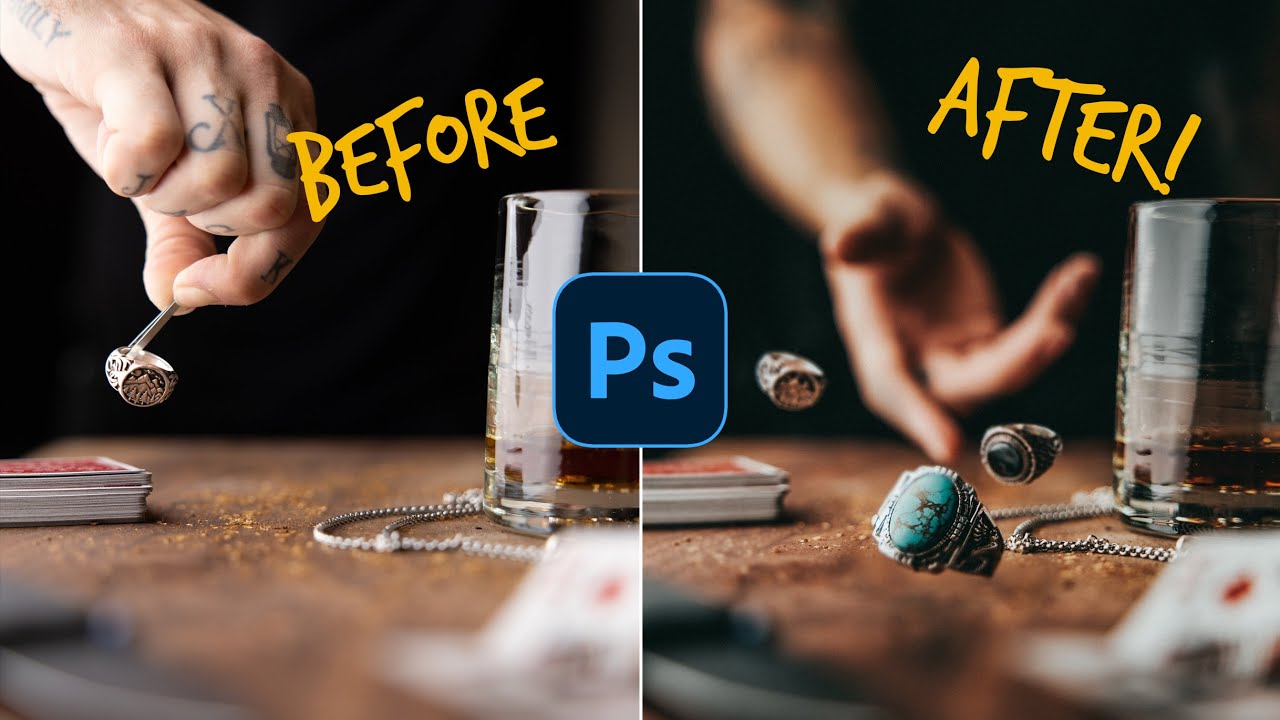
How to Fake Rolling Product Shots Using Photoshop Compositing (And Why You Should)
There’s a particular kind of client photo request that used to make me nervous: the “action” shot. Someone wants their jewelry to look dynamic, like it’s in motion, like it has energy. And the instinct is to actually create that motion, to toss the product and fire the shutter a hundred times and hope something usable lands. I’ve done it. It’s exhausting, the results are inconsistent, and if you’re shooting anything breakable or expensive, it’s a bad idea on every level.
That’s why when I came across this Peter McKinnon tutorial, something clicked immediately. He wanted a shot of rings appearing to roll across a surface, the kind of image that looks spontaneous and alive. Instead of chasing that moment in camera, he engineered it entirely, using controlled lighting, multiple individual exposures, and Photoshop compositing to build the final image from scratch. The result looks candid. The process is anything but. That tension is exactly what I teach.
What makes this tutorial valuable isn’t just the trick itself. It’s the underlying logic: when you’re shooting for compositing, consistency is more important than spontaneity. Every decision McKinnon makes, closing the blinds, using a strobe instead of natural light, placing products one at a time with tweezers, comes back to that single principle. Here’s how to actually do it.
Step 1: Sketch the Shot Before You Touch Your Camera
 Peter describing the concept with a hand-drawn layout
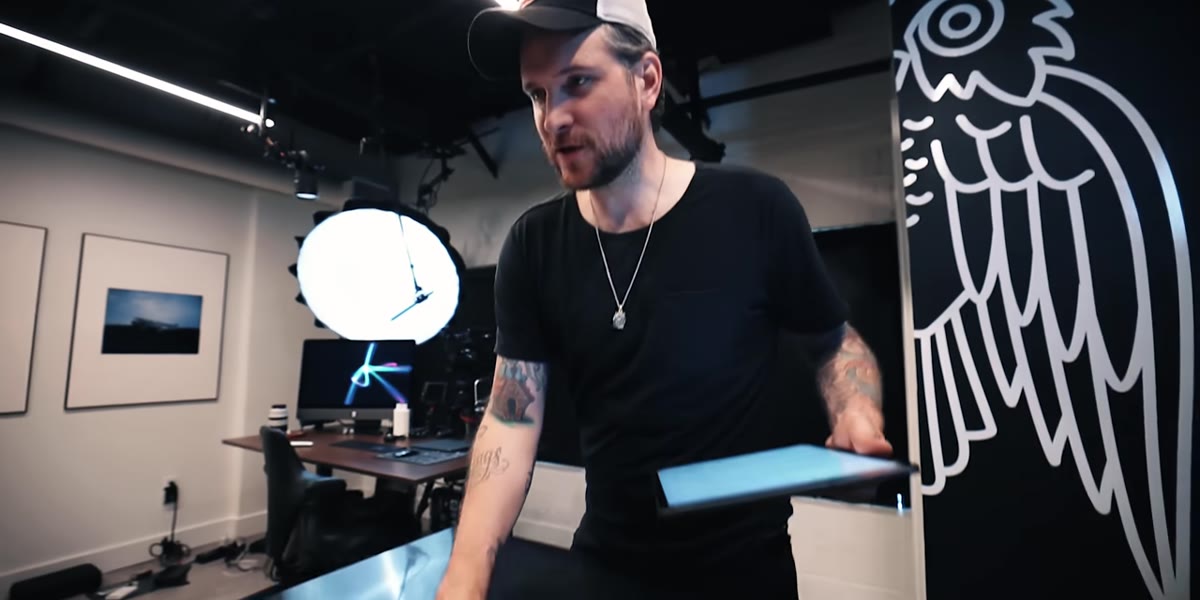
Before any gear comes out, McKinnon describes exactly what he wants: a hand in frame, rings appearing to roll away from it across a textured surface, smaller props scattered around for context. He knows the camera position, the hand placement, and the direction of the light before a single light stand goes up.
Peter describing the concept with a hand-drawn layout
Before any gear comes out, McKinnon describes exactly what he wants: a hand in frame, rings appearing to roll away from it across a textured surface, smaller props scattered around for context. He knows the camera position, the hand placement, and the direction of the light before a single light stand goes up.
This sounds obvious, but most people skip it and pay for it later. When you’re shooting a composite, changing your mind mid-shoot often means reshooting every single frame. Spend ten minutes with a sketch or a rough phone photo of the scene before you commit to anything. I keep a notes app folder of rough scene diagrams for exactly this reason.
Step 2: Choose a Surface That Reads Well Under Side Lighting
 McKinnon examining the wood surface and ring together
McKinnon selects a wood surface specifically because it matches the tone of the ring and holds texture well under raking side light. He’s thinking about how the material will interact with the light direction before the light is even set up. That’s the right order of operations.
McKinnon examining the wood surface and ring together
McKinnon selects a wood surface specifically because it matches the tone of the ring and holds texture well under raking side light. He’s thinking about how the material will interact with the light direction before the light is even set up. That’s the right order of operations.
For e-commerce, surface choice is often treated as an afterthought. It shouldn’t be. Matte surfaces read cleaner and require less retouching. High-gloss surfaces create reflections that compound your compositing work, because every element you add in post needs a reflection too. He actually backs away from a reflective board partway through for exactly this reason. If you’re building a composite, matte is almost always the easier path.
Step 3: Simulate Window Light with a Strobe, Not an Actual Window
 Godox AD300 positioned to camera left, acting as window light
The key lighting decision here is replacing natural window light with a strobe positioned to mimic it. McKinnon uses a Godox AD300 placed to the side of the scene, angled to create that soft, directional quality you get from a large window. He also adds a secondary light aimed at the background to fill the frame evenly and avoid the “one spotlight in a dark room” look.
Godox AD300 positioned to camera left, acting as window light
The key lighting decision here is replacing natural window light with a strobe positioned to mimic it. McKinnon uses a Godox AD300 placed to the side of the scene, angled to create that soft, directional quality you get from a large window. He also adds a secondary light aimed at the background to fill the frame evenly and avoid the “one spotlight in a dark room” look.
The reason this matters for compositing specifically: natural light changes. Cloud cover, time of day, a passing truck, any of it shifts the quality or intensity of the light between frames. When your final image is five exposures layered together, inconsistent light will show up as mismatched shadows and edges that no amount of masking will fix cleanly. A strobe set to a fixed power gives you identical light on every frame. That’s the whole game.
Step 4: Build Your Scene Fully Before Placing the Product
 Coffee flakes scattered across the wood surface as styling props
McKinnon scatters props across the surface before placing a single ring. In his case, some small organic elements that add texture and visual context to the scene without competing with the jewelry. The styling choices are minimal but intentional.
Coffee flakes scattered across the wood surface as styling props
McKinnon scatters props across the surface before placing a single ring. In his case, some small organic elements that add texture and visual context to the scene without competing with the jewelry. The styling choices are minimal but intentional.
The lesson here is sequence. Get your props, your surface, your lighting, and your background element all locked in before you introduce the product. Once you start placing rings, you don’t want to be adjusting anything else, because every adjustment potentially changes the frame and breaks your composite consistency. Lock the camera on a tripod, lock the lights, lock the props. Then shoot.
Step 5: Photograph Each Product Position Separately
 Single ring placed with tweezers in one position on the surface
This is the core technique. Rather than photographing all five rings at once, McKinnon places each ring individually, photographs it in the position he wants, removes it, and moves to the next position. Each frame has one ring. The final composite has five, built by stacking those frames in Photoshop and masking in each ring.
Single ring placed with tweezers in one position on the surface
This is the core technique. Rather than photographing all five rings at once, McKinnon places each ring individually, photographs it in the position he wants, removes it, and moves to the next position. Each frame has one ring. The final composite has five, built by stacking those frames in Photoshop and masking in each ring.
The tweezers are important, not just a quirk. Your fingers in the frame mean retouching time. A thin pair of tweezers or a small prop stand leaves a much smaller footprint to paint out. You also want to leave the product in each position long enough to double-check the angle and the shadow before you fire the shutter. Rushing this step creates mask headaches later.
Step 6: Use Your Hand-in-Frame Shot as the Base Layer
 McKinnon positioning his hand at the edge of the frame
The shot of McKinnon’s hand at the edge of the frame serves as the foundation of the composite. Everything else gets layered on top of it. Because the hand and the rings are shot under identical lighting, the light quality, direction, and shadow depth will match across layers without any manual correction.
McKinnon positioning his hand at the edge of the frame
The shot of McKinnon’s hand at the edge of the frame serves as the foundation of the composite. Everything else gets layered on top of it. Because the hand and the rings are shot under identical lighting, the light quality, direction, and shadow depth will match across layers without any manual correction.
In Photoshop, bring this base image in first. Add each ring frame as a new layer above it. Use a layer mask on each ring layer and paint away everything except the ring and its cast shadow. The shadow is what sells the composite as a single image, so don’t mask it out.
What I’d Add from My Own Shoots
McKinnon’s technique works beautifully for jewelry and small objects, and I’d extend it to any product category where “lifestyle in motion” is the goal but actually creating that motion isn’t practical. I’ve used this same multi-exposure approach for skincare products that needed to look like they were being poured, and for accessories styled around a flatlay that needed some implied energy.
One thing I’d flag: if your product is translucent or has strong specular highlights, like cut gemstones or metallic surfaces, shoot each position with a slight rotation to find the angle where the light hits most favorably. In compositing, you’re not stuck with one single angle for every piece. That’s an advantage you should use.
The single most important thing this tutorial taught me is that “control” is the real product photography skill. The creative vision matters, but so does the ability to engineer conditions where you can execute that vision the same way twice, five times, across every frame. That consistency is what makes compositing possible, and compositing is what makes product images that genuinely look planned rather than grabbed.
Watch the full tutorial on YouTube to see McKinnon walk through the Photoshop layering in real time. Watching him place each ring and the final composite come together is worth the time even if you’ve already read every step here.