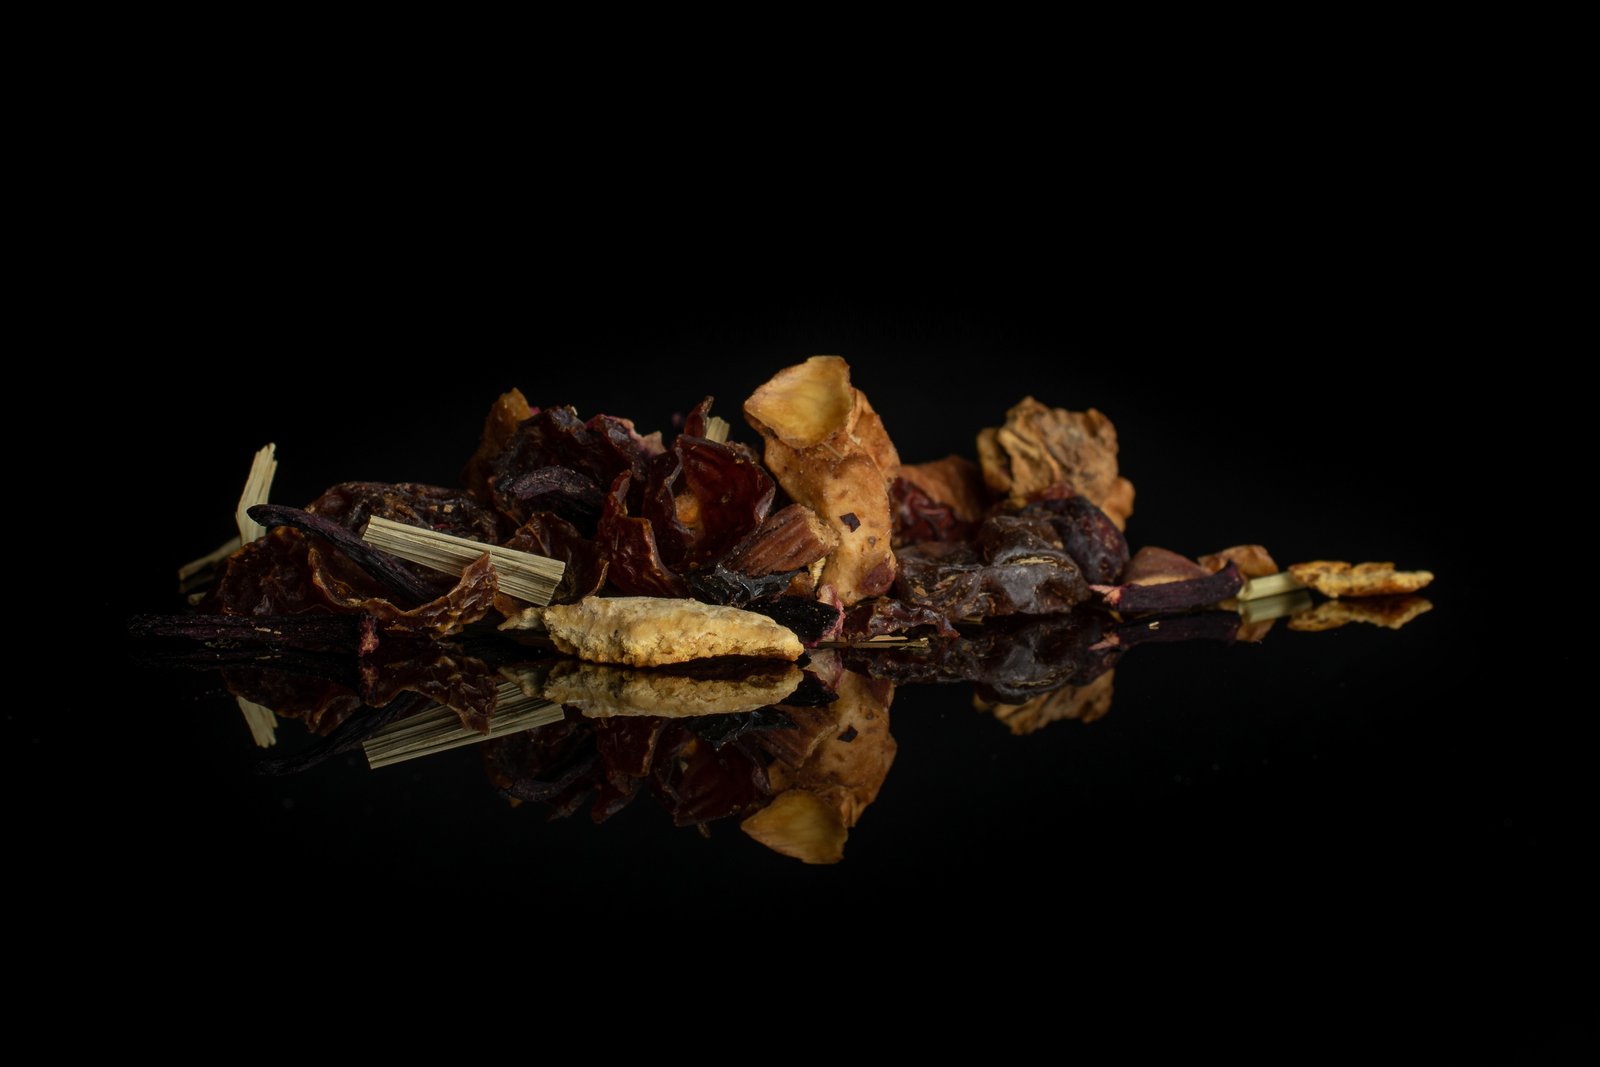
How Reflective Surfaces Are Quietly Ruining Your Product Photos (And What to Put Under Your Products Instead)
The Mirror Problem Nobody Talks About
I photographed a skincare line last year where the client had already taken their own shots. White marble contact paper under the bottles, beautiful warm light, very Pinterest. The images looked terrible. Not because the marble pattern was ugly, but because every light source in the room, the window, the ring light, a lamp in the hallway, was showing up as a smeared, chaotic reflection across the bottom third of every bottle. The product was practically invisible under all that noise.
Reflective surfaces are seductive. They look expensive in reference photos. They read as “editorial.” But using them without understanding how light behaves on a reflective plane is like turning on every burner on your stove because you want the kitchen to feel warmer. You’re introducing chaos and calling it ambiance.
What’s Actually Happening When Light Hits a Reflective Surface
When light strikes a matte surface, it scatters. That’s called diffuse reflection, and it’s forgiving. Angle doesn’t matter much. You get even, readable texture.
When light hits a reflective surface, it bounces back at an angle equal to the angle it arrived. That’s specular reflection. Every light source in your environment, and there are more than you think, becomes a potential highlight or streak on that surface. Your softbox, your ceiling fixture, the glow from your laptop screen, the window behind you. All of it shows up.
This is why product photographers who use reflective surfaces successfully are not just putting a piece of acrylic on a table and shooting. They are controlling every single light source in the room and shaping the reflection deliberately. That level of control is achievable, but it requires you to understand what you’re working with.
Which Reflective Materials Do What
Not all reflective surfaces behave the same way, and the differences matter at the shoot level.
White acrylic sheet (sometimes sold as Plexiglas or Perspex) gives you a soft, milky reflection. The product appears to float slightly. The reflection is there but diffused. This is the most beginner-friendly option. A 12x12 inch sheet from a plastics supplier or hardware store runs about $8 to $15. Tape black foam board to the underside if you want a dark, moody version instead.
Black acrylic produces a sharp, deep reflection. It reads as luxury immediately. Watches, perfume, electronics. But it shows every fingerprint and particle of dust, and those will be visible in your final shot. Shoot with lint-free gloves and clean the surface between every single frame. I mean every frame. It’s not optional.
Glossy white tile from a home improvement store costs almost nothing and photographs beautifully for food and cosmetics. The reflection is shorter and softer than acrylic because tile has a slightly less perfect surface. That imperfection is actually useful. For a 12x12 tile, you’re spending under $5.
Polished aluminum and chrome sheets are in a different category entirely. The reflection is crisp and bright, and they pick up color from everything around them. I use these only when I want the reflective surface itself to be part of the visual story, not just a base. Control your environment ruthlessly before bringing these in.
How to Actually Control What You’re Reflecting
Here’s the workflow I use when I’m setting up a reflective surface shot.
First, I get the surface in place and look at it from camera position before the product goes anywhere near it. I’m looking for every light source I can see in that reflection. Then I kill or flag everything I haven’t deliberately placed. Blackout curtains on windows. Turn off overhead lights. Cover your laptop.
Second, I shape my key light so it’s reflecting where I want it, not where it lands by default. With a reflective base, your light position changes the reflection position on the surface, not just on the product. Move your softbox a few inches and watch what happens to the base. This is the variable most beginners ignore.
Third, I use a piece of white foam core or a small reflector card to fill the shadow side of the product, not the surface. The surface will handle itself once your light is placed correctly. Adding fill light carelessly just gives you two reflections instead of one.
I shoot tethered when I’m using any high-gloss surface, pulling the files into Lightroom at full size. At thumbnail size, a reflection problem looks like a faint shimmer. At 100 percent zoom, it’s a blown-out streak across your product. Catch it on set.
The Session That Changed How I Teach This
My mom sells handmade jewelry. For years her Etsy photos were iPhone snapshots on a paper plate because she didn’t know there was another way. When I finally sat down with her and rebuilt her entire setup, the first thing I did was put a piece of black acrylic under her rings and pendants and show her how to position her single LED panel light so it created a clean, controlled reflection directly below each piece.
Her sales tripled within a few months. I know it wasn’t just the reflective surface. It was the whole approach: consistent backgrounds, controlled light, intentional composition. But that black acrylic was the thing she pointed to every time she told someone what changed. It made her work look like work she was proud of.
She still texts me photos of her setups for approval. I always answer.
The One Thing That Determines Whether a Reflective Surface Helps or Hurts
You do not need an expensive surface. You need fewer uncontrolled light sources than you currently have. Get your room dark, place one deliberate light, and then choose your surface. In that order. The surface only shows you what’s already in your environment, so if your environment is messy with competing light, no amount of beautiful material will fix the photo.