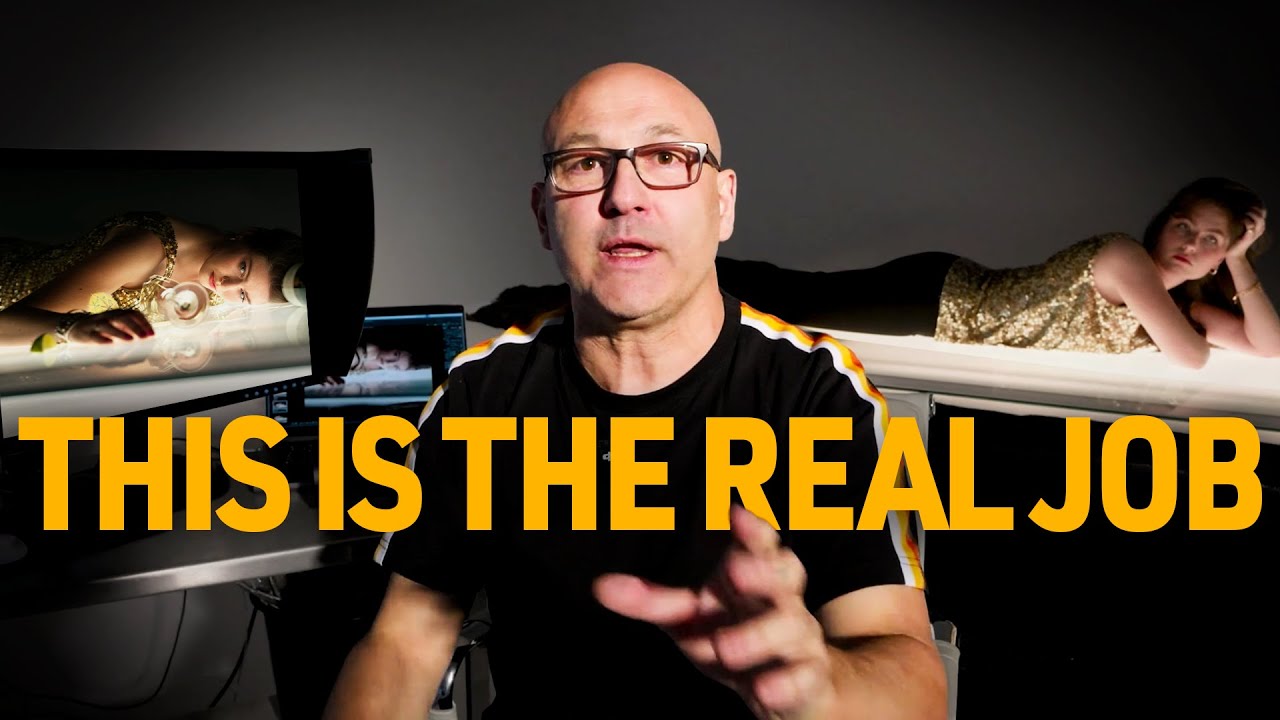
How Real Commercial Product Shots Are Actually Built: A Behind-the-Scenes Breakdown
There’s a gap between knowing that commercial product shots are composited and actually understanding how that compositing logic is built from the ground up. I’ve watched a lot of behind-the-scenes content over the years, and most of it shows you the pretty result without explaining the decisions that got there. That’s what made this particular tutorial stand out.
In this Visual Education tutorial by Karl Taylor (Watch the full tutorial on YouTube), Karl walks through several real client projects shot inside his working commercial studio. These aren’t mock exercises. They’re actual briefs, with actual constraints, and watching how he solves them is more useful than any textbook lighting diagram I’ve seen. The Guinness pint project alone changed how I think about separating lighting problems into layers instead of trying to solve everything in a single frame.
If you shoot product work for e-commerce clients, or if you’re a small business owner trying to level up from flat, lifeless shots, the thinking behind these setups translates directly. You don’t need a full commercial studio to apply it. You need to understand why the shots are broken apart and how each piece is designed to do one job well.
Step 1: Define the Visual Problem Before You Set Up a Single Light
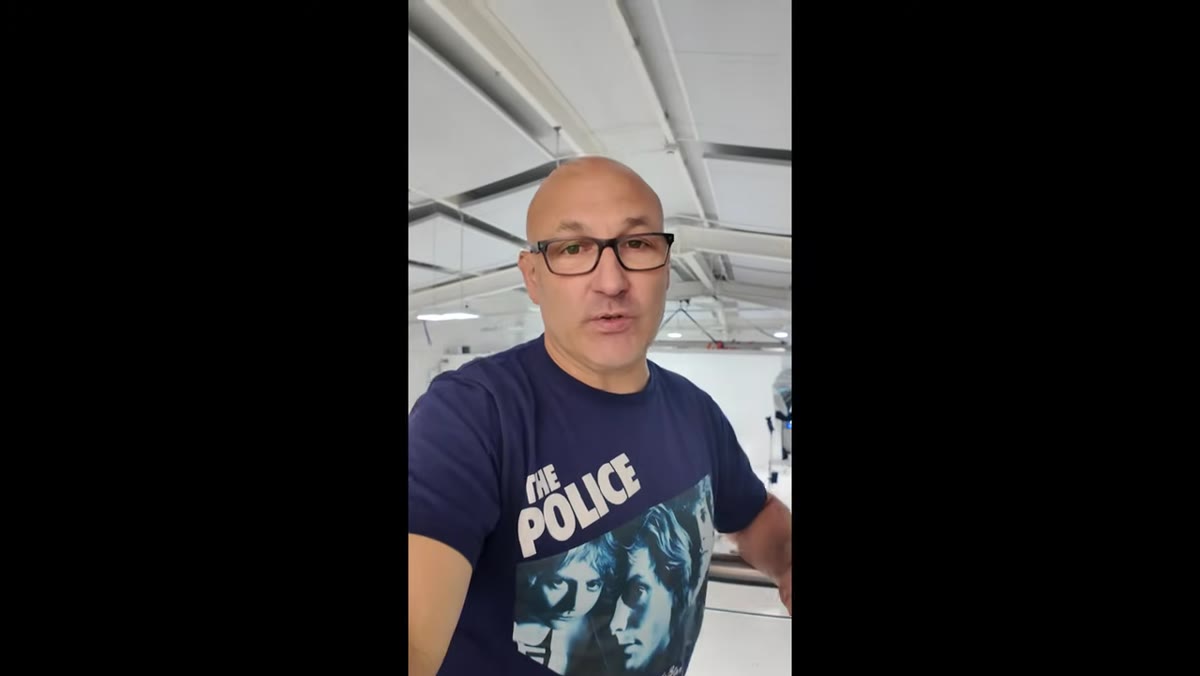 Karl introducing the Guinness brief to camera
Karl’s first move on the Guinness project isn’t picking up a light. It’s identifying what the shot needs to communicate: the logo needs to be crisp and readable, the white foam needs to lift visually, and the liquid needs to show turbulence and depth. Those are three separate visual goals, and they require three separate lighting conditions. Trying to nail all of them in one exposure is the mistake most beginners make.
Karl introducing the Guinness brief to camera
Karl’s first move on the Guinness project isn’t picking up a light. It’s identifying what the shot needs to communicate: the logo needs to be crisp and readable, the white foam needs to lift visually, and the liquid needs to show turbulence and depth. Those are three separate visual goals, and they require three separate lighting conditions. Trying to nail all of them in one exposure is the mistake most beginners make.
Before your next product shoot, write down every visual element in the shot and what quality of light each one needs. A glass bottle might need backlighting for the liquid, a harder side light for the label, and a controlled reflection for the glass surface. Once you see them as separate problems, you stop chasing one magic setup that does everything.
Step 2: Build Your Base Exposure for the Most Controllable Element First
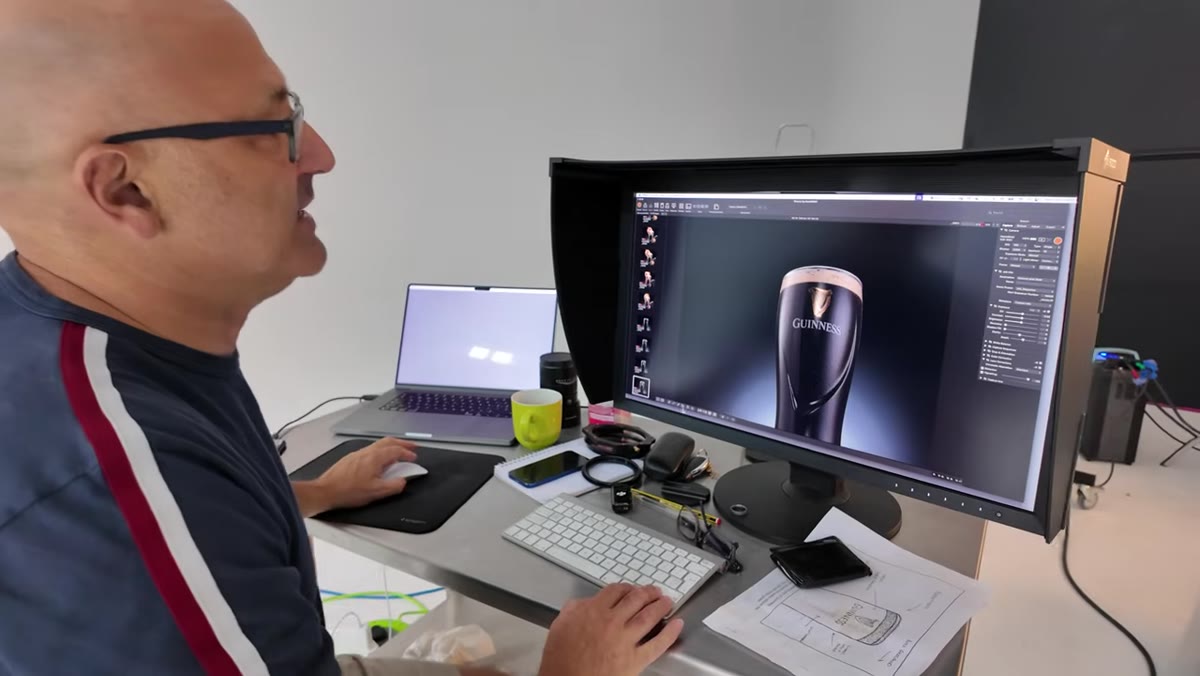 Base lighting setup shown on screen for the Guinness glass
Karl starts with a base exposure built around the Guinness logo, with a controlled reflection placed deliberately on the glass. This is your anchor layer. It doesn’t need to be exciting. It just needs to be technically clean, with the label correctly exposed and the specular highlights sitting exactly where you want them.
Base lighting setup shown on screen for the Guinness glass
Karl starts with a base exposure built around the Guinness logo, with a controlled reflection placed deliberately on the glass. This is your anchor layer. It doesn’t need to be exciting. It just needs to be technically clean, with the label correctly exposed and the specular highlights sitting exactly where you want them.
In practice, this means locking down your camera position, setting your aperture for the depth of field you need (usually f/8 to f/11 for packshots), and dialing in your main light until the label reads perfectly. Don’t move the camera or the product after this. Every subsequent layer depends on this frame being pixel-perfect consistent.
Step 3: Shoot the Problematic Element Separately with Its Own Dedicated Lighting
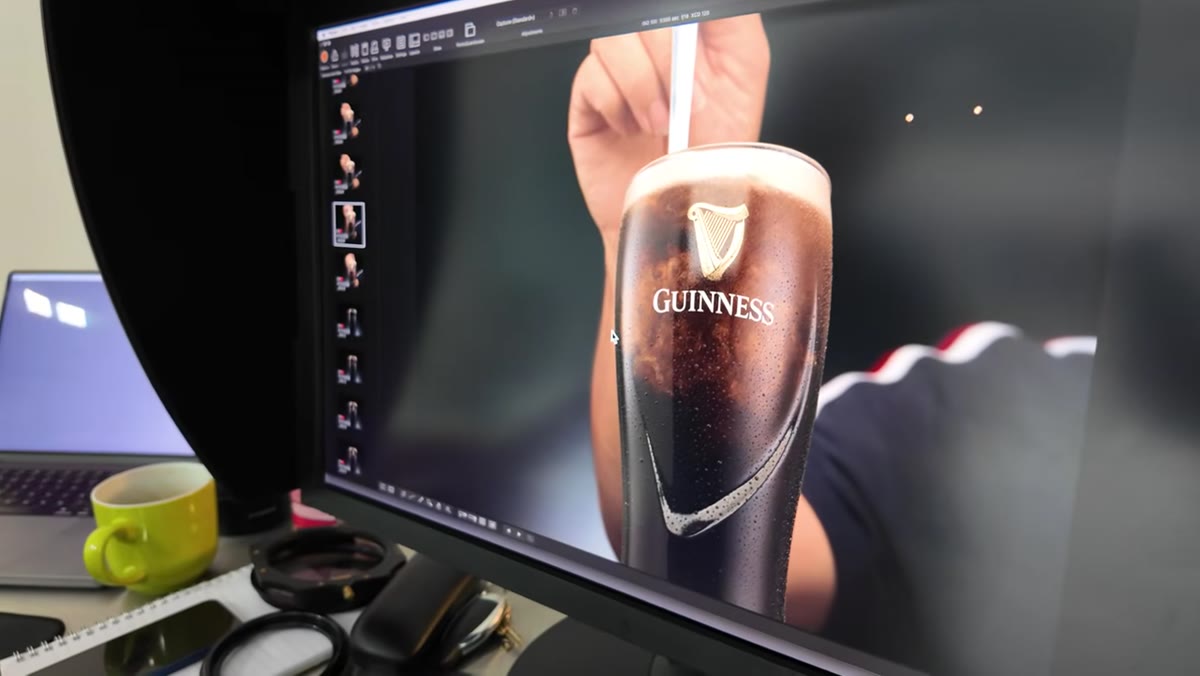 Karl describing turbulence lighting as separate from the logo setup
The turbulence in the liquid required a completely different light position. The lighting angle that made the swirls visible and dramatic killed the logo. So Karl shot the liquid separately, with lighting optimized purely for showing the movement and depth inside the glass, knowing he’d composite it in later.
Karl describing turbulence lighting as separate from the logo setup
The turbulence in the liquid required a completely different light position. The lighting angle that made the swirls visible and dramatic killed the logo. So Karl shot the liquid separately, with lighting optimized purely for showing the movement and depth inside the glass, knowing he’d composite it in later.
This is the core lesson: when two elements in your shot are fighting each other for different light qualities, you don’t compromise. You separate them. For e-commerce work, I use this same logic when shooting a product with both a matte surface and a shiny surface. One exposure is lit for the matte. One is lit for the shiny. They get merged in post with a layer mask. The final image looks like it was lit by someone who understands physics, because in a sense, it was.
Step 4: Coordinate Practical Elements and Shoot for Compositing, Not a Perfect Single Frame
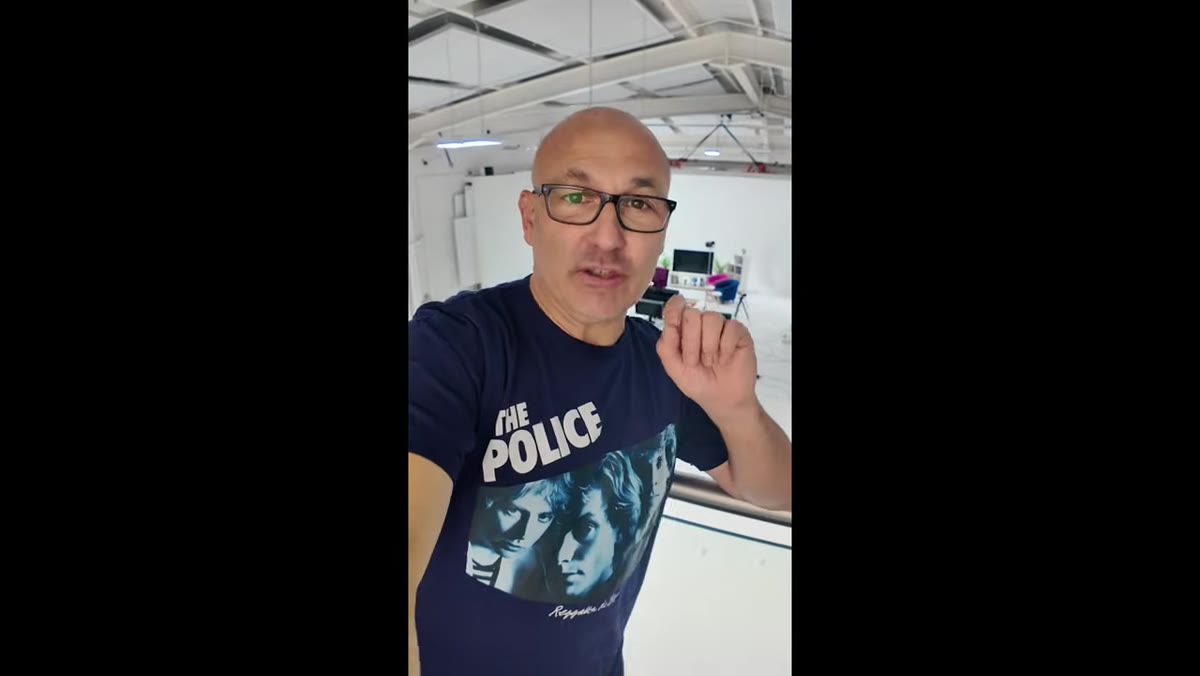 Karl explaining the Maxell recreation concept with wires and wind machine
The Maxell cassette recreation is a masterclass in planned chaos. The shot required a wind machine, manually operated strings pulling a tie and lampshade, a wig, and a wine glass that had to smash on cue. None of it could work perfectly in isolation. The whole point was to shoot enough coverage of each element so that the composite could be assembled to look seamless.
Karl explaining the Maxell recreation concept with wires and wind machine
The Maxell cassette recreation is a masterclass in planned chaos. The shot required a wind machine, manually operated strings pulling a tie and lampshade, a wig, and a wine glass that had to smash on cue. None of it could work perfectly in isolation. The whole point was to shoot enough coverage of each element so that the composite could be assembled to look seamless.
If you’re shooting anything with moving elements, liquids, fabric, or props, stop trying to get the perfect single frame. Shoot 20 to 30 frames of each element moving through its range. Your best swirl, your best fabric drape, your best splash will rarely happen in the same frame. Plan the shot so those elements can be extracted and combined, and you’ll have far more control over the final result.
Step 5: Use Client Briefs as Creative Constraints, Not Limitations
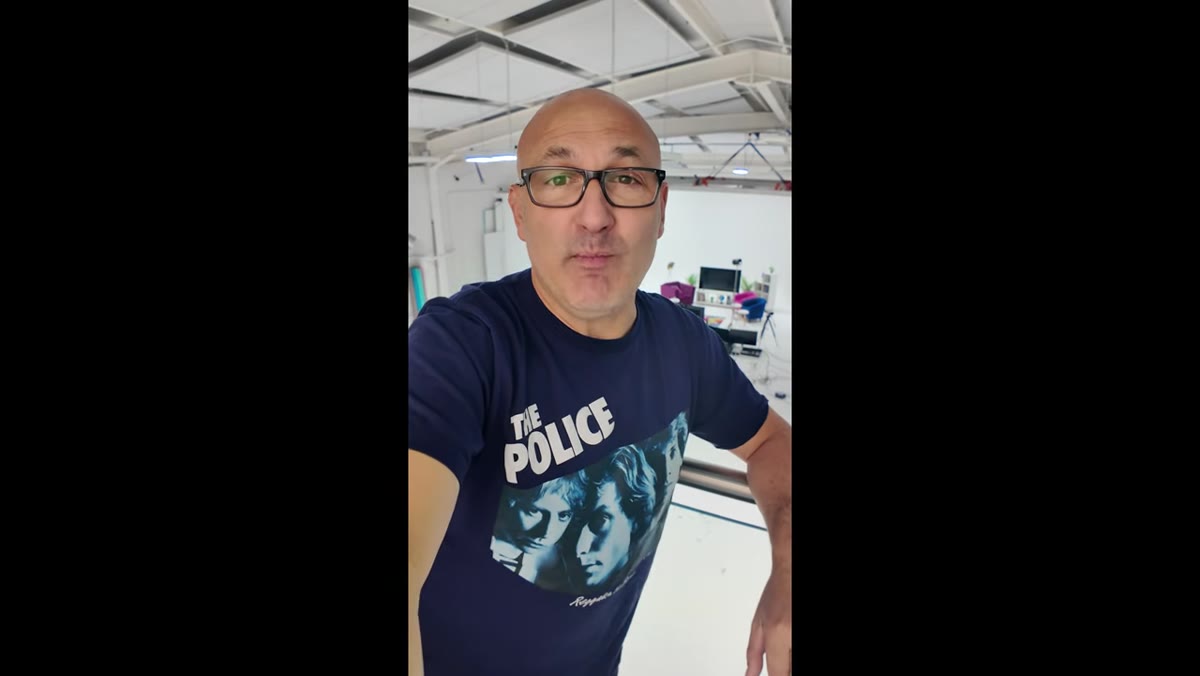 Large tires being brought into the studio for the Monoflex shoot
When a tire repair company rents your studio and rolls in equipment that barely fits through the roller doors, you don’t get to choose your ideal setup. Karl’s coverage of the Monoflex shoot illustrates something that doesn’t get discussed enough: the creative solution lives inside the constraint. The size of the tires, the difficulty of the space, the practical limits of the location all become part of the visual language of the shot.
Large tires being brought into the studio for the Monoflex shoot
When a tire repair company rents your studio and rolls in equipment that barely fits through the roller doors, you don’t get to choose your ideal setup. Karl’s coverage of the Monoflex shoot illustrates something that doesn’t get discussed enough: the creative solution lives inside the constraint. The size of the tires, the difficulty of the space, the practical limits of the location all become part of the visual language of the shot.
For e-commerce photographers, the constraint is usually budget and space. I’ve shot 200 products in a single day using a $50 DIY lightbox in a spare room. The constraint forced me to develop a repeatable, efficient system. That system still shapes how I work with clients today. When something about a shoot feels restrictive, that’s usually where the interesting problem-solving begins.
Step 6: Live Shoots and Concept Narrative Work Require Emotional Direction, Not Just Technical Direction
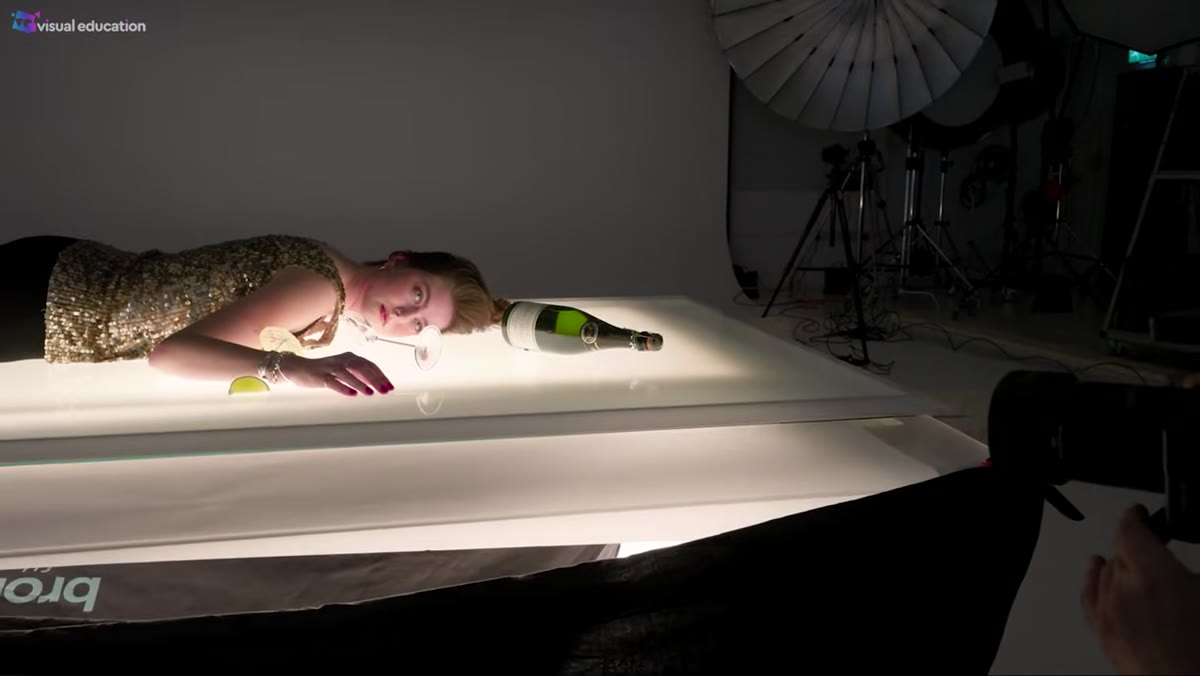 Karl directing model Caris during the live concept shoot
Karl’s live show segment, working with a model on a concept narrative image, introduces a completely different skill set. He’s not just managing light. He’s directing emotion, and he’s doing it while also managing a live audience and answering questions in real time. The technical setup is almost secondary to the ability to communicate clearly what the image needs to feel like.
Karl directing model Caris during the live concept shoot
Karl’s live show segment, working with a model on a concept narrative image, introduces a completely different skill set. He’s not just managing light. He’s directing emotion, and he’s doing it while also managing a live audience and answering questions in real time. The technical setup is almost secondary to the ability to communicate clearly what the image needs to feel like.
Even in pure product work, this principle applies. When you’re art directing your own shots, you need to ask what emotion this product should evoke before you touch a light. A skincare product should feel clean and calm. A whiskey bottle should feel weighted and serious. That emotional brief shapes every decision from background texture to highlight shape.
What I’d Add From My Own Workflow
The compositing logic Karl uses on the Guinness shoot is something I now build into every multi-element product job, but I take it one step further by shooting a “safety frame” before anything moves or changes. That’s a frame with ambient light only, no strobes, that captures the product in its exact position. If something goes wrong in post, the safety frame gives you a neutral reference for color, shape, and position. It’s saved me twice on rush deadlines when a layer mask wasn’t blending cleanly and I needed to troubleshoot fast.
The other thing worth noting: Karl’s team moves fast because everyone knows their job before the shot begins. On solo shoots, that means doing your planning the day before. Test your light positions, mark your camera settings, prep your layers in Photoshop before the product is even on set. The shoot itself should feel like executing a plan, not figuring one out.
The single most important idea in this entire tutorial is that a great commercial shot is rarely captured. It’s assembled. Once you accept that, you stop asking “how do I get this all in one frame?” and start asking “what does each layer need to do?” That shift in thinking is what separates product photography that looks professional from product photography that looks like a product photo.
Watch the full tutorial on YouTube and pay close attention to how Karl describes each lighting decision before he makes it. That narration is where the real education is.