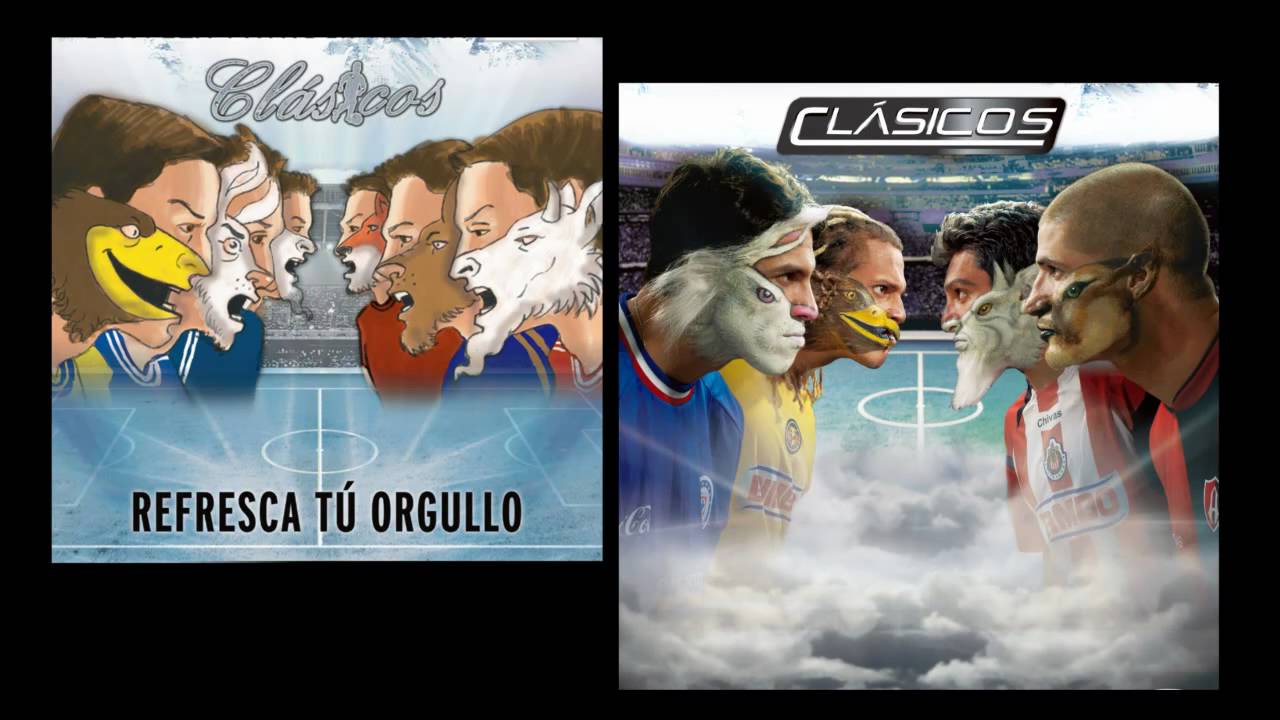
How a Pro Builds a Complex Multi-Subject Shot from a Sketch: Lighting Lessons from The Slanted Lens
Most of my work lives in a lightbox. Small products, controlled environment, predictable results. But the principles that make a $12 candle look like it belongs in a Nordstrom catalog are the same principles that make a 12-person painted-face advertising campaign look like it belongs on a billboard. That realization hit me hard while watching this tutorial from The Slanted Lens, where photographer Jay P. Morgan walks through a Mexican FMF advertising shoot from the original concept sketch all the way to the finished photograph.
Watch the full tutorial on YouTube
In this The Slanted Lens tutorial, the concept is wild and wonderful: talent painted and styled so their mouths merge visually with animal faces. The creative brief came in as a drawn comp, and Jay’s job was to translate that drawing into a photograph with the same energy the illustrator intended. That comp-to-finish workflow is something I think about constantly, even on smaller commercial jobs. Clients hand you a vision. Your lighting is what makes it real or makes it fall flat.
What makes this tutorial worth studying isn’t the spectacle of the concept. It’s the methodical, layer-by-layer approach to building a complex lighting setup. Every light has a job. Nothing is placed by feel alone. Here’s how he does it.
Step 1: Establish the Backdrop First
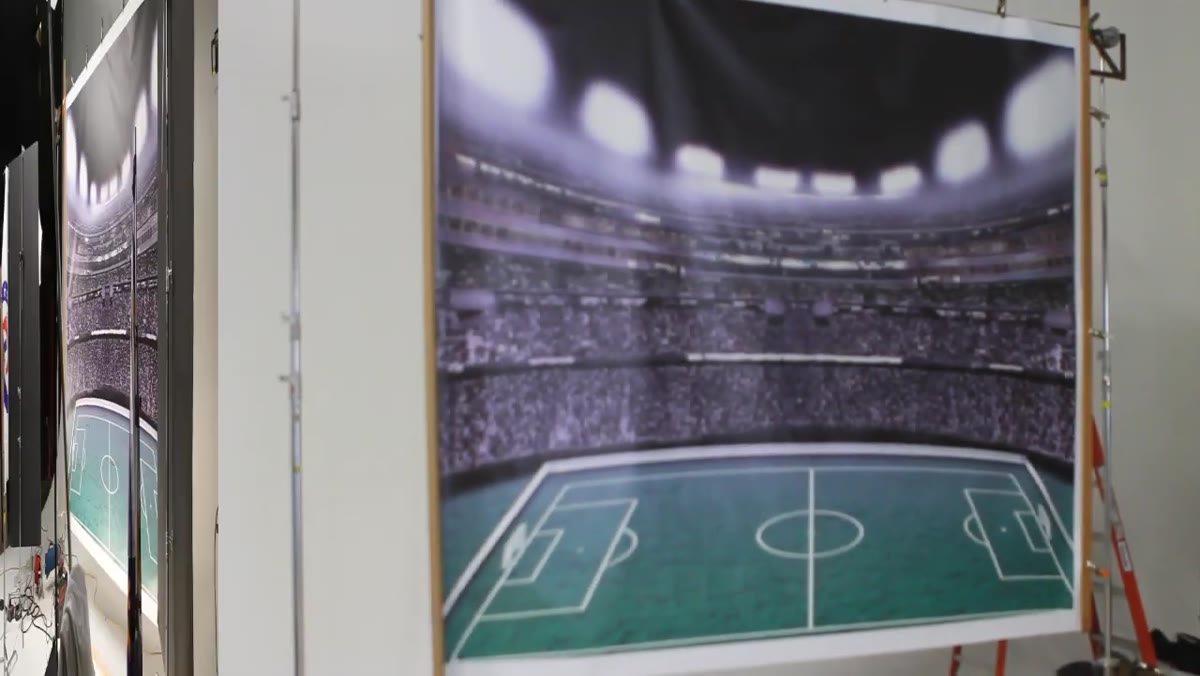 Four umbrellas positioned symmetrically on either side of backdrop
Before a single subject is lit, the backdrop gets its own dedicated setup. Jay’s reasoning is clean and practical: the backdrop sets the parameters for everything else. If the background exposure is wrong, every subject light you add will be fighting it.
Four umbrellas positioned symmetrically on either side of backdrop
Before a single subject is lit, the backdrop gets its own dedicated setup. Jay’s reasoning is clean and practical: the backdrop sets the parameters for everything else. If the background exposure is wrong, every subject light you add will be fighting it.
For this shoot, four umbrellas went up, two on each side of the backdrop, to create even, wall-to-wall illumination. Foam core flags were placed to prevent that light from spilling forward and contaminating the camera lens. In my product work, I do the exact same thing with my paper sweep. I nail the background tone first, then build subject lighting on top of it. Trying to do both at once is how you end up chasing your tail.
Step 2: Add Directional Fill Across the Lower Backdrop
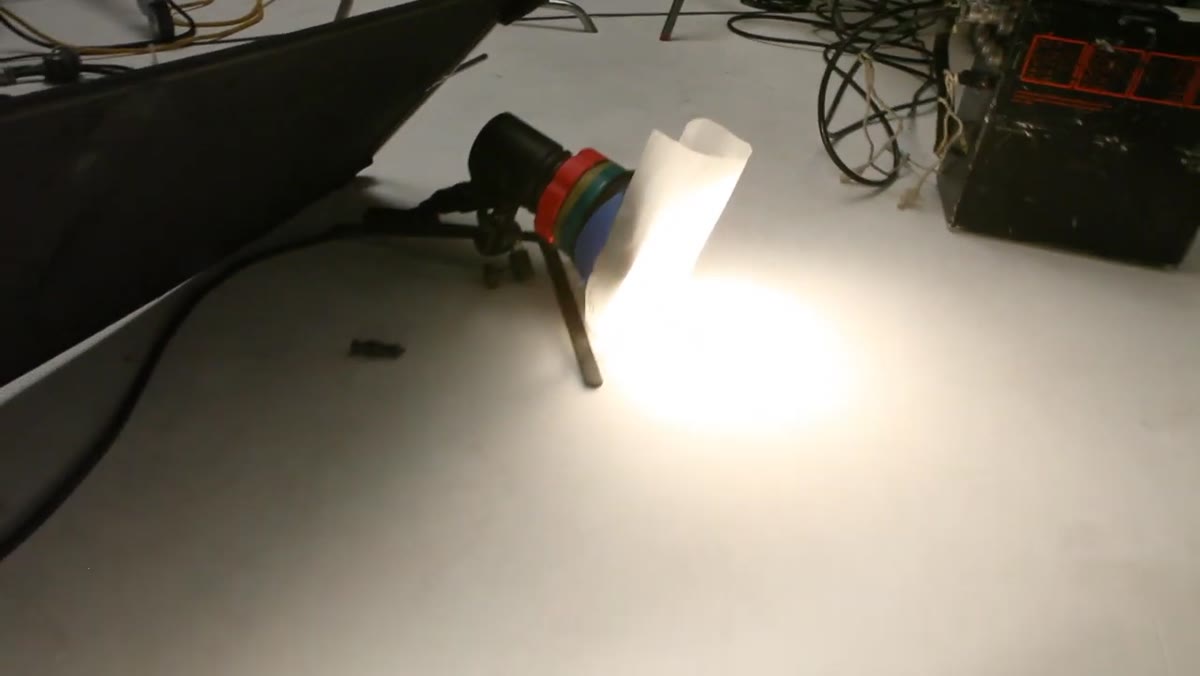 Three bare heads aimed at lower backdrop field, flags in place
Once the broad backdrop light was established, Jay added a second layer specifically for the lower portion of the frame. Three bare flash heads, no modifiers, aimed at the bottom field of the backdrop. These created a slightly different quality of light in that zone, adding dimension and preventing the background from reading as a flat, uniform tone.
Three bare heads aimed at lower backdrop field, flags in place
Once the broad backdrop light was established, Jay added a second layer specifically for the lower portion of the frame. Three bare flash heads, no modifiers, aimed at the bottom field of the backdrop. These created a slightly different quality of light in that zone, adding dimension and preventing the background from reading as a flat, uniform tone.
Flagging these heads was critical. Bare flash pointed anywhere near a camera is an invitation for flare and contrast loss. The flags kept the light on the backdrop where it belonged. This is a principle I apply with my lightbox panels constantly: shape the light aggressively, or it shapes your image for you.
Step 3: Light Each Subject Individually with Grid Spots
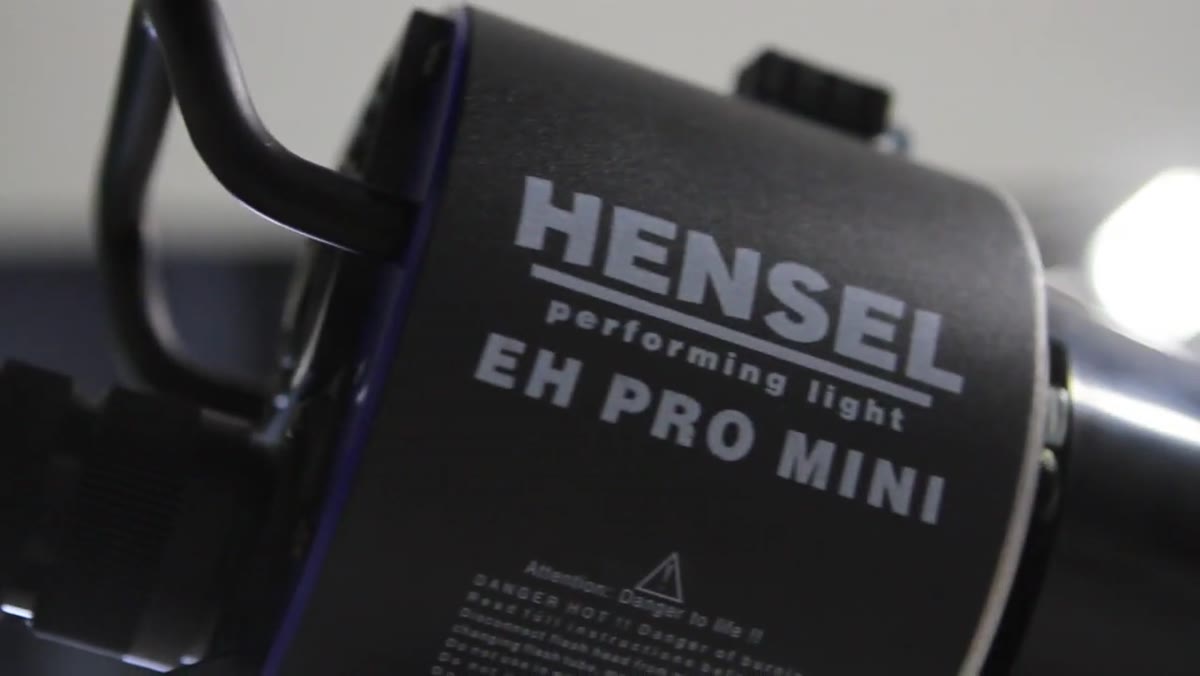 Hensel heads with grid spots positioned for each talent in butterfly pattern
Here is where the setup gets genuinely impressive. Rather than using a broad key light to cover all the talent at once, Jay placed dedicated Hensel heads with grid spots on each side of the set, one per subject. Each person got their own light, positioned in a butterfly pattern, meaning the light came from slightly above and straight-on to create downward nose shadows and clean facial modeling.
Hensel heads with grid spots positioned for each talent in butterfly pattern
Here is where the setup gets genuinely impressive. Rather than using a broad key light to cover all the talent at once, Jay placed dedicated Hensel heads with grid spots on each side of the set, one per subject. Each person got their own light, positioned in a butterfly pattern, meaning the light came from slightly above and straight-on to create downward nose shadows and clean facial modeling.
Grid spots are the tool that makes this possible. A grid restricts the beam so each light only hits its intended subject, not the person standing next to them. For product photographers, this translates directly to shooting multiple products in one frame. If you want a hero product lit differently than supporting items in the same shot, grids are how you do it without reshooting everything separately.
Step 4: Place a Large Softbox Behind the Talent as a Soft Rim
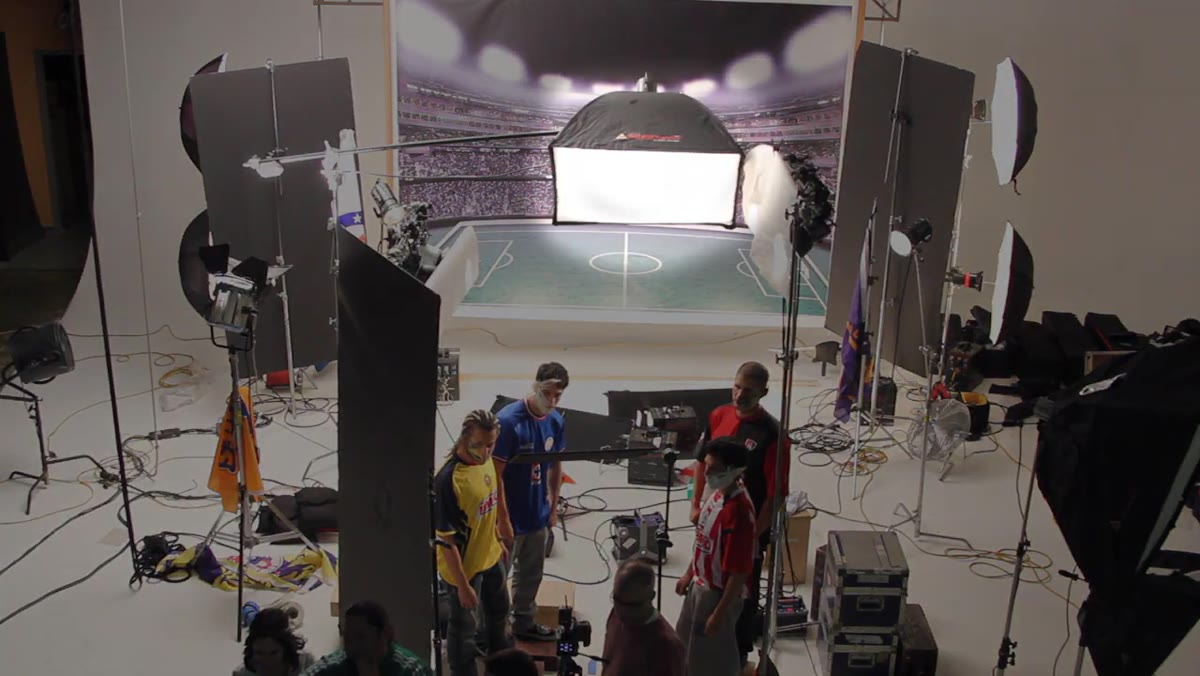 Large softbox positioned behind talent, rim light visible on hair
A large softbox behind and above the subjects added a wraparound rim effect across their heads and shoulders. This is not a harsh rim. It is soft, wide, and almost feels like ambient light coming from behind. It separated the subjects from the backdrop without making them look like they were cut out and pasted in.
Large softbox positioned behind talent, rim light visible on hair
A large softbox behind and above the subjects added a wraparound rim effect across their heads and shoulders. This is not a harsh rim. It is soft, wide, and almost feels like ambient light coming from behind. It separated the subjects from the backdrop without making them look like they were cut out and pasted in.
The softbox does the heavy lifting here for separation and three-dimensionality. Without it, even a well-lit subject can feel flat against a backdrop. In e-commerce work, I use a similar technique with white reflector cards placed behind products to kick a soft edge light. It reads as depth rather than obvious studio lighting, which is exactly what you want.
Step 5: Add Hard Grid Spots as Secondary Rim Lights
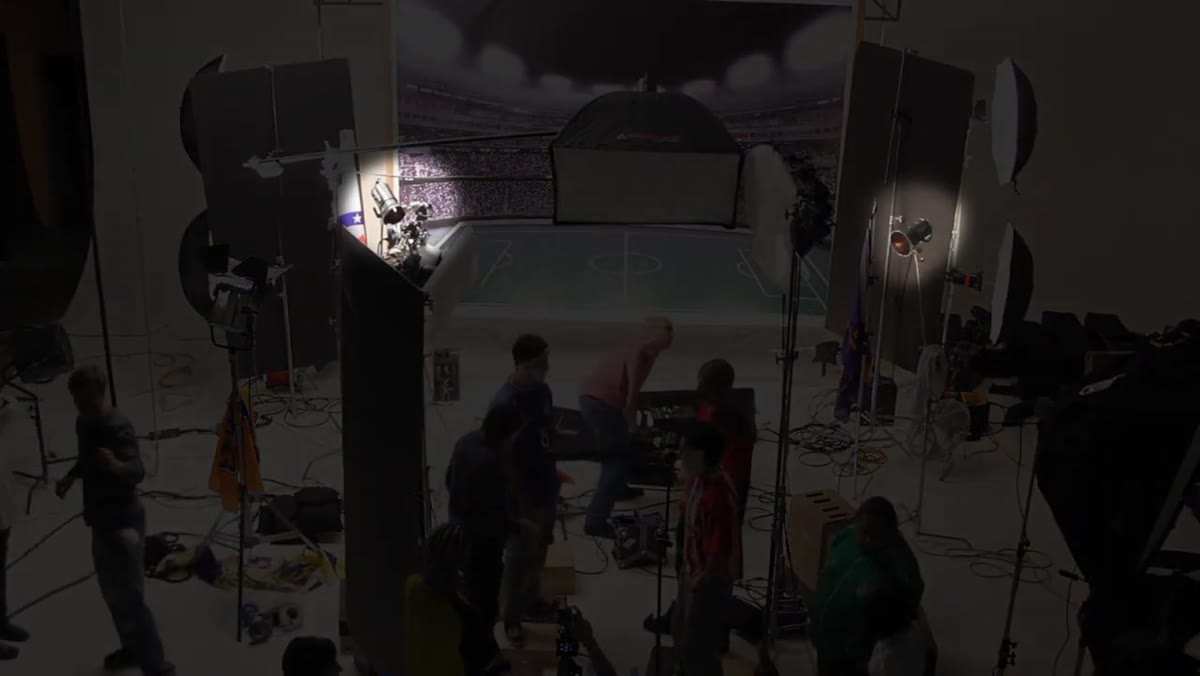 Grid spot rim lights targeting backs of subjects’ heads, harder edge visible
The softbox gave a beautiful broad rim, but Jay wanted a harder, more defined edge on the backs of the subjects’ heads. One grid spot per side was added specifically for this. The difference between the two rim sources is subtle in isolation, but together they give the hair and shoulders a layered quality that reads as natural even though it is completely constructed.
Grid spot rim lights targeting backs of subjects’ heads, harder edge visible
The softbox gave a beautiful broad rim, but Jay wanted a harder, more defined edge on the backs of the subjects’ heads. One grid spot per side was added specifically for this. The difference between the two rim sources is subtle in isolation, but together they give the hair and shoulders a layered quality that reads as natural even though it is completely constructed.
This two-rim approach, one soft and wide, one hard and narrow, is something I have started incorporating into product shots with glass and metallic surfaces. A soft box behind creates a gentle gradient highlight, and a gridded strip light adds a sharp specular line. That combination gives the product edge definition without blowing out the reflection.
Step 6: Push Bounce Fill and Dial in a Front Umbrella
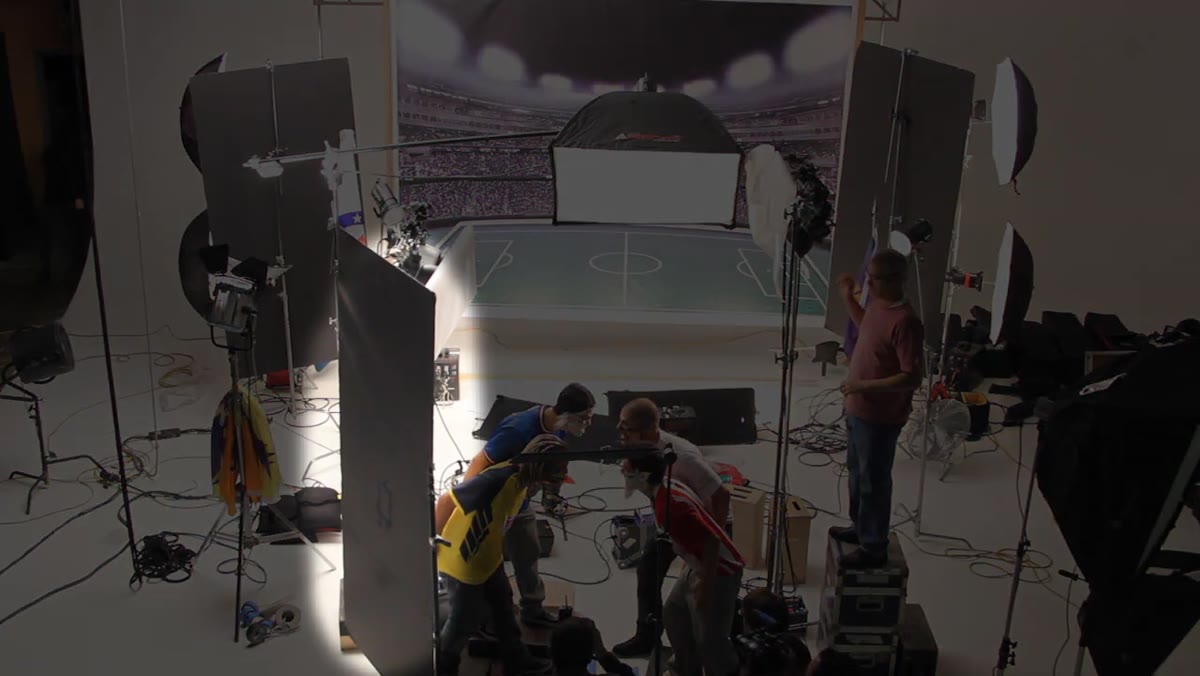 Foam core fill pushed in camera left, umbrella behind camera as front fill
The last two additions are both fill sources, and both are deliberately subtle. A piece of foam core was positioned on the camera-left side to bounce some of the back softbox light into the shadows on the subjects’ faces. Then an umbrella directly behind the camera was brought in as a front fill, dialed to just enough power to open up shadow detail without creating its own visible direction.
Foam core fill pushed in camera left, umbrella behind camera as front fill
The last two additions are both fill sources, and both are deliberately subtle. A piece of foam core was positioned on the camera-left side to bounce some of the back softbox light into the shadows on the subjects’ faces. Then an umbrella directly behind the camera was brought in as a front fill, dialed to just enough power to open up shadow detail without creating its own visible direction.
These are the steps that separate a technically lit photograph from one that feels real. Too much fill and the image goes flat. Too little and you lose detail in the shadows. Jay talks about dialing packs up and down incrementally at this stage, and that iterative process is the actual job. The concept sketch gets you started. The tweaking at the end is what gets you finished.
What I Take from This into Smaller-Scale Product Work
The scale of this shoot is not what most of us are working with, but the architecture is universal. Start with the background. Add subject light. Separate with rim. Fill to taste. That sequence works whether you have twelve flash heads or two speed lights and a reflector card.
What I push back on slightly is the idea that more lights always means more control. I have seen complex setups create problems that a simpler approach would have avoided entirely. My recommendation: build Jay’s framework, but strip it down to the minimum number of lights that achieves each function. One backdrop light instead of four. One rim instead of two. Once you understand what each layer is doing, you can make strategic choices about what to simplify without losing the result.
The single most important idea in this tutorial is that lighting is built in layers, each one solving a specific problem, and each one added only after the previous layer is stable. That discipline is what separates a professional setup from a chaotic one. Watch Jay walk through it himself here:
Watch the full tutorial on YouTube