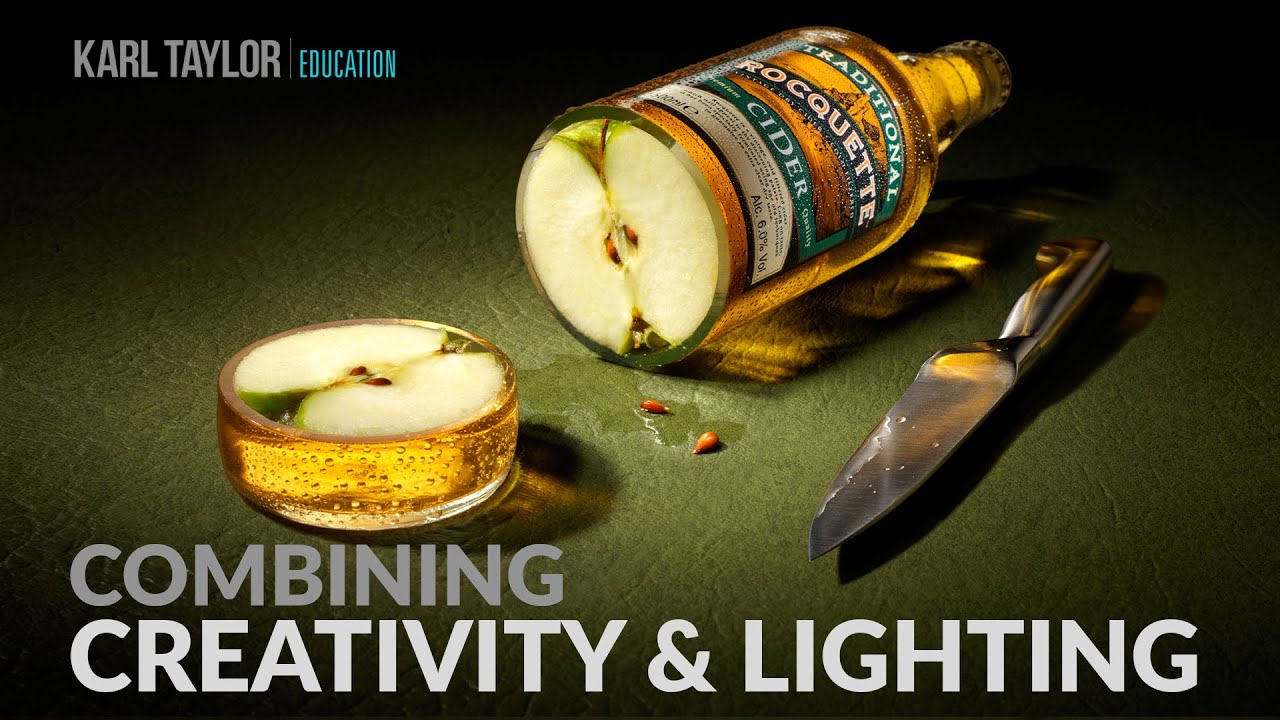
How a Cider Ad Taught Me Everything About Layered Product Lighting
There’s a category of product shot I call “the impossible image” — the kind where you look at it and think, that can’t exist in real life. A bottle simultaneously full of liquid and containing a whole apple. Light refracting through glass and landing perfectly on a knife blade. Condensation that stays pristine under hot studio lights. These shots feel like magic, but they’re actually just careful planning, multiple exposures, and a lighting diagram that looks like a circuit board.
I came across this technique breakdown from Visual Education recently, and it stopped me mid-scroll. Watch the full tutorial on YouTube before or after reading this — the lighting diagram section alone is worth your time. The tutorial covers a full commercial shoot for a cider client, and even if you’re not shooting cider ads, the principles apply to any product that benefits from drama, atmosphere, or editorial flair.
What I kept coming back to as I watched was how many of my own clients want this cinematic, theatrical look but assume it requires a massive studio budget. It doesn’t. It requires understanding that complex-looking images are almost always built in layers, both in camera and in post. Here’s how the technique works, step by step.
Step 1: Plan the Composite Before You Shoot Anything
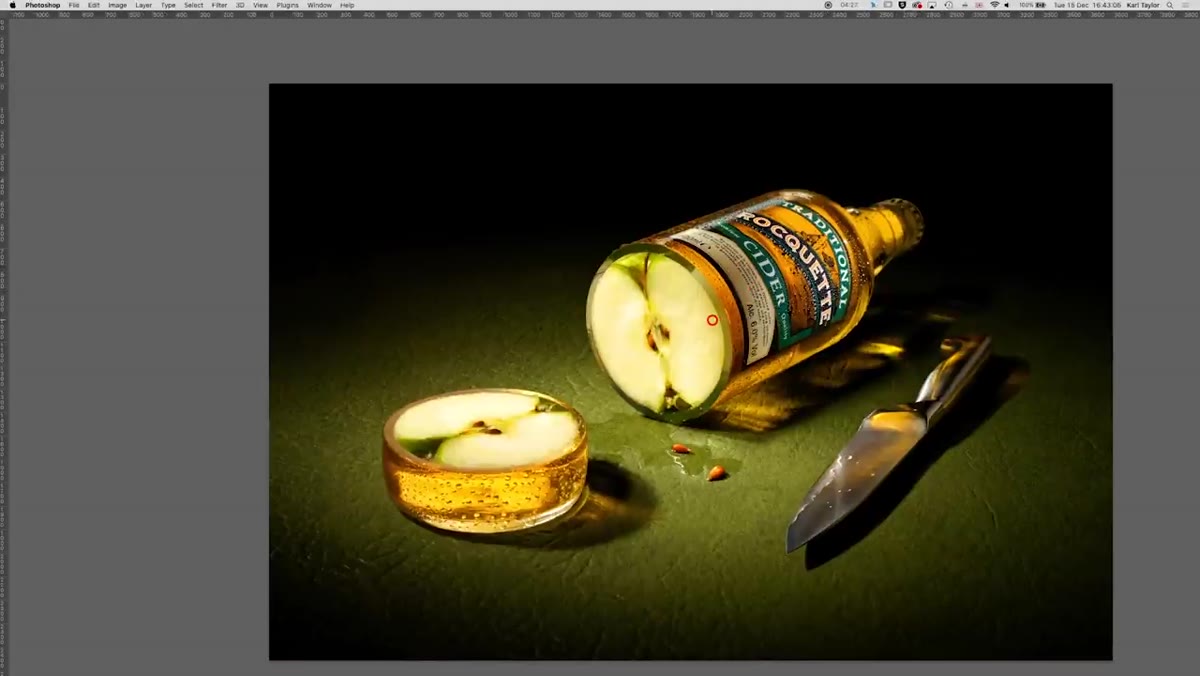
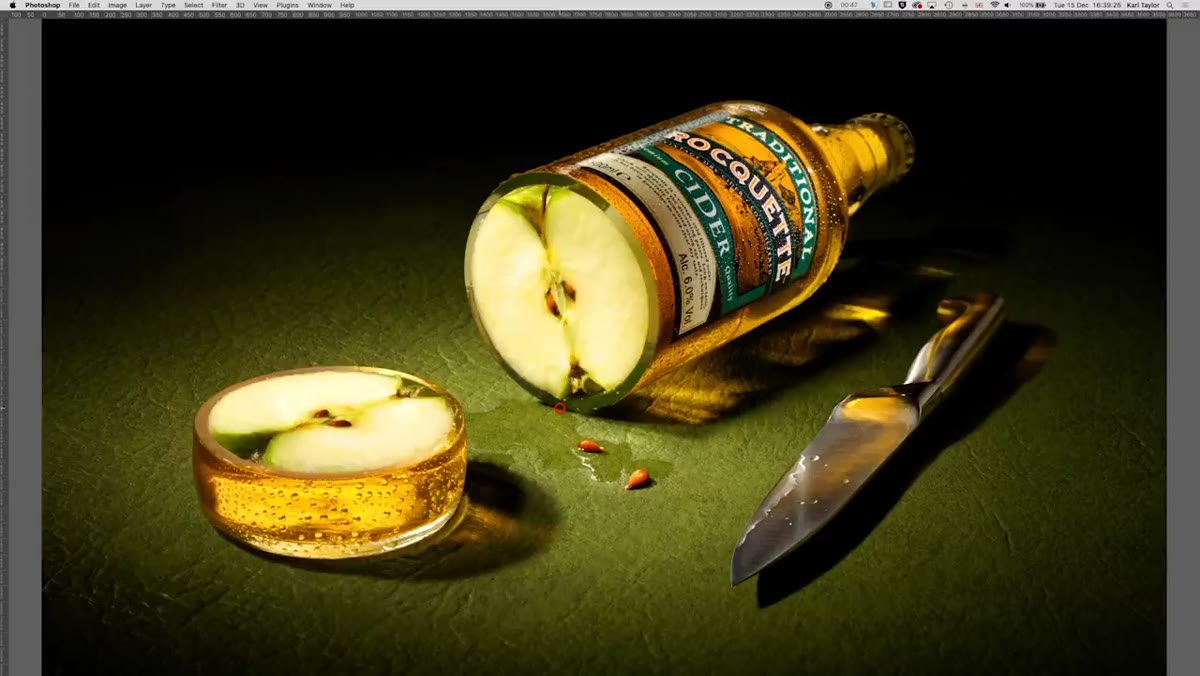 Finished cider ad showing bottle, apple, and knife arrangement
The first decision made on this shoot wasn’t about lighting. It was about what was physically possible. A glass bottle cannot be full of liquid and contain a full apple at the same time. So rather than trying to fake it entirely in Photoshop, the team engineered real props: several bottles were cut cleanly in half using a glass cutter, and apples were fitted into the lower and upper sections of those empty bottles. Full bottles were also kept on set for separate photography.
Finished cider ad showing bottle, apple, and knife arrangement
The first decision made on this shoot wasn’t about lighting. It was about what was physically possible. A glass bottle cannot be full of liquid and contain a full apple at the same time. So rather than trying to fake it entirely in Photoshop, the team engineered real props: several bottles were cut cleanly in half using a glass cutter, and apples were fitted into the lower and upper sections of those empty bottles. Full bottles were also kept on set for separate photography.
This matters because every element you can photograph for real will look more convincing than anything painted in post. Before your next product shoot, ask yourself: what does this image need that physics won’t allow? Then figure out how to build each impossible element as a real, photographable object. Planning the composite before you pick up a camera saves hours of retouching.
Step 2: Shoot the Full Bottle First, Lock Your Lighting
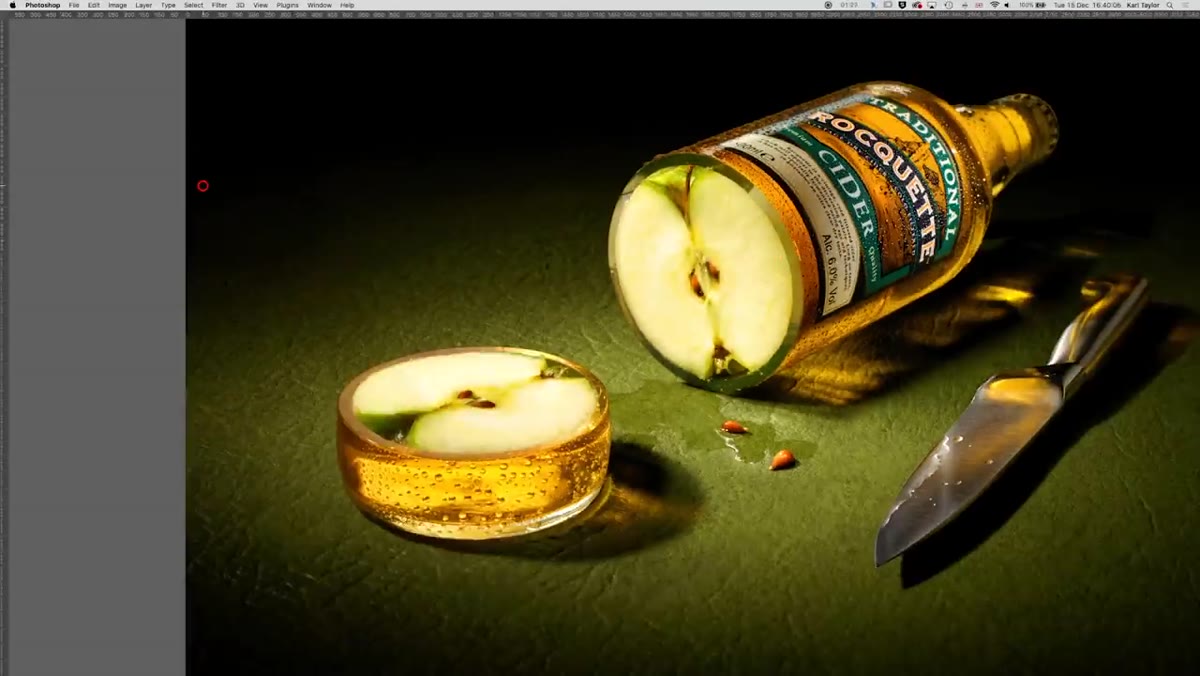 Full bottle in position on set before apple swap
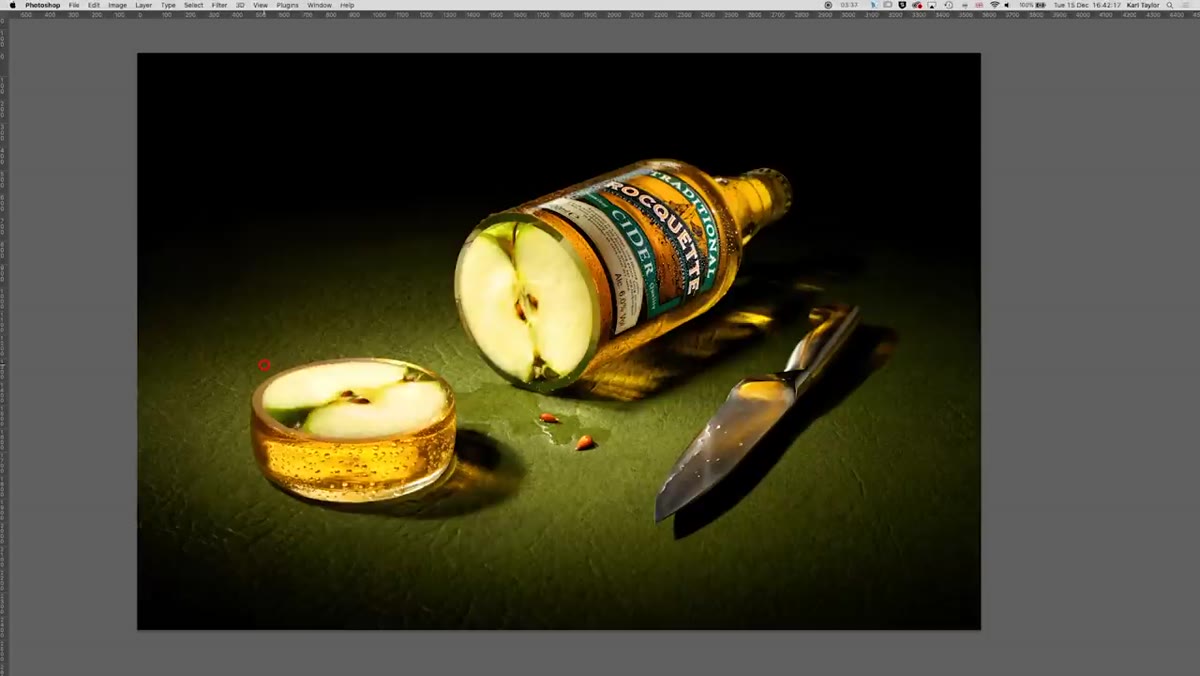
Once the props were ready, the full bottle went in position first and was completely lit and photographed. This is the anchor shot, the one everything else registers to. Every subsequent exposure needs to match this one exactly: same camera position, same focus distance, same light positions, same power settings.
Full bottle in position on set before apple swap
Once the props were ready, the full bottle went in position first and was completely lit and photographed. This is the anchor shot, the one everything else registers to. Every subsequent exposure needs to match this one exactly: same camera position, same focus distance, same light positions, same power settings.
Don’t touch anything between shots. Don’t bump a light stand. Write down your flash power levels or photograph your lighting setup before you move a single modifier. The compositing in post only works seamlessly if both images share identical geometry and lighting direction.
Step 3: Swap Props, Reshoot Under Identical Conditions
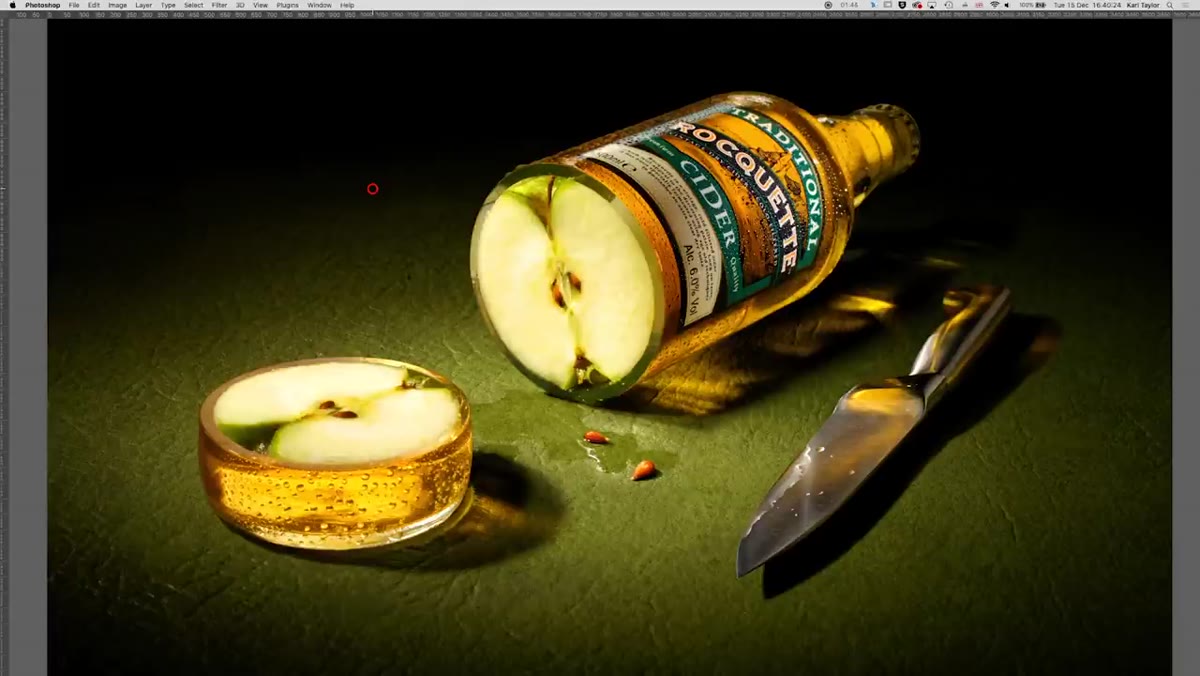 Cut bottle with apple inside replacing the full bottle
After the full-bottle frames were locked in, the team swapped in the cut bottle with the apple fitted inside, and photographed it under the exact same lighting setup. These two images, the intact bottle and the apple-inside version, were then combined in Photoshop. Because both were shot from the same angle under the same lights, the blend was clean.
Cut bottle with apple inside replacing the full bottle
After the full-bottle frames were locked in, the team swapped in the cut bottle with the apple fitted inside, and photographed it under the exact same lighting setup. These two images, the intact bottle and the apple-inside version, were then combined in Photoshop. Because both were shot from the same angle under the same lights, the blend was clean.
This technique is more repeatable than it sounds. The key is a fixed camera on a tripod and a consistent subject position. I use a small piece of gaffer tape on the table surface to mark exactly where the product base sits. Pull the product, replace it, and it lands in the same spot every time.
Step 4: Use Gold Reflector Cards to Light the Liquid from Behind
 Reflector cards positioned behind bottle to push light through liquid
One of the most important lighting choices in this image was how the cider inside the bottle glows. That amber warmth isn’t just the liquid itself, it’s gold reflector cards positioned behind the bottle to catch the key light and bounce it back through the glass. This technique works because liquid in a bottle is essentially a colored filter. Push the right quality of light through it and you get a warm, rich glow that reads as fresh and appetizing.
Reflector cards positioned behind bottle to push light through liquid
One of the most important lighting choices in this image was how the cider inside the bottle glows. That amber warmth isn’t just the liquid itself, it’s gold reflector cards positioned behind the bottle to catch the key light and bounce it back through the glass. This technique works because liquid in a bottle is essentially a colored filter. Push the right quality of light through it and you get a warm, rich glow that reads as fresh and appetizing.
For your own work, pick up a pack of foam core boards and cover one side with gold reflective card stock, or use a commercial gold reflector. Position it just behind and slightly to the side of your bottle, angled to catch your main light source. The difference between a flat-looking liquid product and one that appears to have internal life usually comes down to this one card.
Step 5: Build the Atmospheric Spotlight Separately
 Overhead lighting diagram showing spotlight placement for floor pool of light
The theatrical circle of light on the floor beneath the bottle was created with a dedicated light, not a spill from the key light. This is an important distinction. If you try to get your key light to do too many jobs at once, you lose control of each one. The spotlight effect on the floor was its own instrument, pointed down at the surface and shaped to fall off quickly into shadow.
Overhead lighting diagram showing spotlight placement for floor pool of light
The theatrical circle of light on the floor beneath the bottle was created with a dedicated light, not a spill from the key light. This is an important distinction. If you try to get your key light to do too many jobs at once, you lose control of each one. The spotlight effect on the floor was its own instrument, pointed down at the surface and shaped to fall off quickly into shadow.
This “one light, one job” thinking is what separates commercial work from snapshots. In your own setup, even if you’re working with speedlights, a gobo (a piece of black foam core blocking unwanted spill) or a simple snoot can isolate where your light falls. Dark backgrounds get darker when your lights are disciplined.
Step 6: Create the Colored Light Refraction as a Third Separate Exposure
 Knife on set with colored light refraction from bottle above
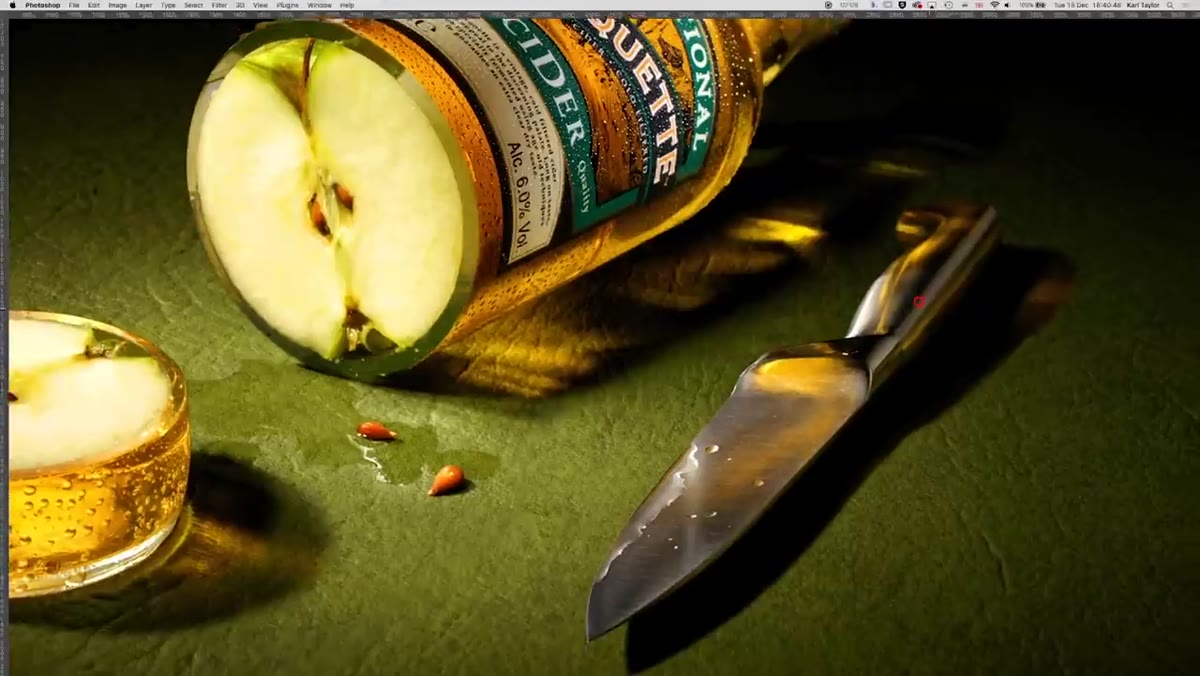
The colored light falling across the knife blade, that prismatic rainbow of amber and green from the bottle, could not physically come from the same light source hitting the bottle in the main shot. The geometry simply doesn’t work. So it was created by positioning a second bottle above the knife and shining a light through it from above, casting the refracted color down onto the blade.
Knife on set with colored light refraction from bottle above
The colored light falling across the knife blade, that prismatic rainbow of amber and green from the bottle, could not physically come from the same light source hitting the bottle in the main shot. The geometry simply doesn’t work. So it was created by positioning a second bottle above the knife and shining a light through it from above, casting the refracted color down onto the blade.
This was then composited into the final image. It’s a small detail, but it’s the kind of detail that makes a viewer feel something without being able to explain why. If you’re building a composite, think about the secondary light effects that the main image implies but can’t actually produce, and then photograph those effects separately.
Step 7: Fake the Condensation with a Mixture That Sets Hard
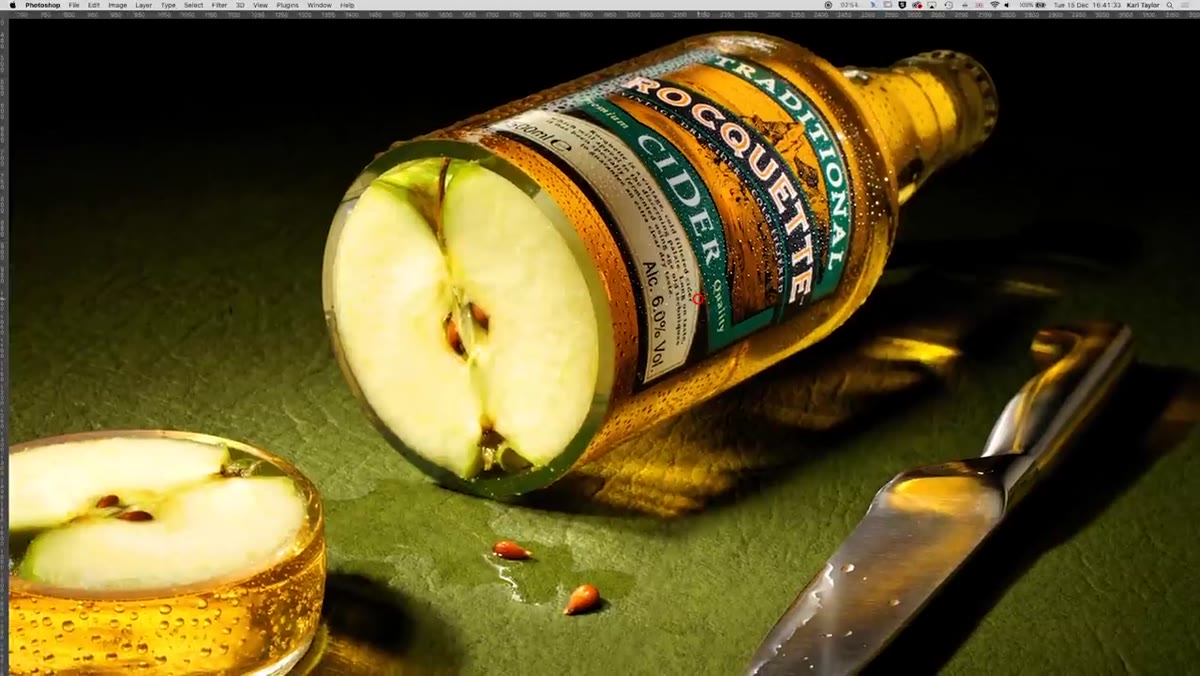 Close-up of bottle showing textured condensation effect on glass
The condensation on the bottle is not water. Real condensation runs, evaporates under modeling lamps, and creates continuity problems across a long shoot. The team used a specialist mixture that sets firm, looks photorealistic, and stays stable under studio heat for as long as you need.
Close-up of bottle showing textured condensation effect on glass
The condensation on the bottle is not water. Real condensation runs, evaporates under modeling lamps, and creates continuity problems across a long shoot. The team used a specialist mixture that sets firm, looks photorealistic, and stays stable under studio heat for as long as you need.
Pre-mixed condensation products are available from prop supply companies, and a few cosmetic and food-styling supply stores carry similar formulations. Apply it in small, irregular drops with a sponge or fine brush, then let it set completely before shooting. A single coat applied too evenly looks fake. Layer it and vary the density, heavier near the base of the bottle, lighter near the top.
What I’d Add from My Own Shoots
The technique in this tutorial is designed for a full commercial setup, but the composite-and-layer logic scales down. I’ve built similar multi-exposure composites with two speedlights and a $40 pack of colored gels. The compositing isn’t dependent on expensive gear, it’s dependent on discipline: same camera, same position, same power, every time you swap a prop.
If you’re shooting products for an e-commerce client who wants something editorial, start by identifying the one “impossible” thing in the image you want to create, then work backward from there to figure out how many shots you actually need. Usually it’s fewer than you think.
The single biggest takeaway from this tutorial: complex commercial images aren’t shot, they’re assembled. Every element in the final frame was photographed under controlled conditions chosen specifically for that element, then composited together with precision. Once you start thinking about product photography as set design plus sequential shooting plus post-production assembly, the results you can achieve with modest equipment will surprise you.
Watch the full tutorial on YouTube to see the lighting diagram explained in real time. The overhead view of the set is genuinely useful for understanding how all these light sources relate to each other spatially.