
Floating Products, Narrow Sets, and Why Your Shooting Area Is Probably Too Wide
There’s a specific kind of client email that changes how you think about product photography. Mine is framed on the wall above my monitor. A client wrote to tell me their conversion rate had doubled after we replaced their old product shots. I didn’t change the product. I didn’t change the price. I changed the light. That’s the whole game.
So when I came across this Visual Education tutorial by Kyle Taylor — Watch the full tutorial on YouTube — I stopped what I was doing and watched it twice. It’s a live shoot of Beats wireless headphones, and what Kyle walks through is not just a technique. It’s a way of thinking about product photography that I wish someone had handed me when I was starting out. The decisions he makes before a single frame is captured are the ones most beginners skip entirely.
What I want to do here is pull out the actual steps so you can apply them whether you’re shooting headphones, jewelry, skincare, or whatever your product happens to be. This isn’t a summary. It’s a working guide.
Step 1: Read the Product Before You Touch the Camera
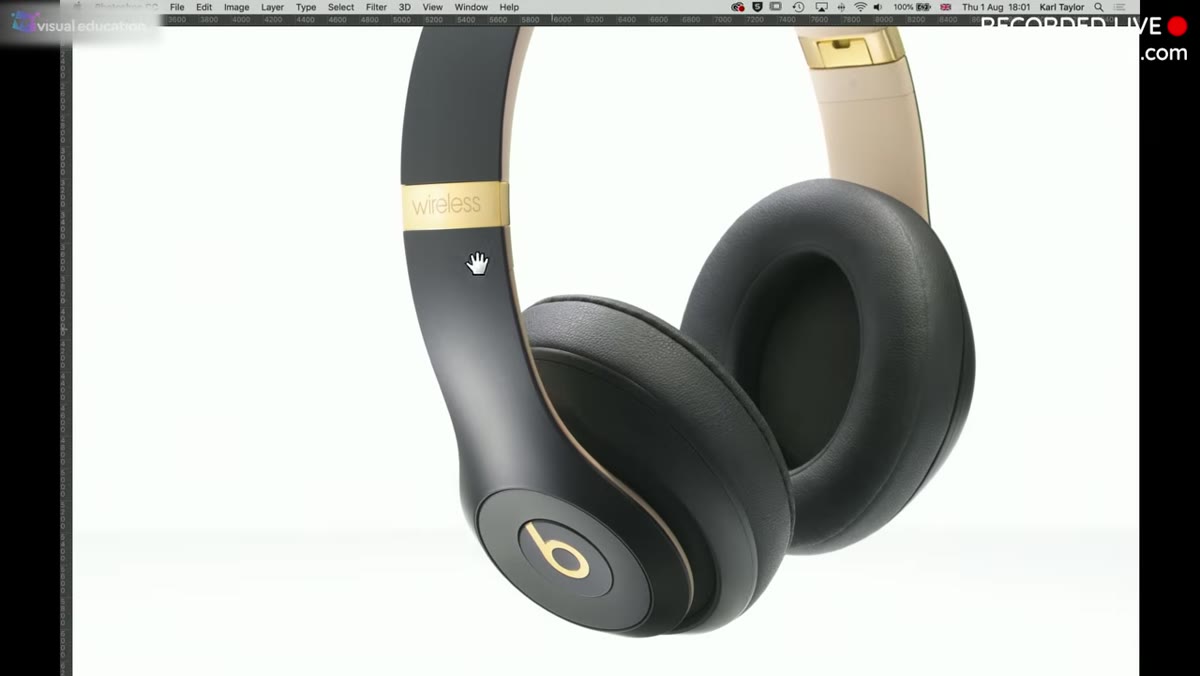 Kyle examining headphones, pointing to “wireless” text on ear cup
Before Kyle sets up a single light, he spends time with the product in his hands. He looks at what text is visible, what the brand mark shows, and what story the object itself wants to tell. On the Beats headphones, the word “wireless” is printed on the ear cup. That text is part of the advertising message, so it needs to face the lens. The logo placement matters too.
Kyle examining headphones, pointing to “wireless” text on ear cup
Before Kyle sets up a single light, he spends time with the product in his hands. He looks at what text is visible, what the brand mark shows, and what story the object itself wants to tell. On the Beats headphones, the word “wireless” is printed on the ear cup. That text is part of the advertising message, so it needs to face the lens. The logo placement matters too.
This isn’t precious or overthought. It’s practical. If you shoot the wrong angle, you’ve done real work for a result nobody can use. Spend two minutes rotating the product, checking what reads well at different angles, and deciding what the hero view actually is. That decision shapes every lighting choice that follows.
Step 2: Plan the Suspension Before You Worry About Light
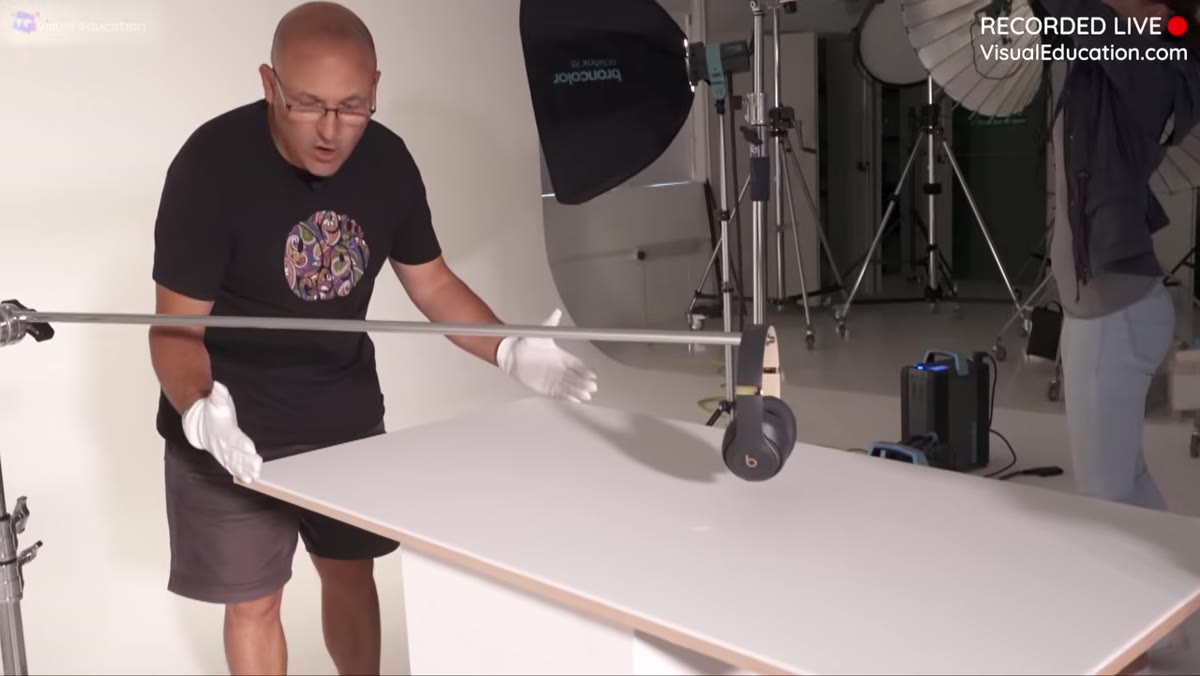
 Headphones hanging from grip arm on low Avenger stand
The finished image shows the headphones floating in midair. Kyle is upfront about the fact that no product levitates on its own. His solution is a low Avender stand with a grip arm. He simply hangs the headphones directly from the arm and will remove the support in post. The concept behind the image, which is lightness and a playful high-key feel, drove this structural decision.
Headphones hanging from grip arm on low Avenger stand
The finished image shows the headphones floating in midair. Kyle is upfront about the fact that no product levitates on its own. His solution is a low Avender stand with a grip arm. He simply hangs the headphones directly from the arm and will remove the support in post. The concept behind the image, which is lightness and a playful high-key feel, drove this structural decision.
If your product has a story (portable, effortless, lightweight), the physical setup should support that story visually. Think about what you want the image to communicate, then work backwards to figure out how to build that reality in your studio. Suspension, props, and surface choice are all storytelling tools.
Step 3: Keep Your Set Narrow on Purpose
 Wide shot showing narrow acrylic shooting surface with lights positioned close
This is the step that surprised me most the first time I watched it. Kyle’s shooting surface is deliberately narrow, much narrower than the final image suggests. The reason is pure lighting logic. A wide surface pushes the edges of the set far from the product, which means your lights have to move back too. The further your light source sits from a reflective or mixed-material product, the harder it becomes to balance exposure across surfaces with different reflectivity values.
Wide shot showing narrow acrylic shooting surface with lights positioned close
This is the step that surprised me most the first time I watched it. Kyle’s shooting surface is deliberately narrow, much narrower than the final image suggests. The reason is pure lighting logic. A wide surface pushes the edges of the set far from the product, which means your lights have to move back too. The further your light source sits from a reflective or mixed-material product, the harder it becomes to balance exposure across surfaces with different reflectivity values.
By keeping the set narrow, Kyle can position his lights very close to the product. Close lights fall off faster (the inverse square law at work), and that rapid falloff actually gives you more control over hot spots on reflective surfaces like metallic accents. The wide horizon you see in the final image is extended in Photoshop afterward. The rule here: optimize your set for the light, not the frame. You can always add canvas later.
Step 4: Use a Scrim Overhead as Your Key Light Foundation
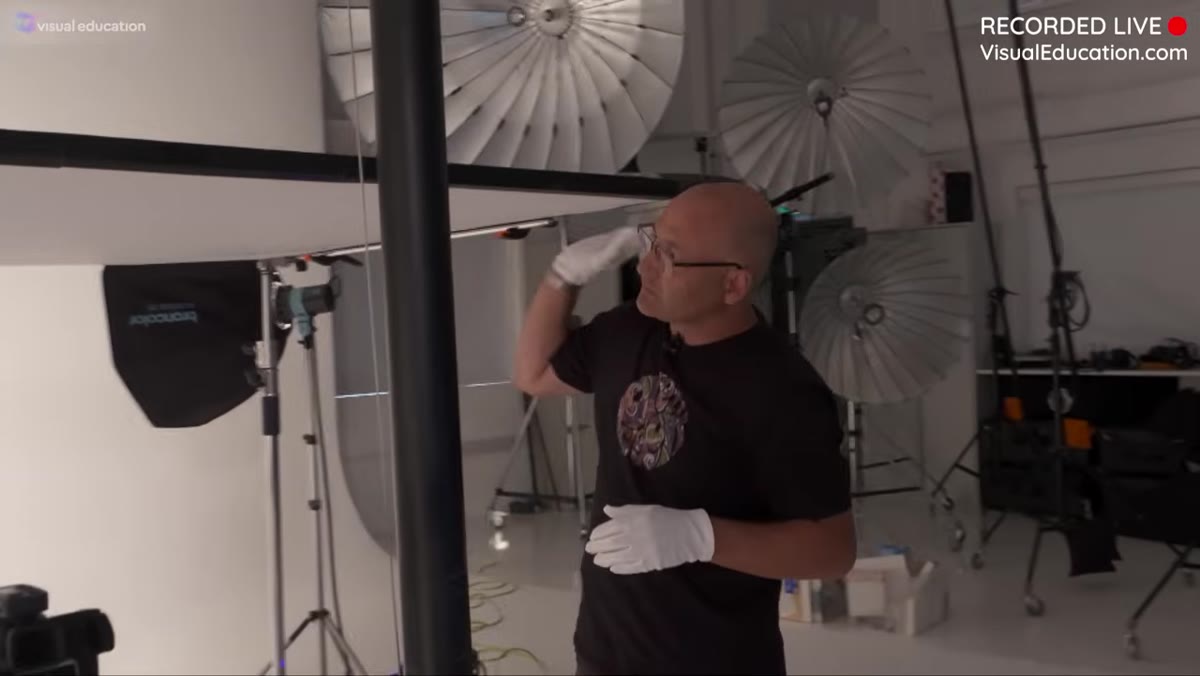 Light on giraffe boom arm positioned over overhead scrim
Kyle’s main light comes from above through a scrim, mounted on a giraffe boom arm and fired as a bare bulb. The scrim diffuses and shapes the light so it falls through as a gradient from center to edge. The size and softness of that gradient ball of light can be adjusted by moving the bare bulb closer to or further from the scrim surface.
Light on giraffe boom arm positioned over overhead scrim
Kyle’s main light comes from above through a scrim, mounted on a giraffe boom arm and fired as a bare bulb. The scrim diffuses and shapes the light so it falls through as a gradient from center to edge. The size and softness of that gradient ball of light can be adjusted by moving the bare bulb closer to or further from the scrim surface.
This overhead scrim approach is one of my go-to setups for anything with a shiny surface. It creates a soft wrap of light from above that reads as natural and flattering on curves, without the harsh specular hot spots you’d get from a direct strobe. If you don’t have a purpose-built scrim, a large sheet of white ripstop nylon stretched over a frame works and costs almost nothing to build.
Step 5: Add Background Lights to Control the Tone Behind the Product
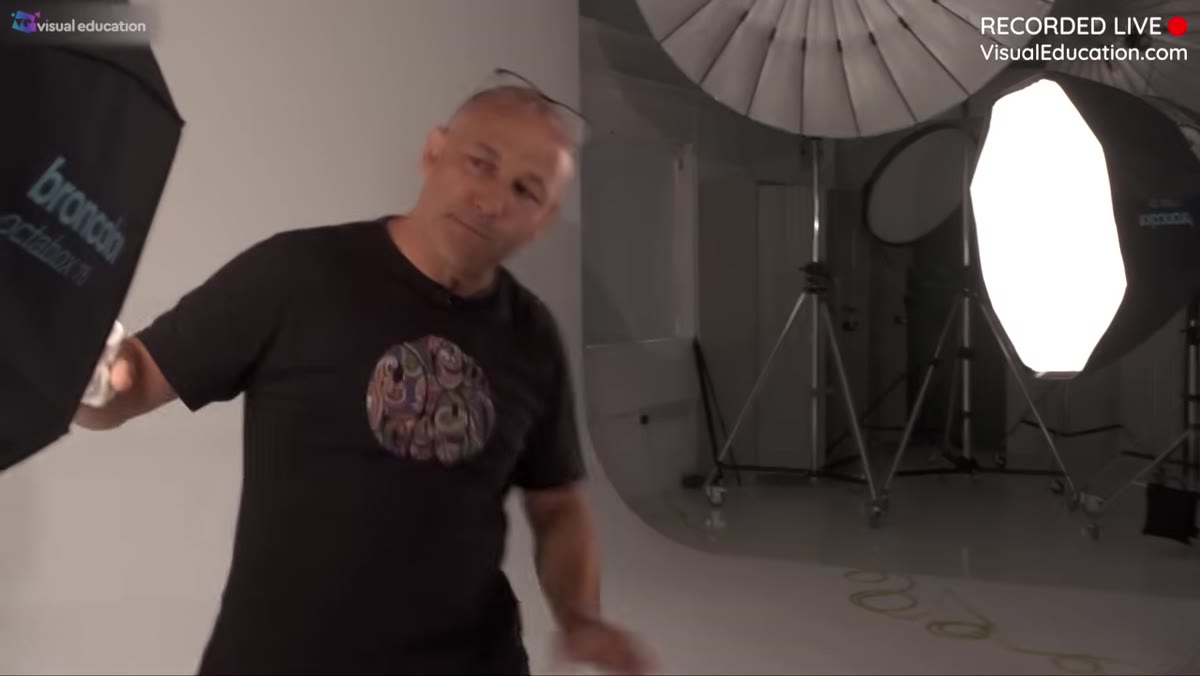 Two Octabox 75 units positioned to either side of background surface
Kyle uses two octaboxes (75cm) aimed at the background surface to spread light evenly behind the product. This prevents the background from going gray or uneven and gives the final image that clean, airy, high-key feel. The goal is to bring the background up to a consistent brightness level without letting it blow out completely, which would flatten the product against it.
Two Octabox 75 units positioned to either side of background surface
Kyle uses two octaboxes (75cm) aimed at the background surface to spread light evenly behind the product. This prevents the background from going gray or uneven and gives the final image that clean, airy, high-key feel. The goal is to bring the background up to a consistent brightness level without letting it blow out completely, which would flatten the product against it.
Background lighting is often the last thing beginners add and the first thing they cut when they’re working with limited gear. Don’t cut it. A well-lit background does as much for perceived product quality as the product lighting itself. Even a single softbox aimed at a white sweep card behind your subject will make a visible difference in how professional the result looks.
Step 6: Plan Your Photoshop Extension Before You Shoot
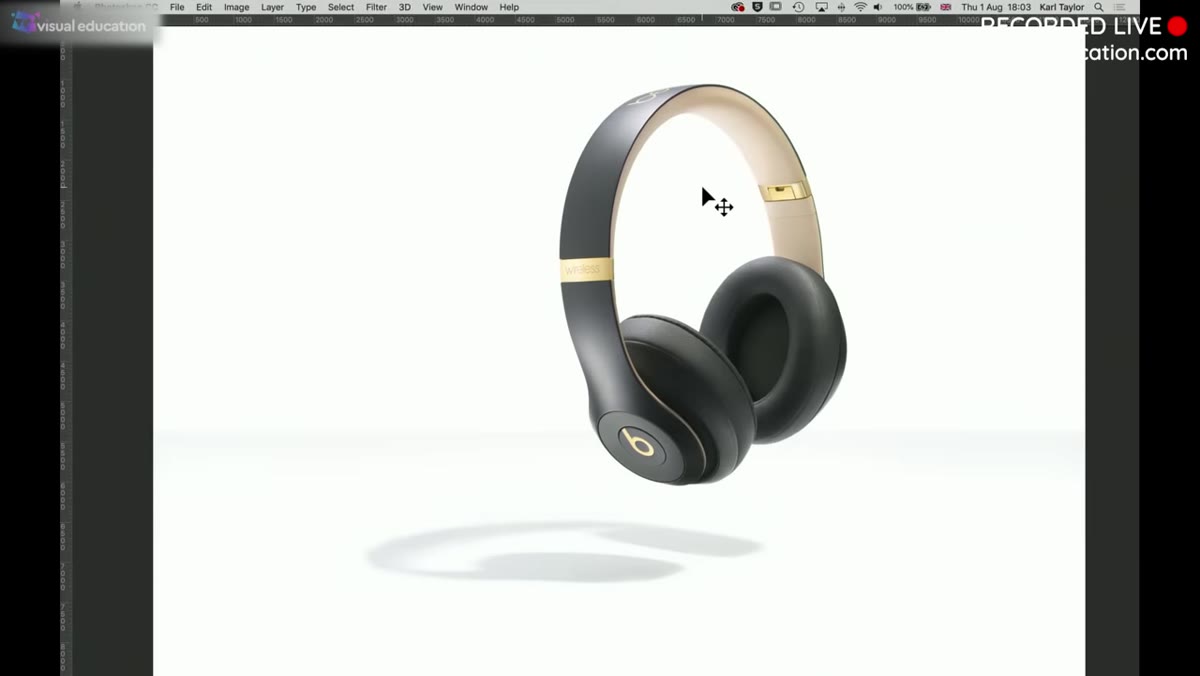
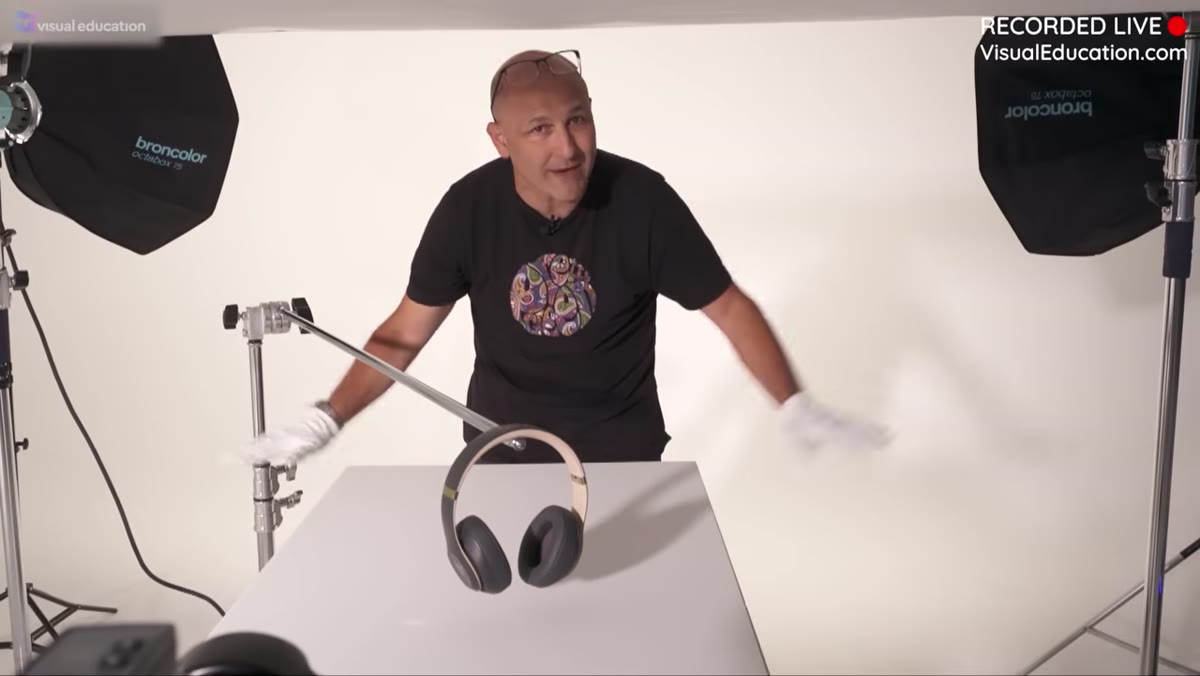 Final reference image showing horizon line extended beyond original shooting surface
Kyle explicitly mentions looking at the final image and knowing in advance that the horizon line would need to be extended in Photoshop. He didn’t discover this in post. He previsualized it during setup. Because the shooting surface was narrow by design, he knew there would be a visible edge, and he planned accordingly.
Final reference image showing horizon line extended beyond original shooting surface
Kyle explicitly mentions looking at the final image and knowing in advance that the horizon line would need to be extended in Photoshop. He didn’t discover this in post. He previsualized it during setup. Because the shooting surface was narrow by design, he knew there would be a visible edge, and he planned accordingly.
When you shoot, leave yourself clean, uncluttered edges of background on at least two sides. This gives Photoshop’s Content-Aware Fill or generative expand tools something consistent to work with. If your background is a textured gradient, shoot an extra frame of just the background surface, no product, so you have clean source material to extend from manually.
What I’d Add From My Own Shoots
The narrow-set logic Kyle demonstrates is something I now apply even when I’m not shooting reflective products. I had a habit of spreading my sweep out wide because it felt more professional, like a “real” studio. What it actually did was force my lights back and cost me control. Now I build the smallest set that contains the product comfortably, light it well, and extend in post. It’s faster, cleaner, and the lighting is always better.
The one thing I’d add to Kyle’s workflow: before you hang, suspend, or prop anything, photograph the product flat on the surface first. It gives you a reference shot for retouching and helps you spot any scratches, dust, or fingerprints under your specific light setup before you commit to the full build.
The single most important idea in this whole tutorial is this: make your physical setup serve your lighting, not your frame. You can extend a background in thirty seconds. You cannot fix bad light on a reflective surface in post without rebuilding the whole image. Build for light first, and let Photoshop handle the rest.
Watch the full tutorial on YouTube to see Kyle work through the full live shoot, including how he handles the removal of the suspension arm and the final composite.