Extension Tubes, Focus Stacking, and the Gradient Light Secret That Makes Product Photos Look Expensive
There is a specific kind of client email that changed how I approach product photography. A conversion rate that doubled. A frame on my wall. And behind that result was one unglamorous truth: most product photos fail not because the photographer lacks talent, but because they lack depth. Literal optical depth. The image looks flat, the product looks cheap, and no amount of retouching rescues it. When I found Kyle Taylor’s tutorial on shooting sunglasses with extension tubes and gradient lighting, I recognized immediately that he was solving exactly that problem. Watch the full tutorial on YouTube before you read this, or use this breakdown as a companion guide while you work.
Taylor is a specialist’s specialist. He has shot eyewear for major fashion houses, and that narrow focus means the techniques he shares are not generic photography advice. They are hard-won solutions to a very specific optical challenge: glossy, curved surfaces that reflect everything, lenses that need to look alive with light, and frames with enough physical depth that no single focus point captures the whole story. What follows is my walkthrough of his setup, expanded with the practical details you need to actually replicate it.
Step 1: Understand What Gradient Lighting Actually Does
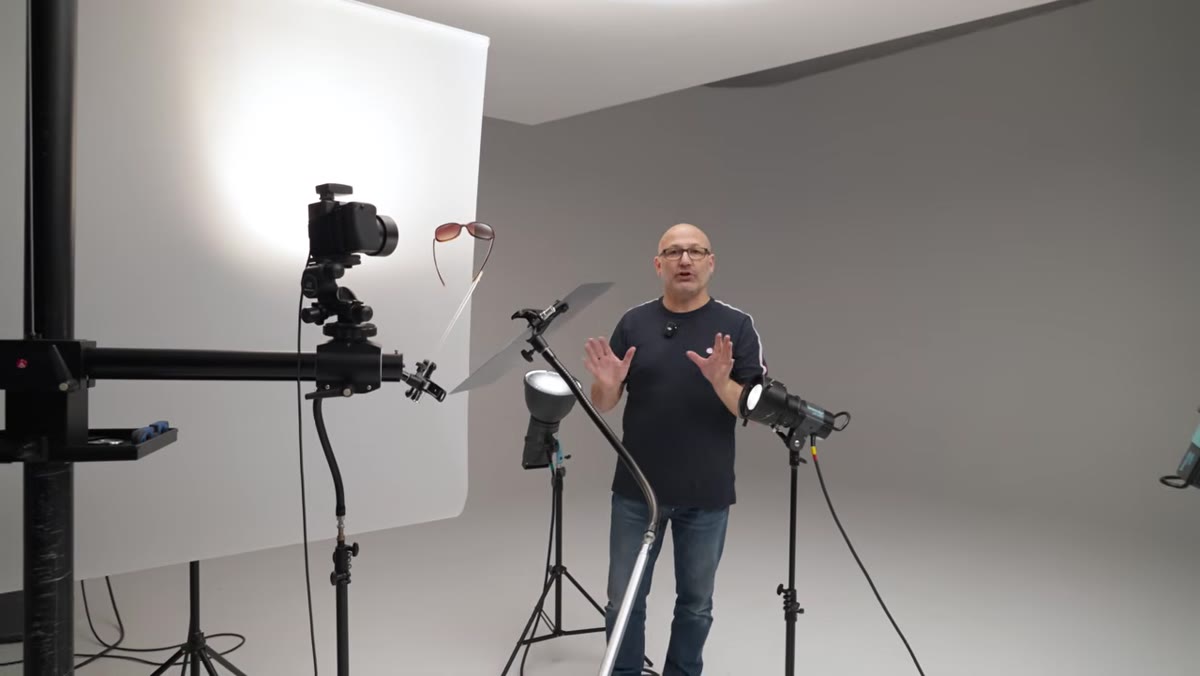 P70 reflector bouncing light off a white suspended ceiling
Before touching a light, Taylor explains the philosophy behind his four-light setup, and it is worth slowing down here because this concept applies far beyond sunglasses. He uses gradient lighting throughout, which means each light source transitions from a stronger, harder center to a softer, weaker edge. He achieves this by bouncing lights off a white ceiling using standard P70 reflectors rather than aiming them directly at the product. The ceiling becomes a large, shaped light source, and the natural falloff of the reflection creates that gradient.
P70 reflector bouncing light off a white suspended ceiling
Before touching a light, Taylor explains the philosophy behind his four-light setup, and it is worth slowing down here because this concept applies far beyond sunglasses. He uses gradient lighting throughout, which means each light source transitions from a stronger, harder center to a softer, weaker edge. He achieves this by bouncing lights off a white ceiling using standard P70 reflectors rather than aiming them directly at the product. The ceiling becomes a large, shaped light source, and the natural falloff of the reflection creates that gradient.
Why does this matter for glossy products? Glossy surfaces do not scatter light. They reflect it like a mirror. So what you see in the lens of a sunglass is a literal image of your light source. A bare strobe produces a harsh, ugly blob. A gradient reflection produces a smooth, elegant glow that reads as luxurious. Every premium product campaign you have admired has this. Now you know how it is made.
Step 2: Build the Four-Light Setup One Source at a Time
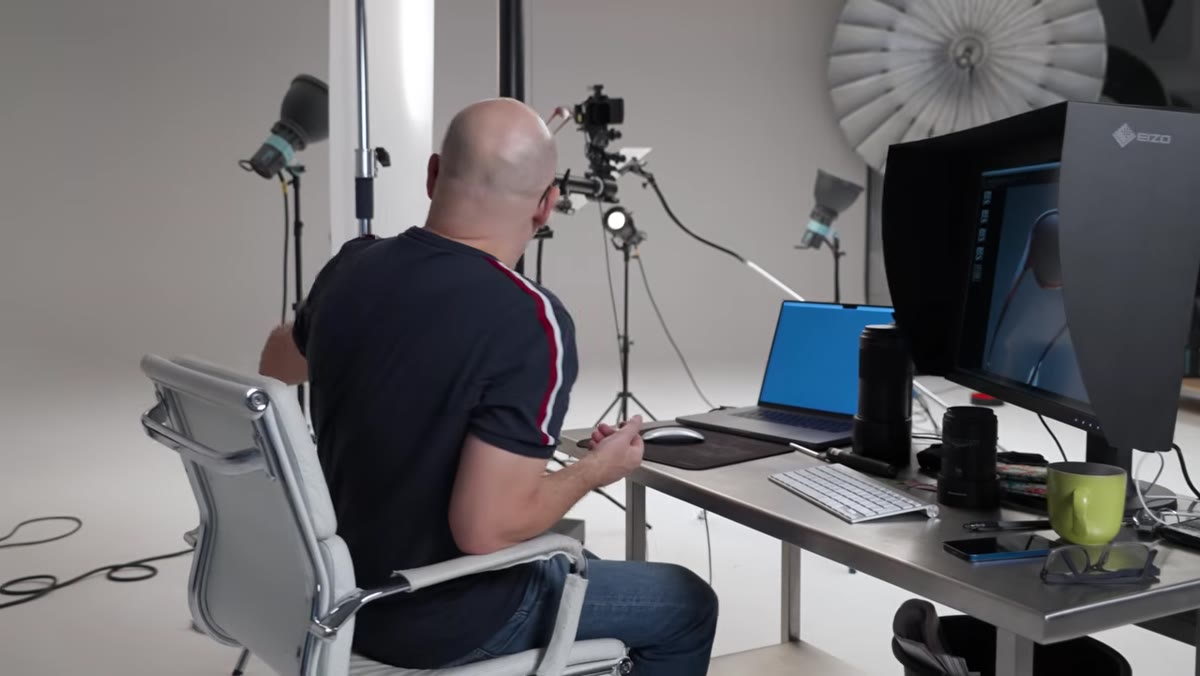 First light result showing subtle glow in lower sunglass lenses
Taylor’s method for explaining the setup is genuinely useful pedagogy: he shows the final image, then turns off three of the four lights and photographs with each source alone. I recommend doing this with your own setups even if you think you already understand what each light contributes. Seeing it isolated removes assumptions.
First light result showing subtle glow in lower sunglass lenses
Taylor’s method for explaining the setup is genuinely useful pedagogy: he shows the final image, then turns off three of the four lights and photographs with each source alone. I recommend doing this with your own setups even if you think you already understand what each light contributes. Seeing it isolated removes assumptions.
His first light bounces off the ceiling and produces a soft glow across the bottom portion of both sunglass lenses. Subtle, almost invisible on its own. His second light also bounces off the ceiling but uses a honeycomb grid on the P70 to keep the ball of light tighter, and it adds illumination to the upper portion of the lenses. Together, these two ceiling-bounce sources create a gradient from top to bottom across the lens surface. Neither would be sufficient alone. Both are necessary, and the order you add them matters for understanding how they interact.
Step 3: Add a Scrim for Directional Gradient Fill
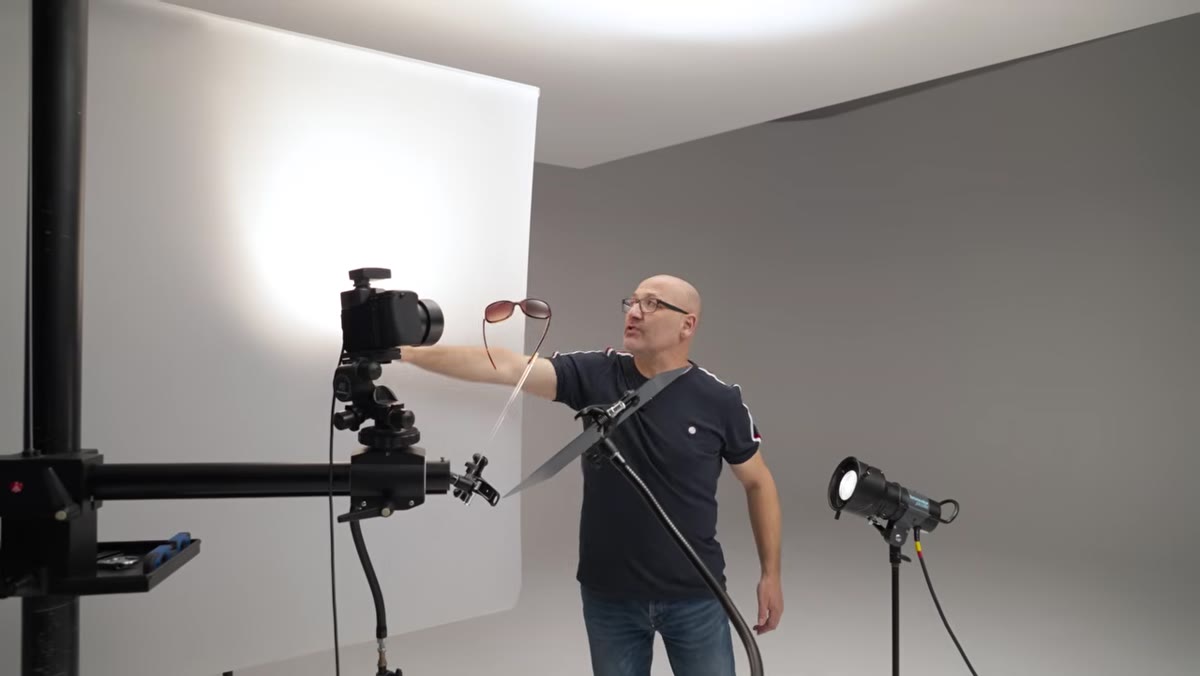 Gradient light shining through a scrim roll creating directional falloff
The third light in Taylor’s setup shines through a scrim roll positioned to the side of the product. A scrim is a translucent diffusion material, and the key word here is “through” rather than “bounced.” Because the light passes through the scrim rather than off a reflector, it has a different quality. It is softer overall but retains a directional character, and because the scrim has physical edges, the light falls off quickly. That falloff is the gradient.
Gradient light shining through a scrim roll creating directional falloff
The third light in Taylor’s setup shines through a scrim roll positioned to the side of the product. A scrim is a translucent diffusion material, and the key word here is “through” rather than “bounced.” Because the light passes through the scrim rather than off a reflector, it has a different quality. It is softer overall but retains a directional character, and because the scrim has physical edges, the light falls off quickly. That falloff is the gradient.
For e-commerce shooters working with a smaller budget, a sheet of white diffusion paper or even a frosted shower curtain panel taped to a frame can approximate this. The point is not the specific tool. The point is that you want a light source that gets stronger in one area and weaker in another, so the product surface tells a visual story of dimension rather than looking uniformly lit and therefore flat.
Step 4: Use a Fresnel Spotlight to Reveal Material Transparency
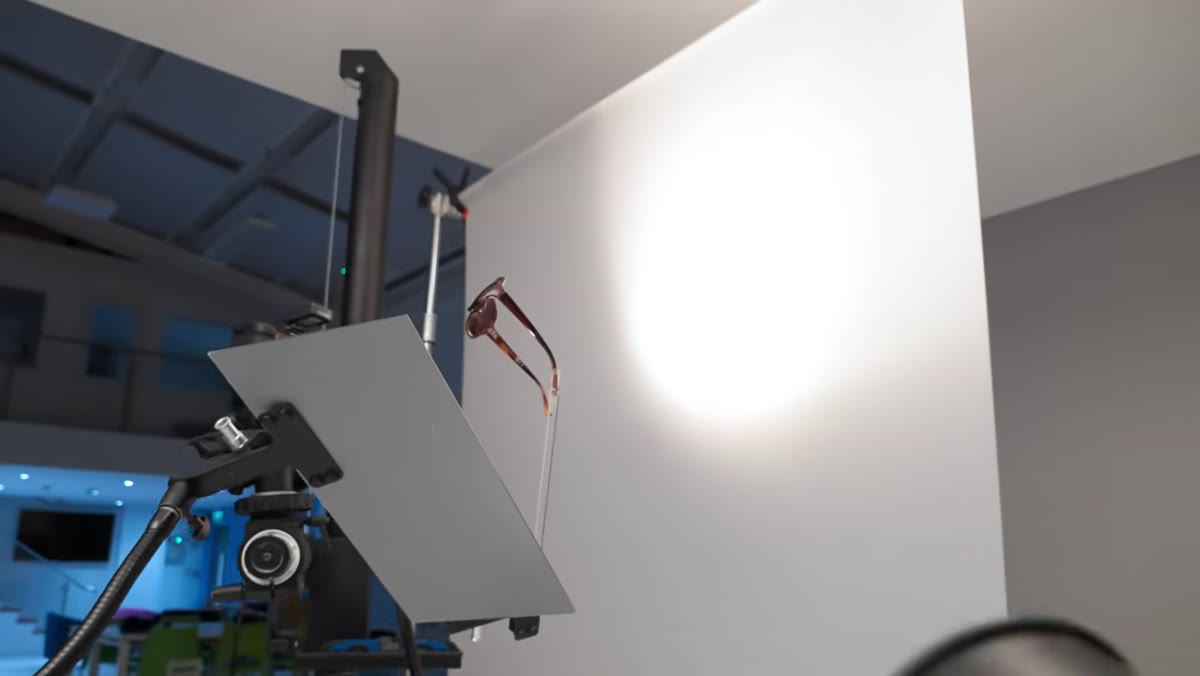 Small Fresnel spotlight aimed through tortoise shell sunglass lenses
Taylor’s fourth light is a small Fresnel spotlight aimed directly through the sunglass lenses from behind. This one is doing something the other lights cannot: it is revealing the internal character of the lens material. Tortoise shell acetate has amber and brown tones embedded in it, and without transmitted light, those tones stay dark and muddy. The Fresnel cuts through and makes the material glow from within.
Small Fresnel spotlight aimed through tortoise shell sunglass lenses
Taylor’s fourth light is a small Fresnel spotlight aimed directly through the sunglass lenses from behind. This one is doing something the other lights cannot: it is revealing the internal character of the lens material. Tortoise shell acetate has amber and brown tones embedded in it, and without transmitted light, those tones stay dark and muddy. The Fresnel cuts through and makes the material glow from within.
For any product with translucency, this principle is critical. Perfume bottles, resin jewelry, glass, anything with color held inside the material needs a transmitted light source to show that property. A small gridded LED spotlight works well here because you can aim it precisely without spilling onto surfaces you want to keep controlled.
Step 5: Use a Mirror as a Precision Fill Tool
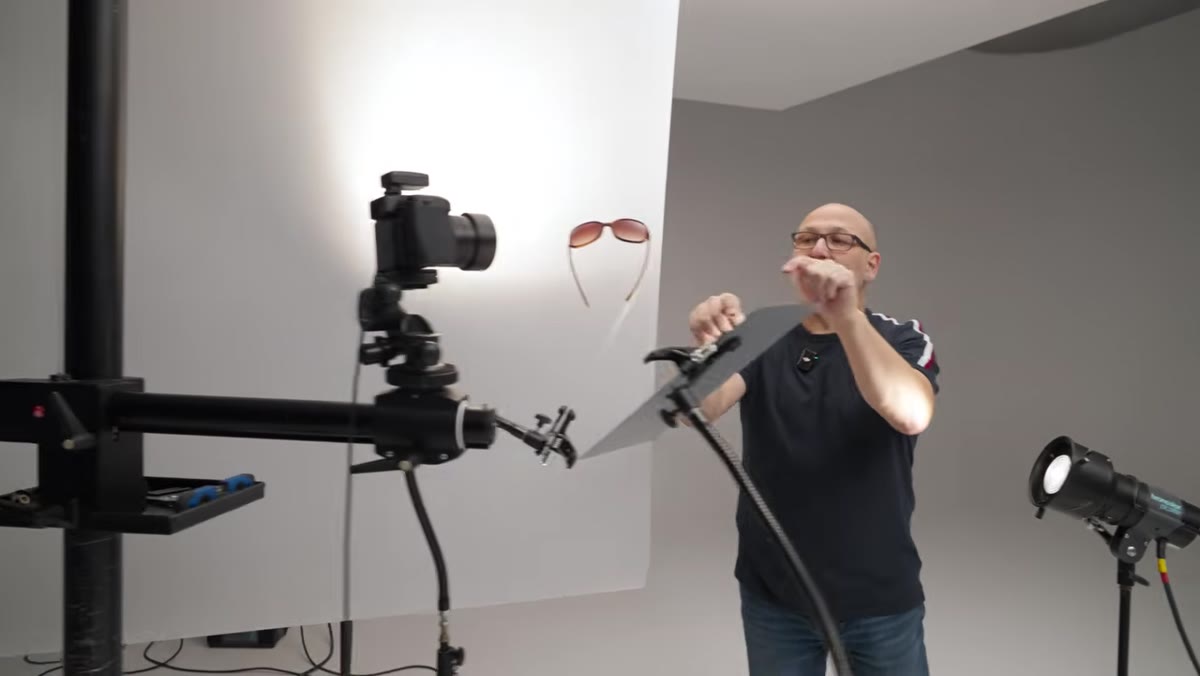 Small mirror positioned to bounce light onto one arm of the sunglasses
The fifth element in Taylor’s setup is not a light at all. It is a mirror, positioned to bounce light from one of the existing sources back onto a specific narrow surface: one of the arms of the sunglasses. This is the kind of detail that separates a careful product photographer from someone who just turns on lights and shoots.
Small mirror positioned to bounce light onto one arm of the sunglasses
The fifth element in Taylor’s setup is not a light at all. It is a mirror, positioned to bounce light from one of the existing sources back onto a specific narrow surface: one of the arms of the sunglasses. This is the kind of detail that separates a careful product photographer from someone who just turns on lights and shoots.
Mirrors give you precision that no light modifier can match. You can position them by millimeters, angle them to catch exactly the light you want, and redirect it onto a surface that would otherwise fall into shadow. Small craft mirrors work well for product photography. So do pieces of mirror tile from a hardware store. Keep several sizes on hand. On a recent shoot I used a 3-inch square mirror to open up the underside of a ring, and it made a several-hundred-dollar difference in how salable the image was.
Step 6: Add Extension Tubes to Control Magnification and Depth
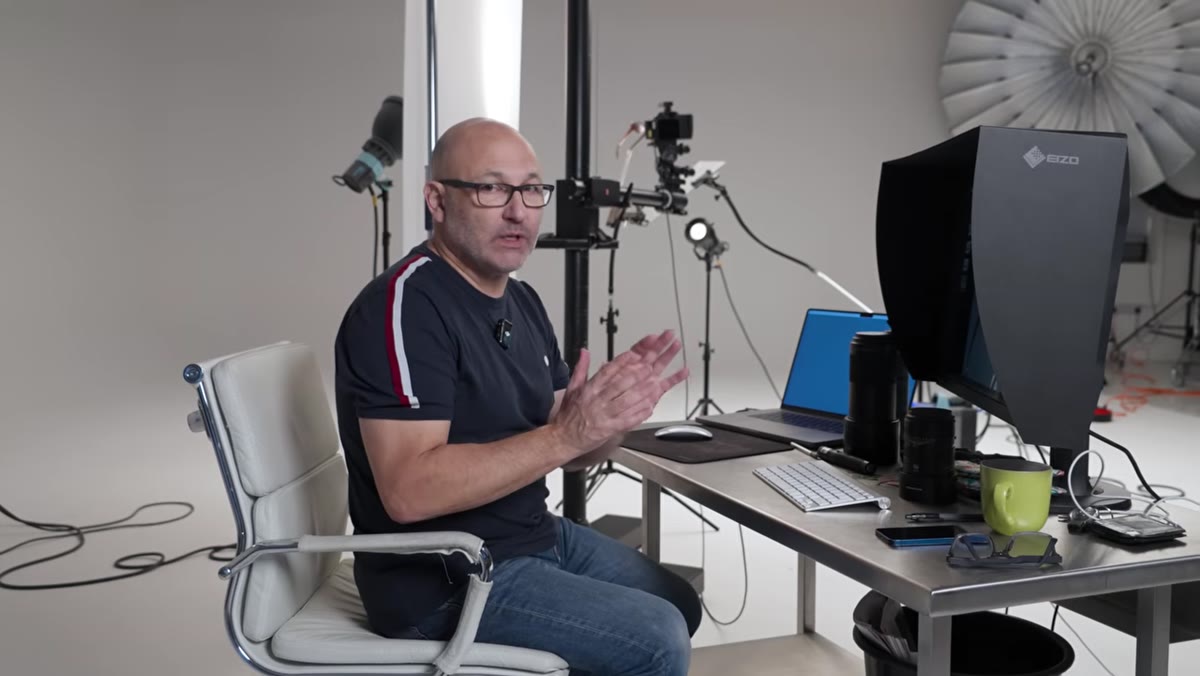 Extension tubes attached between camera body and lens for close-up work
This is where the tutorial’s title earns its promise. Extension tubes are hollow rings that fit between your camera body and lens, physically moving the lens farther from the sensor. This changes the minimum focusing distance, allowing you to get significantly closer to the product. The result is greater magnification without the optical compromises that come with a dedicated macro lens.
Extension tubes attached between camera body and lens for close-up work
This is where the tutorial’s title earns its promise. Extension tubes are hollow rings that fit between your camera body and lens, physically moving the lens farther from the sensor. This changes the minimum focusing distance, allowing you to get significantly closer to the product. The result is greater magnification without the optical compromises that come with a dedicated macro lens.
Taylor demonstrates how the focal length and tube combination you choose affects the look of the image, not just the magnification. A longer focal length with a shorter extension tube gives a different compression and background separation than a shorter focal length with more extension. Experiment with the combinations you have available. The depth of field becomes extremely shallow at these distances, which leads directly to the next step.
Step 7: Plan and Shoot a Focus Stack
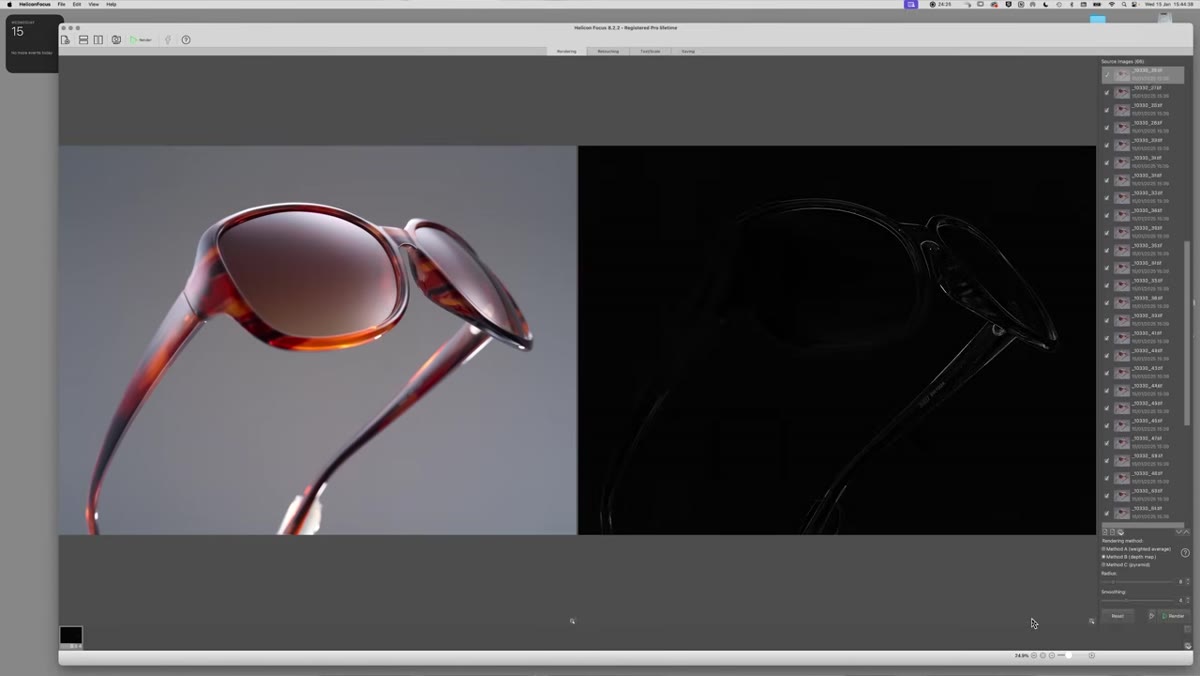 Shallow depth of field image of sunglasses before focus stacking
With extension tubes in use, you will often find that no single shot captures the full product in sharp focus. The front edge of the frame is sharp and the back arm is soft, or vice versa. Focus stacking solves this by shooting a series of frames at slightly different focus points, then combining them in software to produce a composite with complete sharpness throughout.
Shallow depth of field image of sunglasses before focus stacking
With extension tubes in use, you will often find that no single shot captures the full product in sharp focus. The front edge of the frame is sharp and the back arm is soft, or vice versa. Focus stacking solves this by shooting a series of frames at slightly different focus points, then combining them in software to produce a composite with complete sharpness throughout.
Taylor walks through setting up a sequence that moves focus incrementally across the depth of the product. In practice, this means taking anywhere from five to twenty frames depending on how much depth you are covering and how shallow your depth of field is. Helicon Focus and Zerene Stacker are the two industry-standard software tools for combining these frames. Photoshop has a built-in version under Edit > Auto-Blend Layers that works well for simpler stacks.
What I’d Add From My Own Experience
Gradient lighting is not just for expensive gear or big studio setups. The principle scales down. I have recreated a version of Taylor’s ceiling-bounce gradient using two speedlights aimed at the white walls of my kitchen lightbox, with cardboard flags to control spill. The math is the same: large shaped source, smooth falloff, image-forming reflection in the product surface. If you sell anything with a glossy finish, from lip gloss to lacquered wood to patent leather, and your photos are not using gradient reflections, that is likely why the product looks cheaper than it is.
The single most important idea in this entire tutorial is this: glossy surfaces photograph their environment, not ambient light. You are not lighting the product. You are designing what the product reflects. Once that clicks, every glossy shoot becomes a controlled reflection problem rather than a lighting problem.
Watch the full tutorial on YouTube to see Taylor demonstrate the extension tube combinations and focus stack in real time. Seeing the depth of field shift frame by frame is the fastest way to understand why this technique produces results that a single sharp frame simply cannot match.