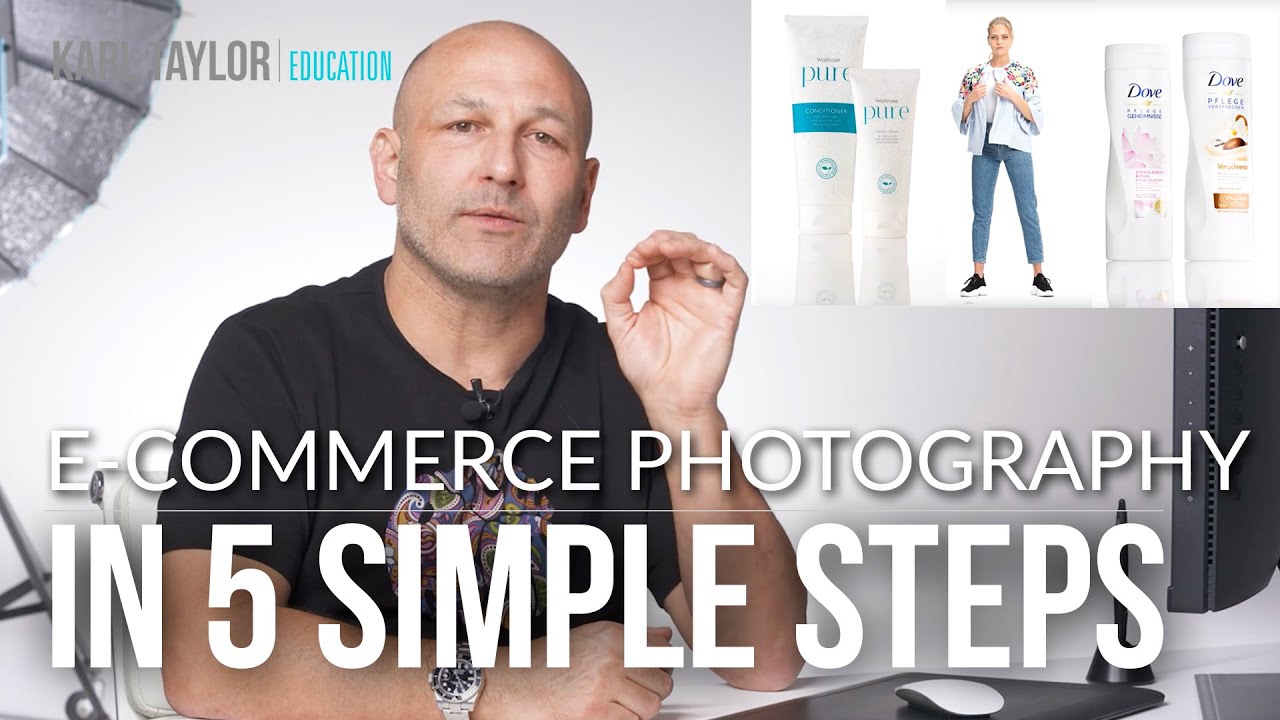
Before You Touch Your Camera: The eCommerce Photography Prep Framework That Actually Scales
I have photographed 200 products in a single day using a $50 DIY lightbox I built on my kitchen counter. That day taught me more about ecommerce photography than any gear upgrade ever has. The secret wasn’t speed or equipment. It was preparation so thorough that the actual shooting became almost mechanical. When I watched this Visual Education tutorial on the top skills for shooting better ecommerce photography, I recognized every principle immediately because I’d learned most of them the hard way first.
Watch the full tutorial on YouTube
What makes this video worth your time is that it treats ecommerce photography as a system, not a series of individual shots. That shift in thinking is everything. Whether you’re shooting for a client’s Shopify store or photographing inventory for your own business, the bottlenecks are almost always the same: products that aren’t ready, lighting that has to be rebuilt between shots, and no clear list of what you actually need. This tutorial addresses all three.
Step 1: Commit to Preparation as a Non-Negotiable
Preparation isn’t the glamorous part of this job, but it is the part that determines whether you hit 40 products by lunch or spend an hour untangling problems that should have been solved before the first frame. Before any ecommerce shoot, you need three things locked down: your items physically ready, a written shot list, and your lighting tested.
For physical prep, the details matter more than you think. Clothing needs to be clean, pressed, and checked for loose threads or missing buttons. These seem minor until you’re in post-production cloning out a fraying seam across 30 SKUs. For packaged goods like boxes, cartons, or bottles, check that everything sits correctly. Packaging often gets dented or warped in storage, and some boxes need to be carefully disassembled and re-adhered with double-sided tape so they hold a clean, sharp shape under studio light.
Step 2: Build a Shot List Before Anything Else
A shot list is not a luxury for large commercial jobs. It is a practical tool for any ecommerce session, even if you’re shooting 10 products on your kitchen table. Your list should include every item being photographed, the number of angles required for each, and any special details that need a close-up frame.
Knowing this before you start lets you batch your work intelligently. If three products need a hero front shot plus a detail crop, you can move through all three setups with identical lighting rather than resetting between products. You stop making decisions during the shoot and start executing a plan. That’s the difference between a session that feels chaotic and one that ends early.
Step 3: Group Products by Size and Category
This is the single most practical workflow tip in the entire video, and it’s the one most people skip. The idea is straightforward: if you arrange your shoot so that similarly sized products run back-to-back, you dramatically reduce the number of times you have to reposition your camera, swap lenses, or rebuild your lighting.
Going from a small cosmetics bottle to a large boxed toy mid-session means adjusting your camera height, your lens focal length, and likely your light-to-subject distance. That’s 10 to 20 minutes of recalibration. Multiply that by several size jumps in a day and you’ve lost an hour or more to setup friction. Sort your products into small, medium, and large groupings before the shoot starts. Within those groups, sort further by product type so the visual character of the items stays consistent. Your light will behave more predictably and your results will look more cohesive.
Step 4: Test and Set Your Lighting Before the Products Arrive on Set
Testing your lighting before the shoot begins sounds obvious, but most people do a rough setup and then spend the first 20 minutes of actual shooting time dialing it in. That’s backwards. Use a stand-in object that’s close in size and surface quality to your first product group, get your exposure locked, check your shadows, and confirm your white balance. Write down your settings.
For ecommerce work, consistency across a full catalog matters as much as any single image looking great. If the lighting on product 12 looks noticeably different from product 3, that inconsistency reads as unprofessional to the end buyer even if they can’t articulate why. A tested, documented setup you can return to after a break or a lighting adjustment is worth far more than a technically perfect single image that you can’t replicate.
Step 5: Understand That eCommerce Photography Is Advertising Photography
The tutorial makes a point that reframes how you should think about this work: ecommerce photography, even in its simplest form, is still persuasive visual communication. It’s not documentation. A clean white-background shot of a shampoo bottle is still doing a selling job, and how well it does that job directly affects whether the product gets added to a cart or scrolled past.
This means your standard should never be “good enough to identify the product.” It should be “does this image make the product look like it’s worth what we’re charging for it?” That’s a higher bar, and it’s the bar your clients’ customers are holding you to whether they know it or not.
What I’d Add From My Own Experience
The tutorial covers preparation and workflow, both of which are foundational. What I’d layer on top is the concept of surface preparation as a separate checklist item from product preparation. A bottle can be perfectly shaped and labeled and still ruin your shot because of fingerprints, dust, or a small scratch that turns into a hot spot under directional light. I keep lint-free gloves, a blower brush, and isopropyl alcohol wipes within arm’s reach on every shoot. I also do a final check through the camera’s live view with my intended lighting on before I fire a single frame, because what your eye misses in the room, the sensor will absolutely find.
The other thing worth adding: shoot tethered whenever possible. Seeing images at full size on a monitor in real time catches focus issues, packaging problems, and lighting inconsistencies that you simply cannot reliably judge on a camera’s rear LCD. For high-volume ecommerce work, catching a problem on frame two beats catching it after you’ve shot 40 products with the same issue.
The foundation of great ecommerce photography isn’t a specific lighting modifier or a camera body. It’s arriving at your shoot so prepared that the technical work becomes a delivery mechanism for decisions you’ve already made. Watch the full tutorial on YouTube and pay particular attention to how the presenter frames preparation. Not as a step before the shoot, but as the shoot itself.