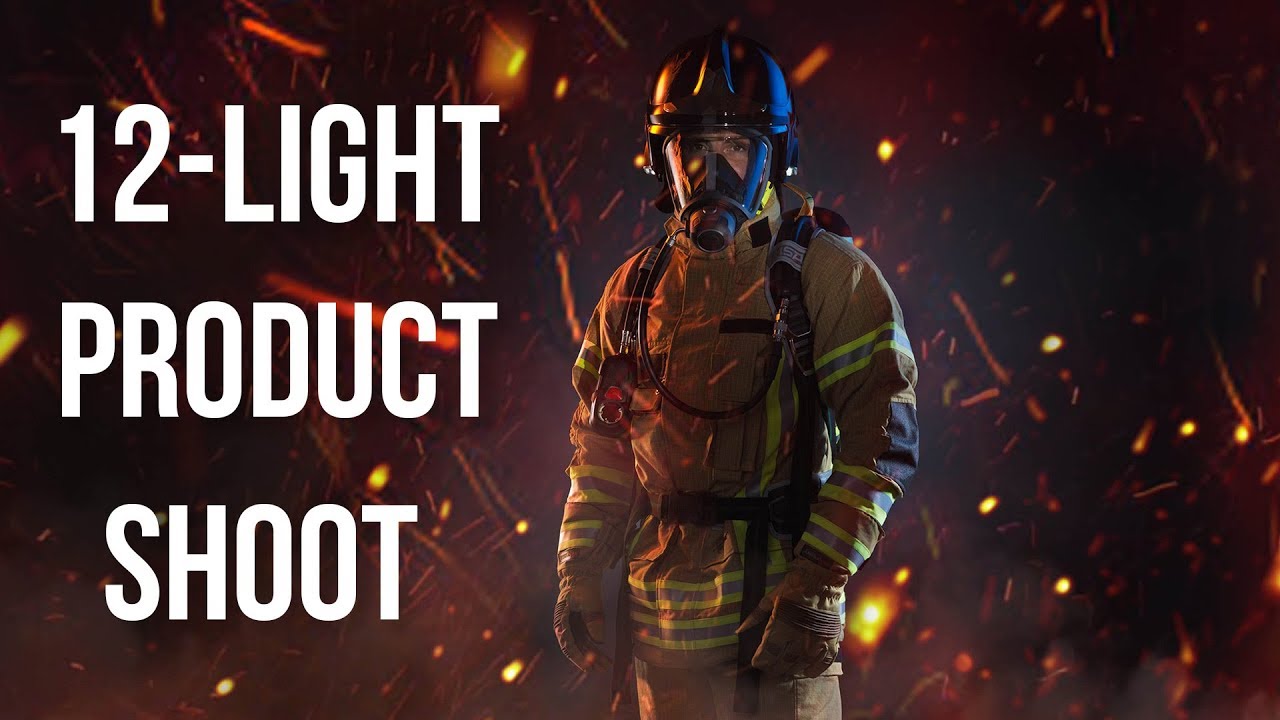
12 Lights, One Shot: What a Record-Breaking Commercial Setup Teaches Us About Complex Product Lighting
Most of the lighting advice floating around online is built around minimalism. One light. Maybe two. A reflector if you’re feeling adventurous. And honestly, for a lot of the e-commerce work I do, that’s exactly right. But minimalism isn’t a rule. It’s a starting point. Understanding why you’d ever need more lights, and how a working commercial photographer actually manages that complexity, is what separates someone who knows lighting from someone who just knows their one setup.
That’s why I kept coming back to this Visual Education tutorial on a fire safety equipment shoot. Watch the full tutorial on YouTube. The photographer used twelve lights on a single product image, and the behind-the-scenes breakdown is one of the most instructive things I’ve watched in a while. Not because I’m about to light my next lightbox setup with a dozen strobes, but because watching someone manage that level of complexity reveals the thinking behind every lighting decision, including the small ones.
The shoot was for MSA Fire Safety Equipment, produced in collaboration with an advertising agency. The final assets included both stills and video. What makes this tutorial worth studying isn’t just the scale. It’s the discipline behind it. Each of those twelve lights had a specific job, and the whole setup was engineered to make post-production cleaner, not harder.
Step 1: Understand the Brief Before You Touch a Light
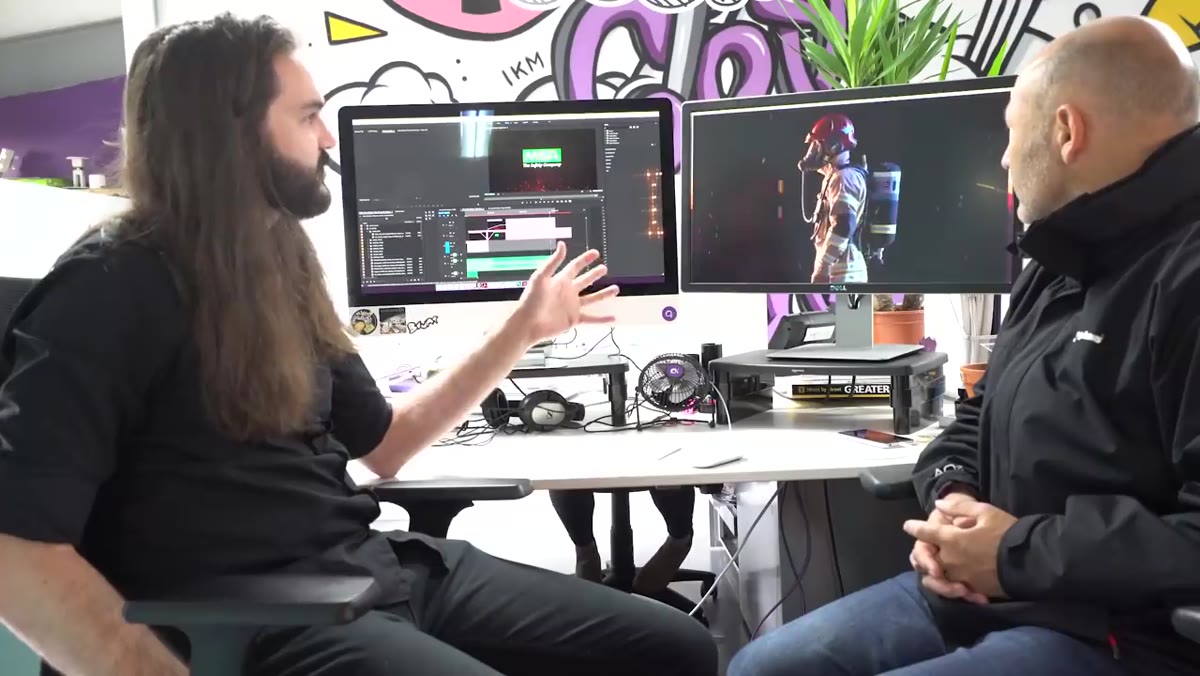
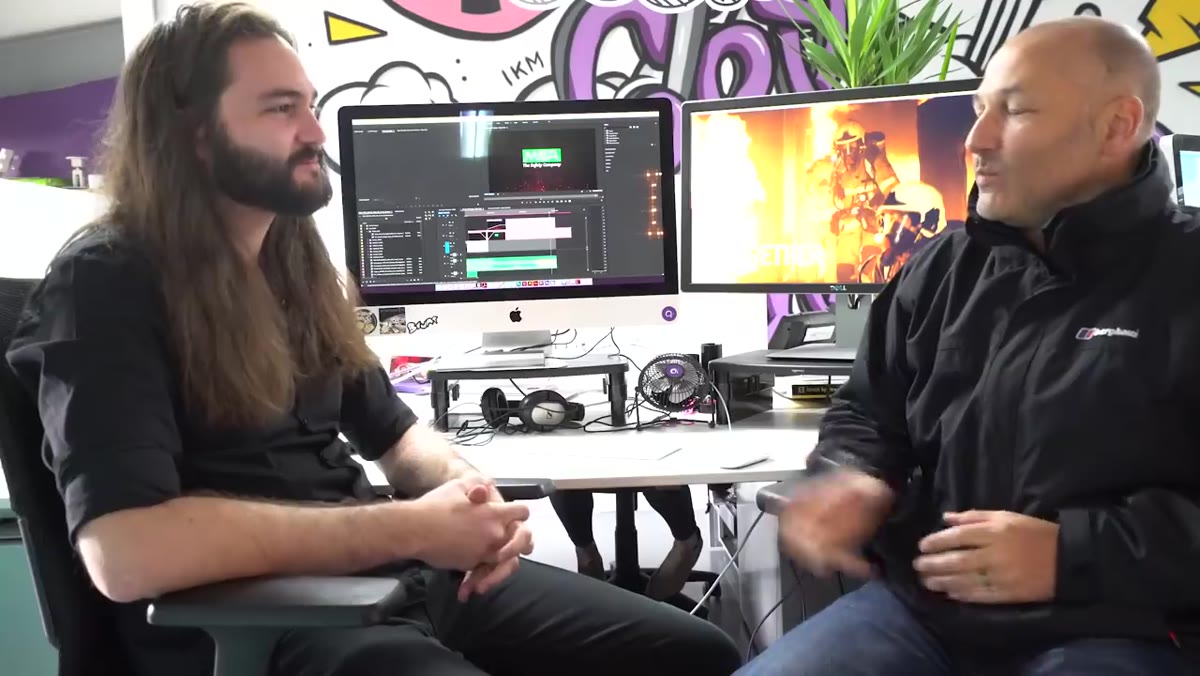 Photographer speaking with advertising agency client on set
Before any light was placed on this set, there was a clear deliverable. The images needed to showcase fire safety equipment in a way that communicated both function and authority. The advertising agency brought specific needs: 360-degree footage, product details at multiple angles, and shots that would support video post-production with overlaid effects. That brief dictated everything about the lighting approach.
Photographer speaking with advertising agency client on set
Before any light was placed on this set, there was a clear deliverable. The images needed to showcase fire safety equipment in a way that communicated both function and authority. The advertising agency brought specific needs: 360-degree footage, product details at multiple angles, and shots that would support video post-production with overlaid effects. That brief dictated everything about the lighting approach.
When you’re shooting a product this complex, whether it’s safety gear, electronics, or anything with multiple surfaces and functional components, your first question should be: what does this image have to prove? The answer shapes every light placement decision. If you’re shooting for an Amazon listing, you need clean edges and accurate color. If you’re shooting for a campaign, you need mood and dimension. Both might use multiple lights, but they’ll use them completely differently.
Step 2: Build Your Lighting Setup Around the Shot, Not the Other Way Around
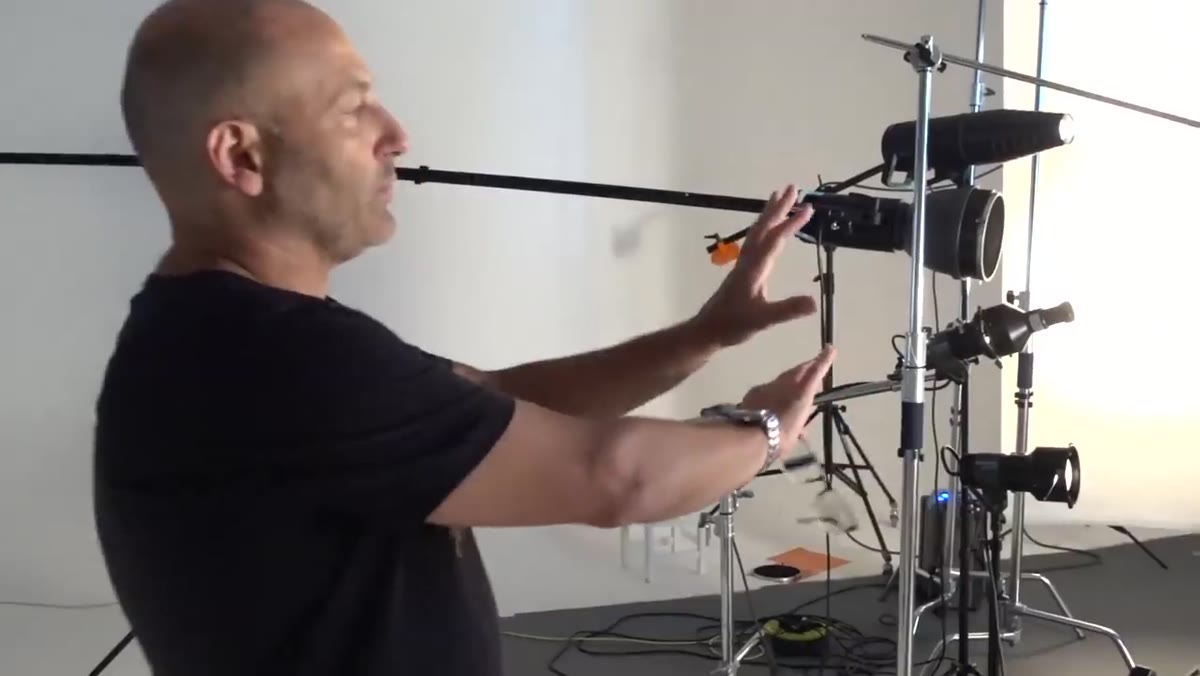
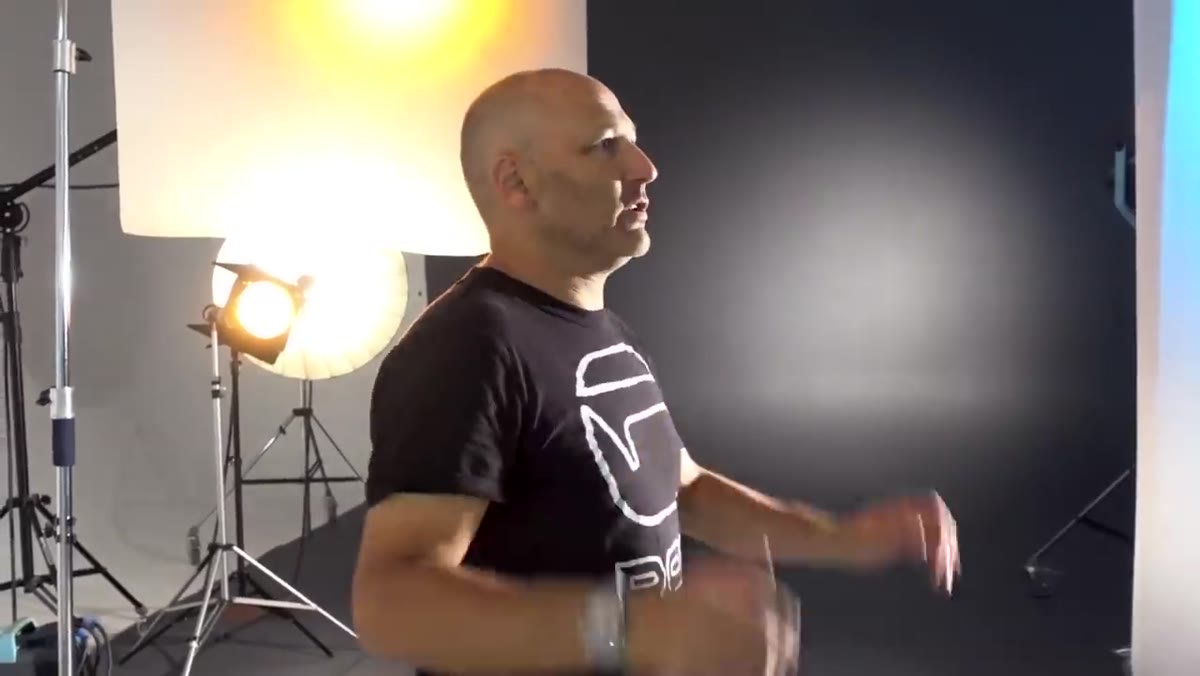 Multiple lights positioned around subject from different angles
Twelve lights sounds chaotic until you understand that each one was solving a specific problem. Lights were placed at different heights, angles, and distances to handle everything from background separation to product edge definition to filling in shadows created by the equipment’s own geometry. One light was positioned on the floor. Another was shining through a particular section of the set. Each had a single purpose.
Multiple lights positioned around subject from different angles
Twelve lights sounds chaotic until you understand that each one was solving a specific problem. Lights were placed at different heights, angles, and distances to handle everything from background separation to product edge definition to filling in shadows created by the equipment’s own geometry. One light was positioned on the floor. Another was shining through a particular section of the set. Each had a single purpose.
This is the discipline that’s hard to learn without watching someone who shoots at this level. When I’m building a multi-light setup, I work additively. I start with the key light, photograph, and ask what problem is left unsolved. Then I add one light to solve that problem, photograph again, and repeat. Twelve lights didn’t appear all at once. They accumulated as problems were identified and addressed.
Step 3: Use C-Stands and Grip Equipment to Place Lights Where They Need to Be
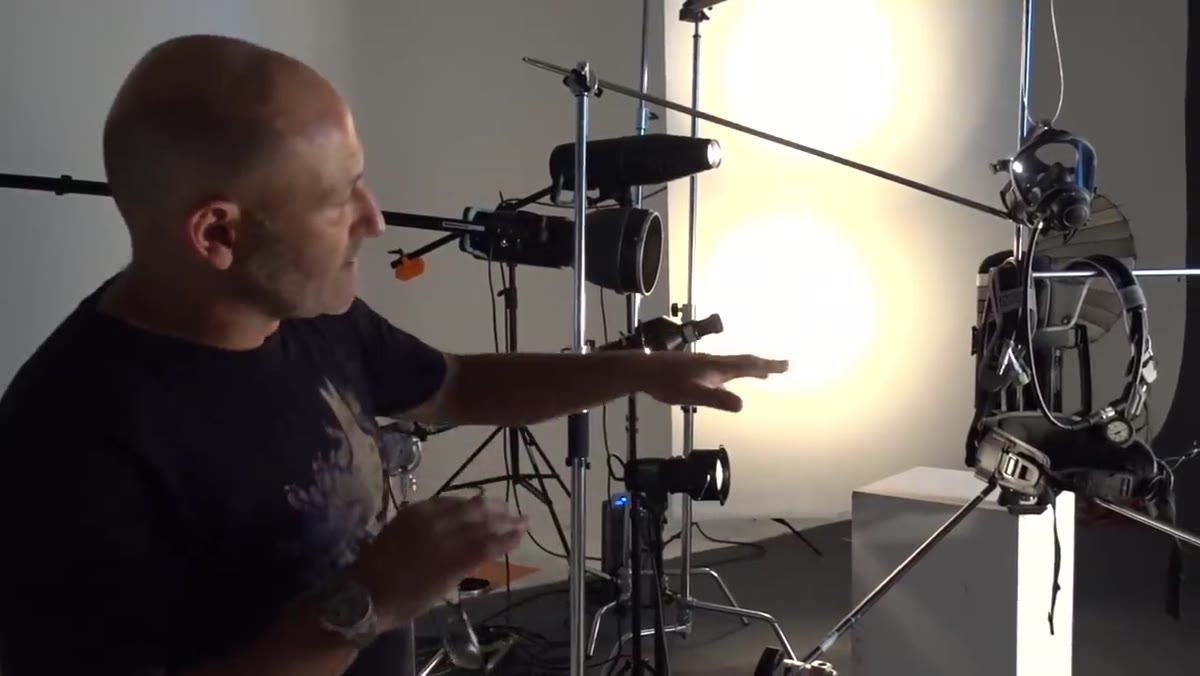 C-stands and grip arms holding lights in precise positions around set
One of the most practical details in this tutorial is the emphasis on grip equipment. C-stands, arms, and clamps were used extensively to hold lights in positions that would be physically impossible to hand-hold or mount conventionally. A light aimed through a gap in the product, a floor-level unit, an overhead source positioned at a precise angle. None of that happens without proper grip tools.
C-stands and grip arms holding lights in precise positions around set
One of the most practical details in this tutorial is the emphasis on grip equipment. C-stands, arms, and clamps were used extensively to hold lights in positions that would be physically impossible to hand-hold or mount conventionally. A light aimed through a gap in the product, a floor-level unit, an overhead source positioned at a precise angle. None of that happens without proper grip tools.
If you’re building toward more complex setups, grip gear is worth investing in before you buy more lights. A C-stand and a good arm give you placement flexibility that changes what’s possible. I’ve gotten more mileage out of a solid C-stand than I have out of upgrading light modifiers. Positions matter as much as power.
Step 4: Plan Your Clean Plate Shot Before You Start Lighting
 Set being cleared of C-stands and equipment for background plate shot
Once the product was fully lit and photographed, everything came down. C-stands, grip equipment, the support rods holding the product in place. Then a clean shot of the background was captured with the same camera position and the same ambient lighting conditions. This blank frame becomes the clean plate used in post to remove any supports, rods, or hardware that were holding the product during the shoot.
Set being cleared of C-stands and equipment for background plate shot
Once the product was fully lit and photographed, everything came down. C-stands, grip equipment, the support rods holding the product in place. Then a clean shot of the background was captured with the same camera position and the same ambient lighting conditions. This blank frame becomes the clean plate used in post to remove any supports, rods, or hardware that were holding the product during the shoot.
This is one of those professional habits that looks simple but saves enormous amounts of time in retouching. If you’re shooting a product that needs to be suspended, angled, or held in a position it wouldn’t naturally hold, plan your clean plate before you break down the set. Do it while the camera is still locked off on the tripod and nothing has moved. That clean plate makes masking and compositing dramatically faster and cleaner.
Step 5: Think About Post-Production as Part of the Shoot
 Final video showing 360 footage with ember overlays in post-production
The final deliverables for this project included video with animated ember effects composited over 360-degree footage, product features highlighted with motion graphics, and adjustment positions shown across multiple frames. All of that post work was anticipated during the shoot. The still photography was lit and captured in a way that would support, not complicate, what the editor and motion graphics team needed.
Final video showing 360 footage with ember overlays in post-production
The final deliverables for this project included video with animated ember effects composited over 360-degree footage, product features highlighted with motion graphics, and adjustment positions shown across multiple frames. All of that post work was anticipated during the shoot. The still photography was lit and captured in a way that would support, not complicate, what the editor and motion graphics team needed.
For e-commerce specifically, this means thinking about how your images will be used before you finalize your setup. Will they be placed on a white background in a marketplace? Then your lighting needs to create natural separation from the background, not just expose the product correctly. Will they be used in a lifestyle composite? Then your light direction needs to be consistent with the environment you’ll be dropping the product into. The shot you’re taking on set is only half of the final image.
What This Means for Smaller Setups
I’m not regularly working with twelve lights. My day-to-day is closer to three or four, and a lot of my teaching is aimed at small business owners who are working with even less than that. But the principles here scale down perfectly. The discipline of adding lights one at a time, giving each light a specific job, planning for post-production from the start, and using grip equipment to put lights exactly where they need to be. Those habits apply whether you’re using two lights or twelve.
The most useful thing I took from this tutorial is the mindset of treating complexity as a tool rather than a problem. More lights aren’t better or worse. They’re appropriate or they’re not, depending on what the image needs to accomplish. When I was helping my mom photograph her jewelry pieces for her online shop, the right answer was two lights and a white card reflector. But understanding why that was right came from studying setups like this one.
The single most important takeaway here is this: every light needs a reason to exist. On a twelve-light set or a two-light set, the question is always the same. What problem does this light solve? If you can’t answer that, the light probably shouldn’t be there.
Watch the full tutorial on YouTube to see the complete setup, the behind-the-scenes with the agency, and the final campaign footage that came out of it.