Bottle Photography: Mastering Light, Refraction, and Reflection
Bottles are deceptively difficult to photograph well. Unlike matte products, they demand precision with light because every ray either enhances the product or creates distracting reflections and hotspots. After shooting hundreds of bottles—from craft spirits to skincare serums—I’ve learned that successful bottle photography isn’t about complex gear. It’s about understanding how light behaves when it hits glass.
The Core Challenge: Transparent Surfaces Demand Directional Control
When you photograph a bottle with direct overhead lighting, you get a blown-out reflection that obscures the product inside. Place your key light too close to the lens axis and the entire front surface becomes a mirror. The issue is that glass needs light to show dimension, but that same light becomes your enemy without careful positioning.
I solve this by separating my key light from my lens position. I typically position my main light 45 degrees off-axis, angled downward at roughly 35 degrees. This angle reveals the bottle’s contours without creating a direct reflection back into the camera. The light wraps around the glass naturally, showing depth while keeping the product legible.
Camera Settings for Maximum Control
I shoot bottles at f/8 to f/11 to maintain edge-to-edge sharpness, especially critical for label detail. Lower apertures create beautiful bokeh backgrounds but sacrifice the crisp product definition that e-commerce requires.
Shutter speed depends on your lighting setup. With studio strobes, I typically use 1/200 second (at my camera’s sync speed). If you’re using continuous lighting, adjust shutter speed to control overall exposure—usually 1/30 to 1/60 second depending on light intensity.
ISO should be as low as possible. I stay between 100-400, pushing higher only if my lighting setup demands it. Higher ISOs introduce noise that becomes visible on reflective surfaces.
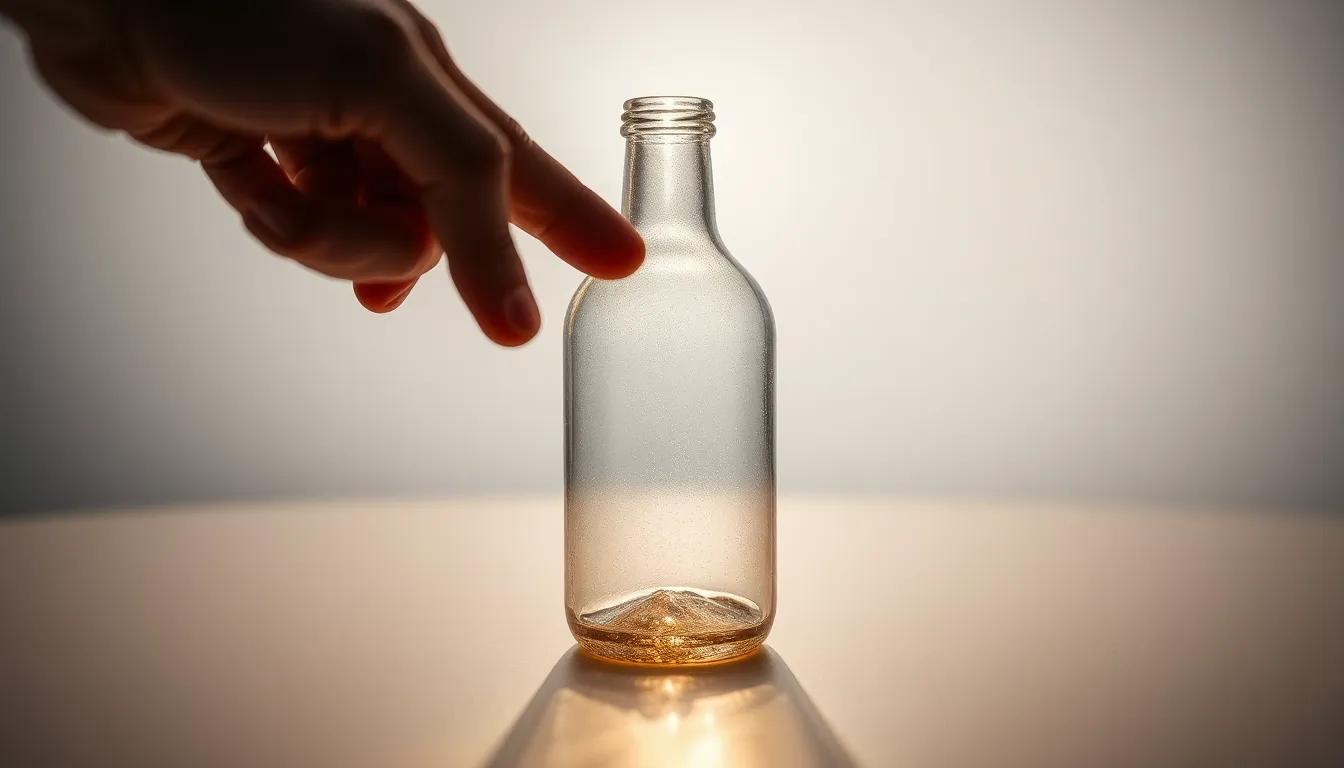
Lighting Setup: The Backlight is Your Secret Weapon
The most effective bottle setups use a backlight positioned directly behind the product. Place a light source 2–3 feet behind the bottle, slightly above it. This creates edge separation that makes the bottle pop from the background and reveals the liquid color beautifully.
Your backlight should be softer than your key light. I use a diffusion panel or softbox for backlighting, creating a graduated glow rather than a harsh line. This approach works for clear, amber, and opaque bottles—it simply changes how the effect reads.
Combine this with a fill light on the opposite side of your key light, positioned at camera level or slightly above. The fill doesn’t need to be powerful—it simply lifts shadows enough to show the bottle’s form without creating secondary reflections.
Controlling Unwanted Reflections
Even with perfect positioning, you’ll catch reflections of your studio walls or yourself in the glass. The solution: create a “reflection control” zone using black or white foam boards positioned around your shooting area.
Place boards where they’ll reflect into the bottle—usually on your left and right at roughly 90 degrees from the camera. Adjust these boards iteratively. Move them closer to increase control, farther back to soften the effect. This is tedious but non-negotiable for professional results.
For particularly stubborn hotspots, I sometimes place a small black card directly in front of the bottle, just outside the frame. It blocks specific light rays from creating reflections, acting like a negative fill light.
Styling and Composition Matter Too
Never photograph a bottle straight-on. A 15–20 degree rotation reveals the label more naturally and shows the bottle’s three-dimensionality. Position the label so it faces toward the camera with slight depth, not dead-front.
Clean your bottles obsessively. Water spots, fingerprints, and dust become magnified on glass. Use a microfiber cloth and isopropyl alcohol. I photograph bottles immediately after cleaning, before dust settles.
The Practical Workflow
Start with your backlight. Add your key light and adjust its position until reflections look controlled. Then introduce your fill light. Shoot test images, review them at 100%, and make micro-adjustments to light positions. This process takes 15–20 minutes but ensures consistency across your product line.
Bottle photography rewards patience and systematic testing. Master these fundamentals and you’ll shoot bottles faster, with fewer problematic reflections and deeper commercial appeal.
Comments
Leave a Comment